Preparation Tips And Techniques For A Flawless Interior Paint Job
Every room in your home holds potential for transformation, and there's no better way to unlock that potential than with a fresh coat of paint.
Every room in your home holds potential for transformation, and there’s no better way to unlock that potential than with a fresh coat of paint. The magic of a carefully chosen hue can alter the feel of a room, casting it anew in a different light. But like any good magic trick, a stunning paint job relies not only on the final outcome but also on the careful preparation that happens behind the scenes.
This comprehensive guide is designed to demystify the process of an interior paint job. From choosing the perfect shade of Benjamin Moore ADVANCE paint color to mastering the professional brush strokes, we’ve got you covered.
Whether you’re taking on your first painting project or you’re a seasoned DIY enthusiast aiming to elevate your techniques, the insights shared in this guide are set to bring a new level of confidence to your endeavors.
Ready your brushes and rollers – the world of transformative interior painting awaits.
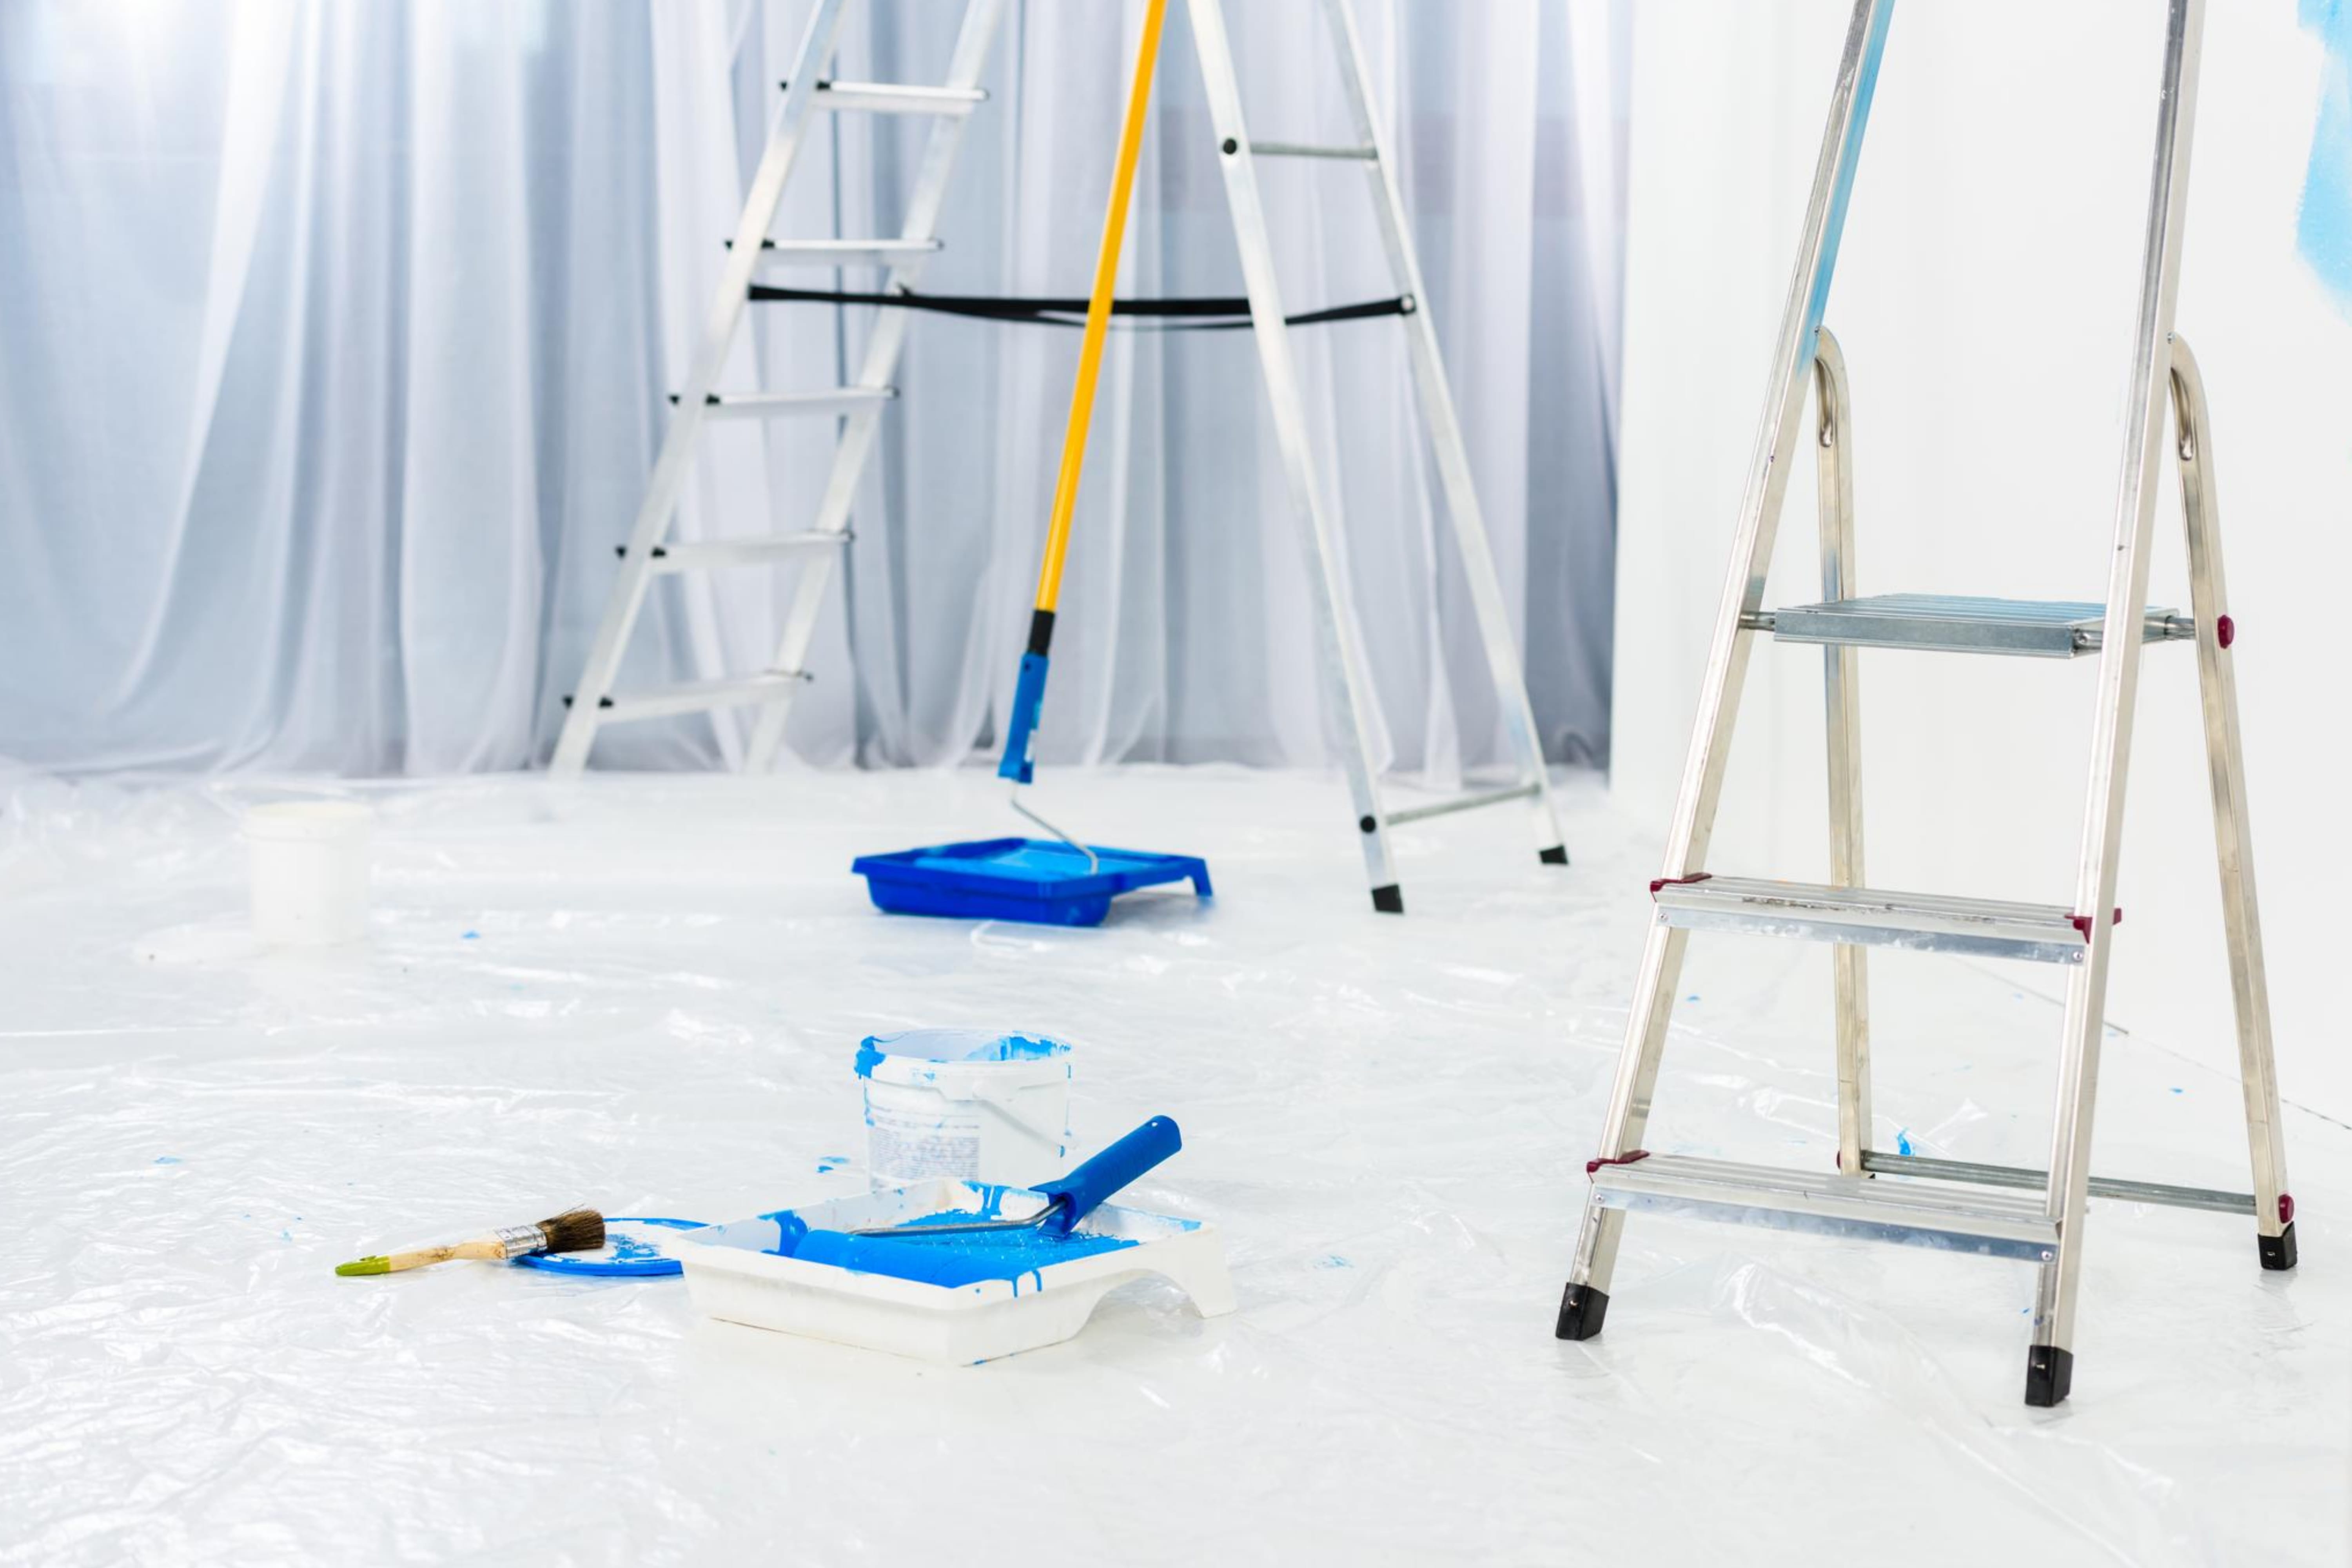
The Must-Have Tools And Materials
Embarking on this project requires more than just a can of paint and a brush. You’ll need an assortment of tools to ensure a smooth, professional-looking finish. Let’s investigate the essential tools and materials:
- Invest In Quality Paint. A high-grade color offers superb coverage and durability
- Get The Right Brushes And Rollers. Brushes ensure precision, while rollers aid in quickly covering large areas.
- Don’t Forget Painter’s Tape. This indispensable tool helps create clean, sharp lines and protects areas from unintentional spills.
- Have A Paint Tray. A vital tool for efficiently loading your brush or roller.
- Secure A Ladder. A must for comfortably reaching higher areas.
- Use Drop Cloths. Protect your floors and furniture from unexpected paint drops.
Equipped with these, you’re all set to get started. Now, let’s concentrate on prepping your space.
IgorVetushko via vistacreate
Table of Contents
Preparing Your Room: The Key to Success
Even the best coating job can falter without the right preparation. Taking the time to prepare your room is like laying the foundation for a building—it sets the stage for a flawless finish. Here’s how:
- Begin By Clearing The Room. Start with a blank canvas. Remove as much furniture as you can from the room. For larger pieces that can’t be moved, cover them with drop cloths or plastic sheets to protect them from accidental splatters and dust.
- Treat Wall Imperfections. Your walls’ texture will directly influence the final job’s outcome. Use a putty knife to fill any cracks and holes with a suitable filler. Once it dries, sand the surface for a smooth finish. This process will ensure that your coating goes on evenly and adheres correctly.
- Always Clean Your Walls. Over time, surfaces can accumulate a surprising amount of dust and grime, which can prevent it from adhering correctly. Use a mild detergent solution to clean them thoroughly. If there’s any mildew, treat it with a solution of one part bleach to three parts water.
- Apply Primer. A key step for creating a uniform base that enhances proper adhesion. Priming is especially crucial when covering darker colors or new drywall.
- Use Safety Equipment. While the job might seem a harmless task, it’s essential to protect yourself from any potential hazards. Use safety goggles to guard against dust and fumes, and don’t forget to wear a mask when sanding walls or dealing with chemicals. Remember, safety should never be compromised
- Remove Outlet Covers And Light Switches. Gives your project a more professional finish. This step prevents paint from getting on these fixtures and gives you a clean, sharp finish around these areas.
With the room thoroughly prepped, it’s time to look into the important decision of selecting your paint.
via AdobeStock
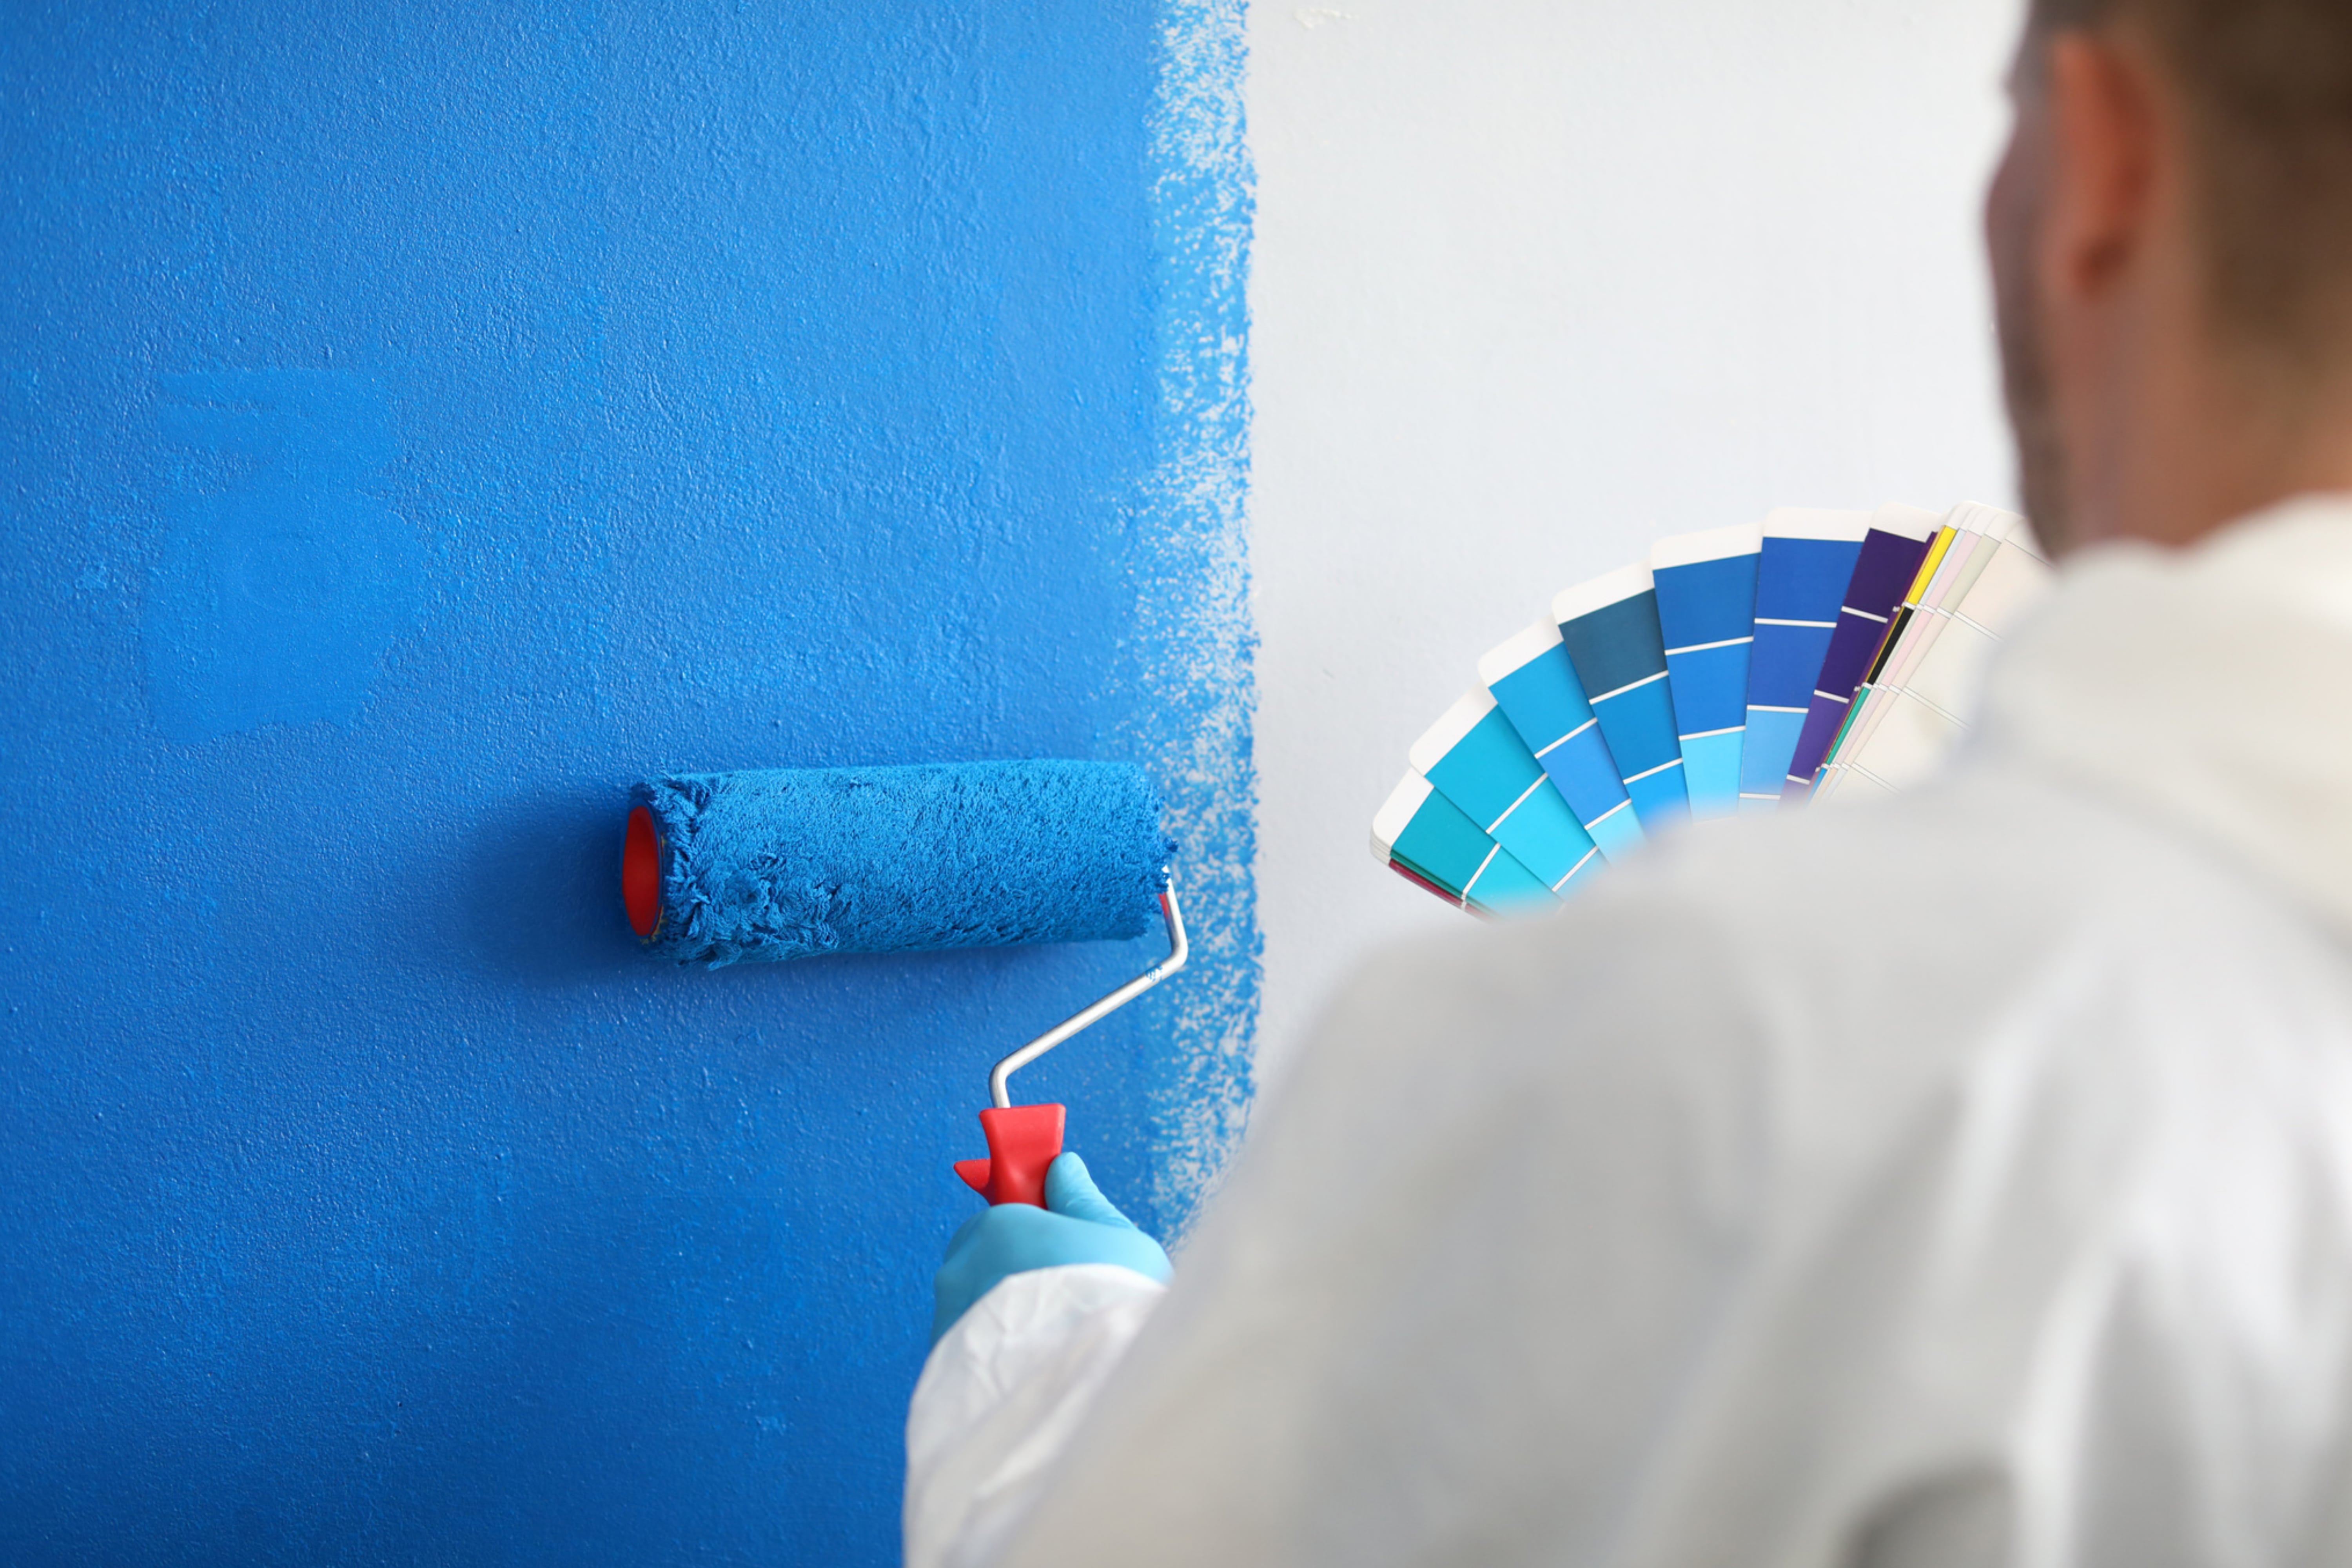
Choosing The Perfect Paint
The color you choose can make or break your project. From type and color to finish, every choice matters. Consider these factors:
- Understand The Type Of Paint. Water-based paints are user-friendly and typically have lower Volatile Organic Compounds (VOCs) levels. VOCs are chemicals that can release gases, some of which may be harmful. They’re found in many household products, including some paints. On the other hand, oil-based choices offer a durable finish but may have higher VOC levels, affecting indoor air quality. Always check the VOC level before purchasing paint.
- Harmonize Your Colors. The color palette you choose sets the mood of your room. Brighter, lighter shades have the ability to visually expand a space and infuse it with a sense of openness, while deeper, darker hues can add a touch of warmth and coziness, lending a room an intimate ambiance. Consider the existing elements in the room like furniture and décor. Are there specific colors in these items that you want to emphasize or complement? A color wheel can be a handy tool for finding harmonious color combinations.
- Consider The Finish. The finish, from flat to gloss, impacts the final look and durability of your paint job. Think about the room’s purpose and the level of durability you need. High-traffic areas might benefit from a more durable, easy-to-clean finish.
- Keep Room’s Purpose In Mind. Think about the room’s use. High-traffic areas might benefit from a more durable finish.
- Factor In Lighting. The amount of natural light a room receives can significantly affect how a color appears. Colors can look different under morning light, afternoon light, and artificial light, so keep this in mind.
- Always Test Sample. Cover a small section of the wall to see how the color looks in different lighting conditions.
With the perfect shade picked out, it’s time to explore the artful technique of painting.
welcomia via vistacreate
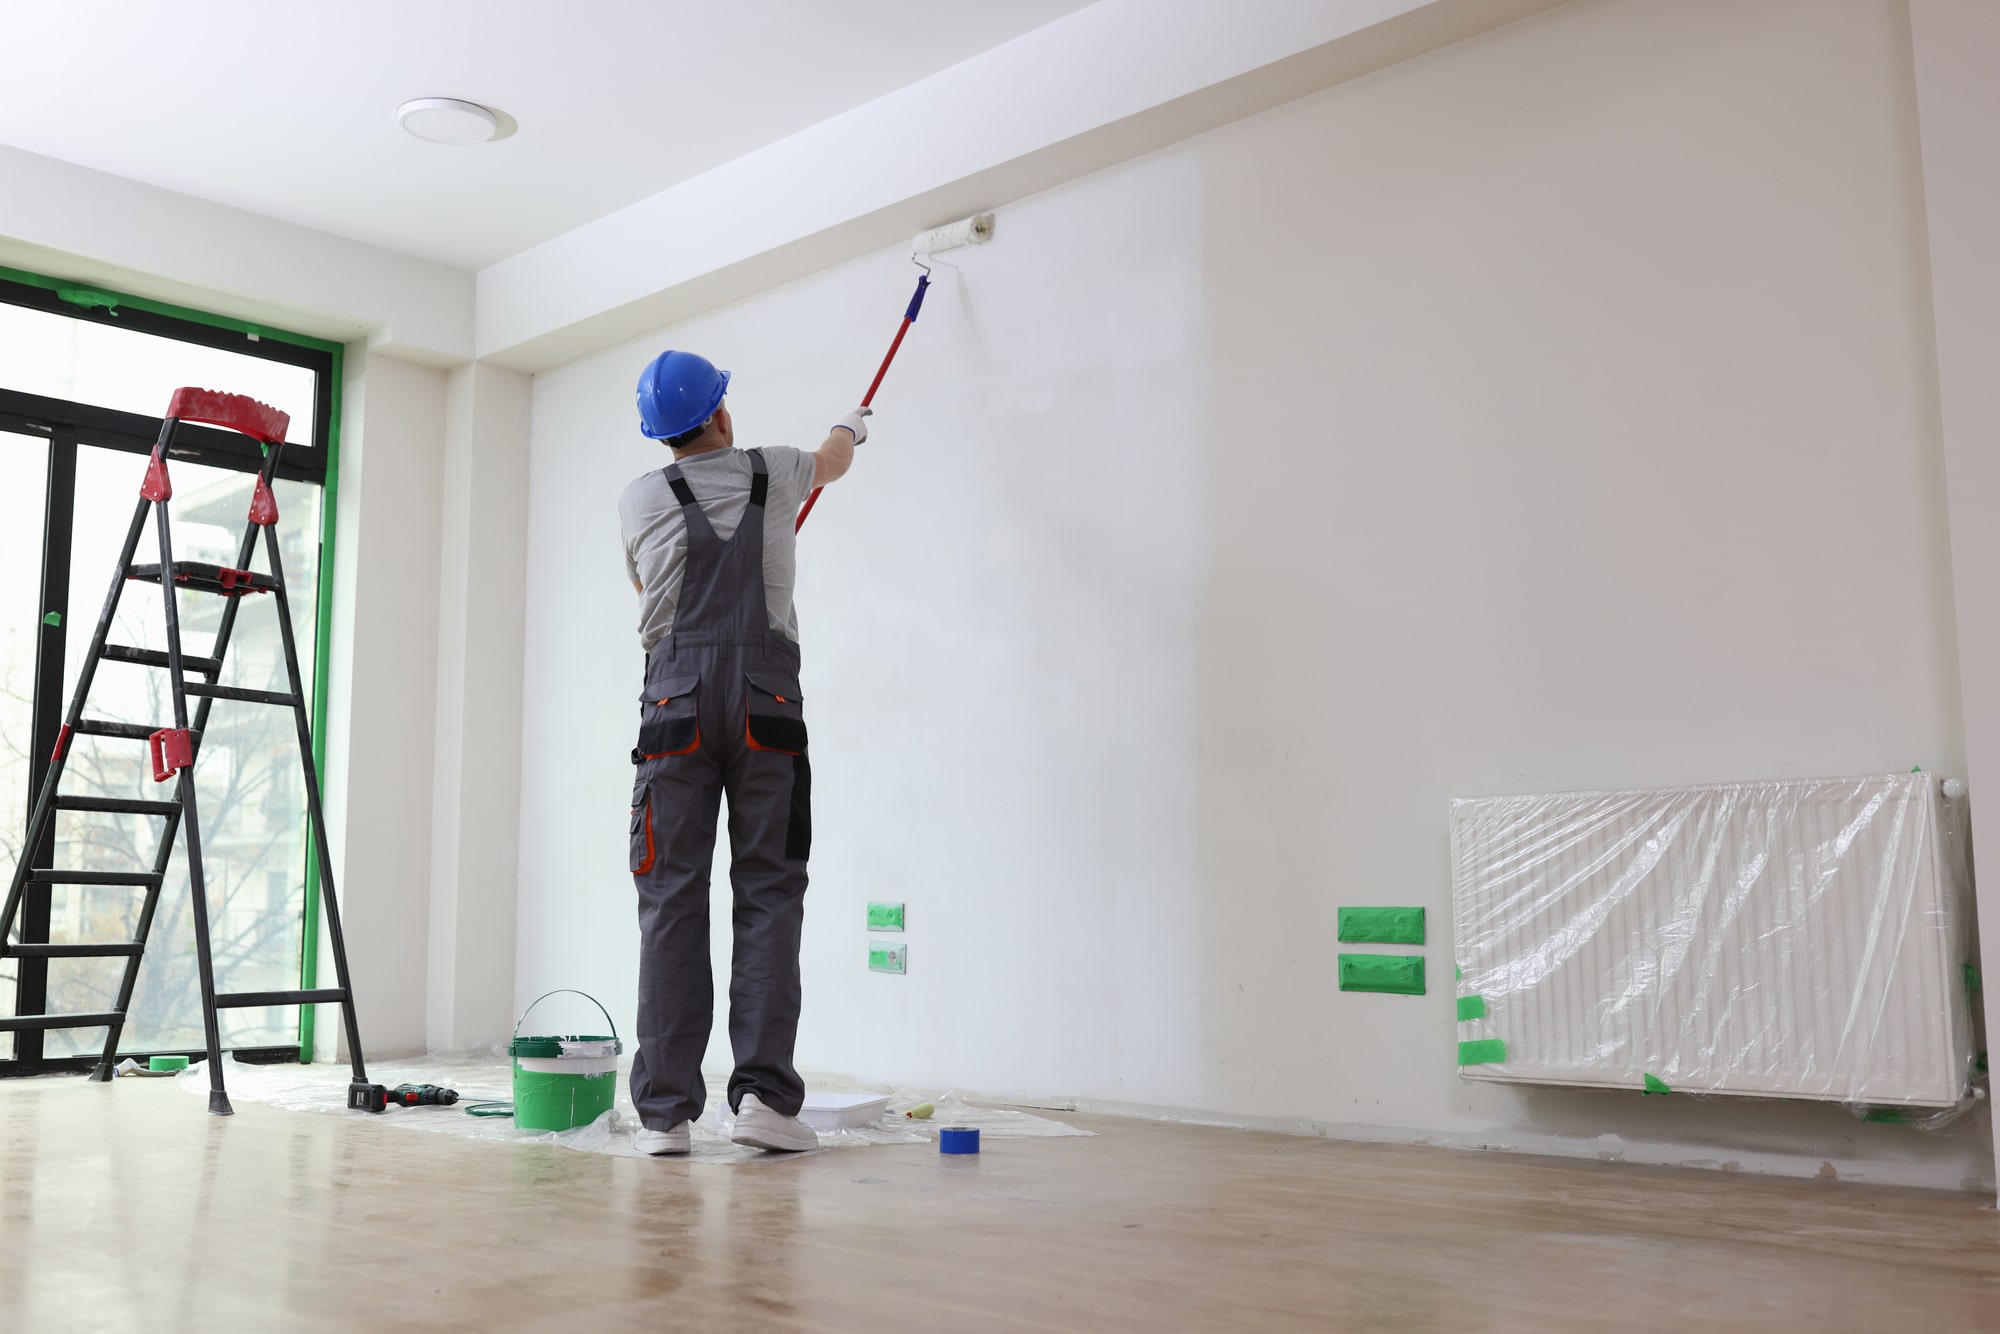
The Art Of Painting
Knowing how to apply paint correctly can be the difference between an amateur and a professional result. Practice these key techniques:
- Master Cutting In. Begin by covering the edges using a brush, then move to a roller for larger areas.
- Learn The Roller Technique. Roll in a ‘W’ or ‘M’ pattern to distribute it evenly.
- Maintain A Wet Edge. This prevents visible lines from overlapping strokes.
- Follow the Two Coat System. Applying two coats offers better color depth and coverage.
- Be Patient. Let the brush do the work for even finish and to avoid drips.
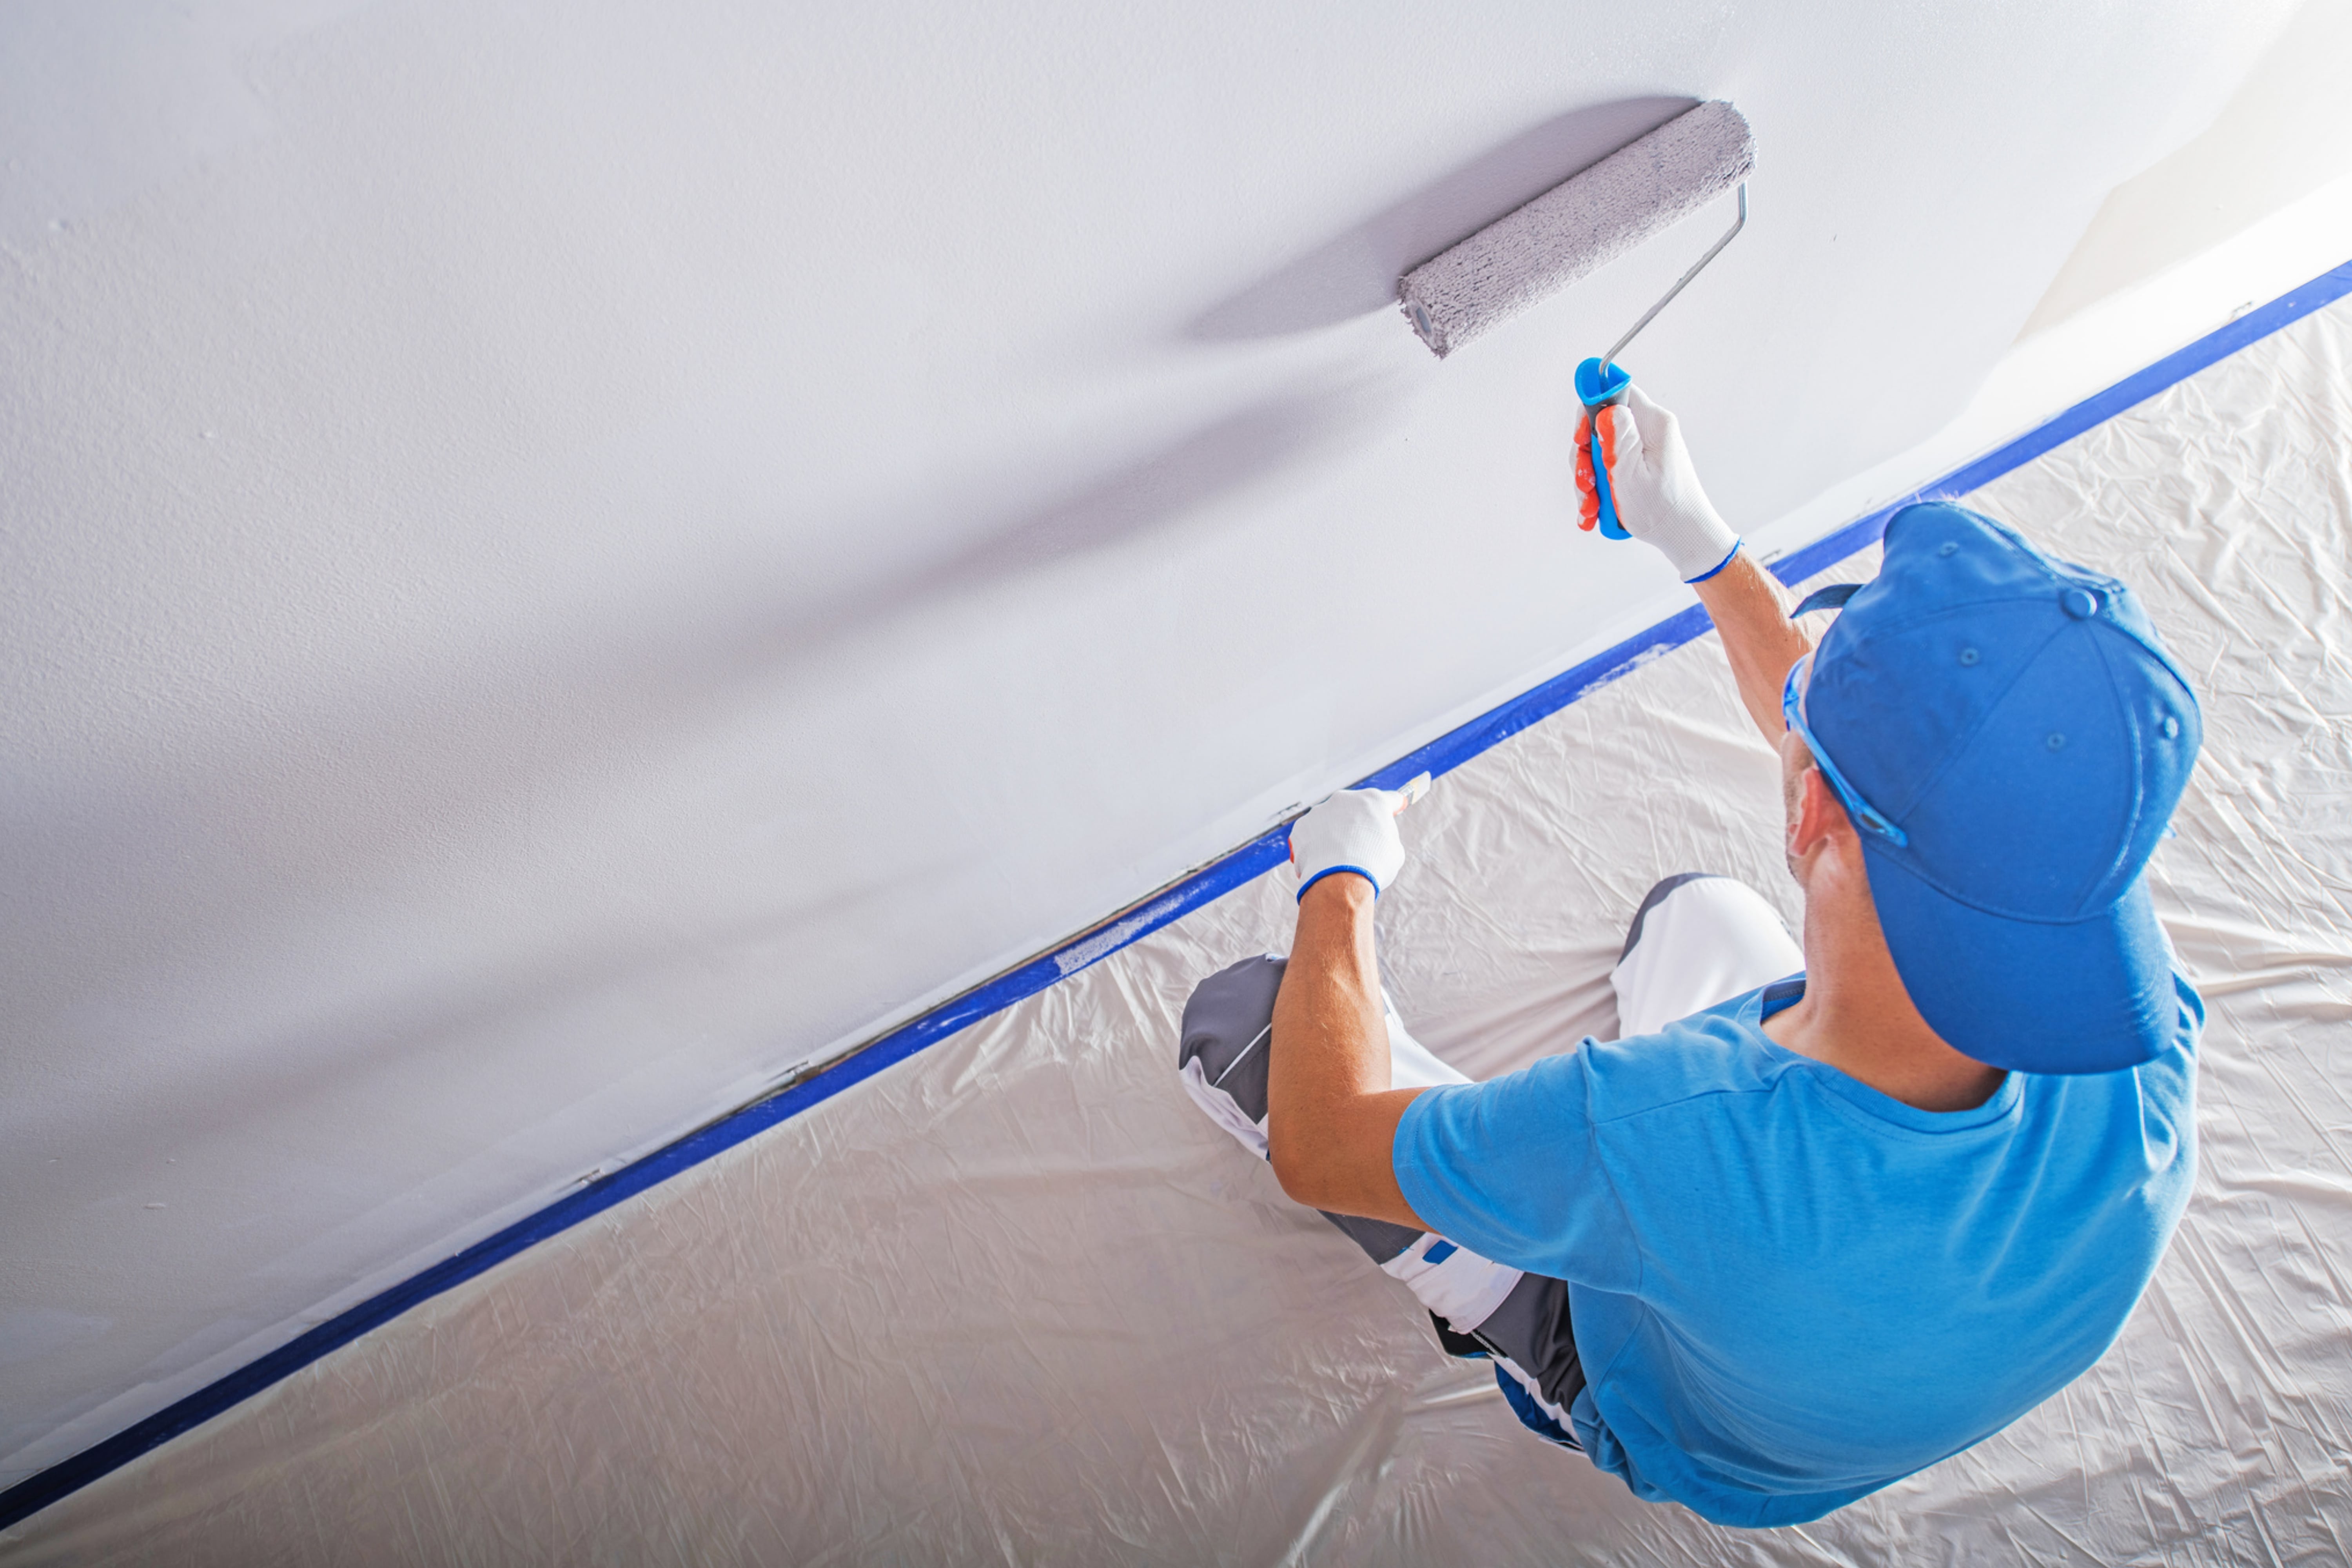
- Follow The Order Of Painting. Start from the ceiling, then walls, and lastly the trim for the best results.
Armed with these techniques, you’re all set for a successful painting session. But what happens after the paint dries?
welcomia via vistacreate
Post-Painting Care: Seal The Deal
After completing the job, shift your efforts to cleanup and maintenance. Keep these points in mind:
- Clean Tools Immediately. Wash brushes and rollers promptly after use to extend their lifespan.
- Allow Adequate Time To Fully Dry. Resist touching your new walls until the color is fully cured.
- Dispose Of Materials Correctly. Ensure any leftover paint and materials are disposed of properly.
- Keep Up Routine Cleaning. This keeps your walls looking vibrant and extends the life of your paint job.
- Do Regular Inspections. Regularly inspect the surfaces for signs of wear or damage, addressing any issues promptly.
- Be Prepared For Touch-Ups. Hold on to a portion of your remaining paint, as it might come in handy for any minor repairs or touch-ups in the future.
With post-care in check, we move to the final thoughts on your painting project.

IgorVetushko via vistacreate
Ready, Set, Paint!
Now, you’re primed to kick-start your interior color makeover. Armed with essential knowledge about tools, prep work, techniques, and maintenance, you can confidently transform your space. Remember, interior painting isn’t just a task—it’s an opportunity to express your creativity and reimagine your living space. Happy painting!