How to Fix Paint Chips On Walls?
What to do if you see paint chipping on your interior walls?
If your interior walls are painted instead of having wallpapers on them, you may notice one day that the paint is chipping here and there. Of course, if it happens somewhere in a closet where nobody can see that, it is not a big deal.
But what if paint chips are perfectly seen on your living room walls?!
In this case, you might want to figure out how to fix paint chips on the wall in the apartment of course.
But this is when many homeowners realize that they have no idea of how to do this correctly without causing even more damage to the surface.
From this article, you will learn all you need to know about fixing paint chips on walls.
We will tell you what tools are needed for this procedure, how to get ready, and of course, how you should fix chipping paint should it appear on your walls.
Finally, you are going to find out why chipping may occur. It will allow you to avoid this issue if you don’t have it yet.
How to Fix Chipped Paint On a Wall?
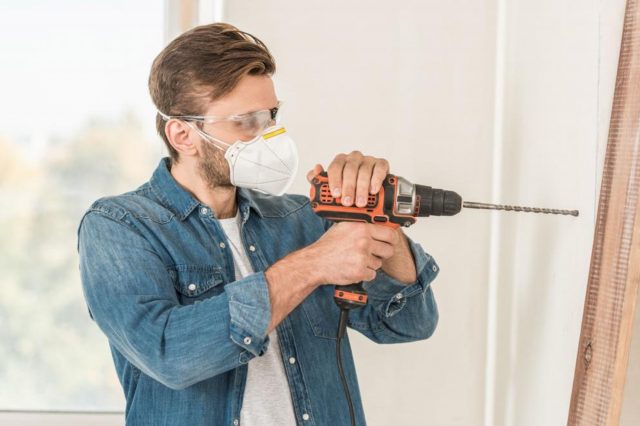
We are sure that most of you have had at least one home painting project (or any similar project) before! And if you have, then you know perfectly well that before you start, you need to get ready first.
For a wall paint chip repair, you will want to start by figuring out how to prepare the area for fixing and further painting.
Since it can be quite a dirty job, knowing how to get ready properly will protect your home from dirt and dust, and make the following cleanup easier.
The general scheme of fixing chipped paint on your walls willl look like this:
- Scrape off any loose paint
- Sand any rough or raised edges flat and dust
- Apply a lightweight spackle with an appropriate size drywall taping knife
- Once the spackle is dry and no additional coats are needed, sand flat and dust
- Apply one coat of the appropriate primer and paint
You may want to use two coats of speckle if you need to for deep repairs, but don’t try to completely fill the repair on the first try!
Wait for the first coat to dry and see if you need another coat. Loose paint and anything left from sanding need cleaning before you move on. Either of these can get between the paint and the wall.
This means your paint won’t last as long and you will be painting again sooner.
For fixing chipped paint on your wall, the following materials will be needed. With their help, you will be able to easily complete your wall repair project:
- Paint
- Primer
- Paintbrush
- Drywall compound (spackle)
- Putty knife
- Paint scraper
- Wire brush
- Fine-grit sandpaper
Don’t worry, you will have no trouble with buying them all! All of the items listed above can be found at your local hardware store, as they are commonly used in many different projects. And some of you may even have most of these items in your home already.
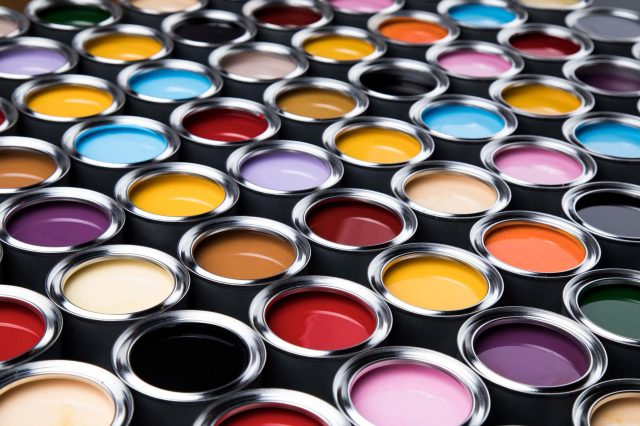
There is only one thing that you should note in advance: make sure that your paint is the same color and medium as what is already on your walls! Otherwise, you will end up with walls that look like patchwork.
For instance, if you have beige acrylic paint applied to your wall, you can’t use eggshell white alkyd paint to cover up.
Now that you know what materials you will need and what nuances you should consider before you begin, here is a step-by-step guide on how to fix chipped paint on walls.
Gap via VistaCreate
Table of Contents
Secure Your Painting Area
Before you start fixing paint chips on walls, you will want to make sure that the surrounding areas are protected from paint and spackle. It will depend on the size of the area you are painting.
To secure your area, we suggest you use painters tape. It will help you cover any crown molding, light switches, or outlets near your painting parameters.
Also, lay down old newspapers or any material that you don’t mind getting accidentally painted in order to protect your floors.
For example, it could be old cloths or even your old clothes (like a torn t-shirt) that you won’t use anymore.
Once you have your area properly secured and covered, and all of your materials collected, you can start working on your wall with chipping paint.
KostyaKlimenko via VistaCreate
Remove Paint Chips
Start with getting rid of the paintchips first of all. Grab your paint scraper and gently remove any peeling paint or paint chips from the wall or walls (if you have several of them damaged this way).
Make sure not to dig too deep into the drywall while doing this! It is essential that you do your best to avoid creating more texture on the wall than necessary. That’s because at the end of this process you want your wall to look as if no extra work has been done to it.
However, if you do end up leaving accidental scratches on the wall, don’t worry. It is nothing some spackle can’t fix! Next, after you have scraped the larger pieces of chipped paint away from your wall, you can proceed with a wire brush.
A wire brush will help you remove the finer paint flakes from the wall. You will know you are done with this step when there is no more chipped paint on the wall that could create unwanted texture. Once you achieve this effect, you can proceed with speckling.
Apply Spackle
Your next step is to cover the area you are repairing with a thin layer of compound. In this case, this can be spackle or something similar. In order to apply the compound to your wall evenly, use a putty knife.
This tool will be the best option since it will ensure that your layer of spackle is leveled with the angle of the wall.
When spackling, note that it should not take much spackle to cover your area. You are just repairing chipped paint, you are not fixing a hole in the wall! Once your spackle is completely dry, you can move on to the next step.
JaCrispy via VistaCreate
Sand The Area
Sanding is the second-to-last step and it is very simple, so even if you haven’t done it before, there is no need to worry.
The only tool you need for it is your fine-grit sandpaper. Simply make use of the sandpaper using gentle pressure in circular motions. Keep on working like this over the repaired area of your wall.
You will need to file down the texture of your dried spackle until it matches the rest of the wall. This step is needed because it allows you to make the texture of the wall blend in.
As a result, if you were to touch your wall after a thorougly done sanding, it would not be a raised bump or have inconsistencies in comparison to the rest of the wall.
Prime and Paint
Now that your wall is free from paint chips and it is sanded, it is now ready for paint! Before you can add a coat of paint to your repaired wall, you may want to apply primer first. Why? Well, priming does have a few benefits!
Adding primer before a layer of paint will help the fresh coat of paint adhere to the wall better.
As a result, the coat of paint you apply will be even and smooth when it’s dry.
However, priming is still optional and it is more suitable for the large areas (for example, if you are going to paint the entire wall).
If you are working with just a small area, you may skip this step. With your paintbrush in hand, apply the color evenly until you have reached a desired amount of coating. Once this layer is dry, your repair project is complete!
Well, this is it! Now you have a complete and detailed guide on how to prepare your walls for removihhng paint cips and how to make the surface of the wall look like new again afterward.
Make sure you follow all the tips we gave you precisely, and you will be able to enjoy your smooth and refreshed walls with no chipping paint on them
Tetiana Chernikova via VistaCreate
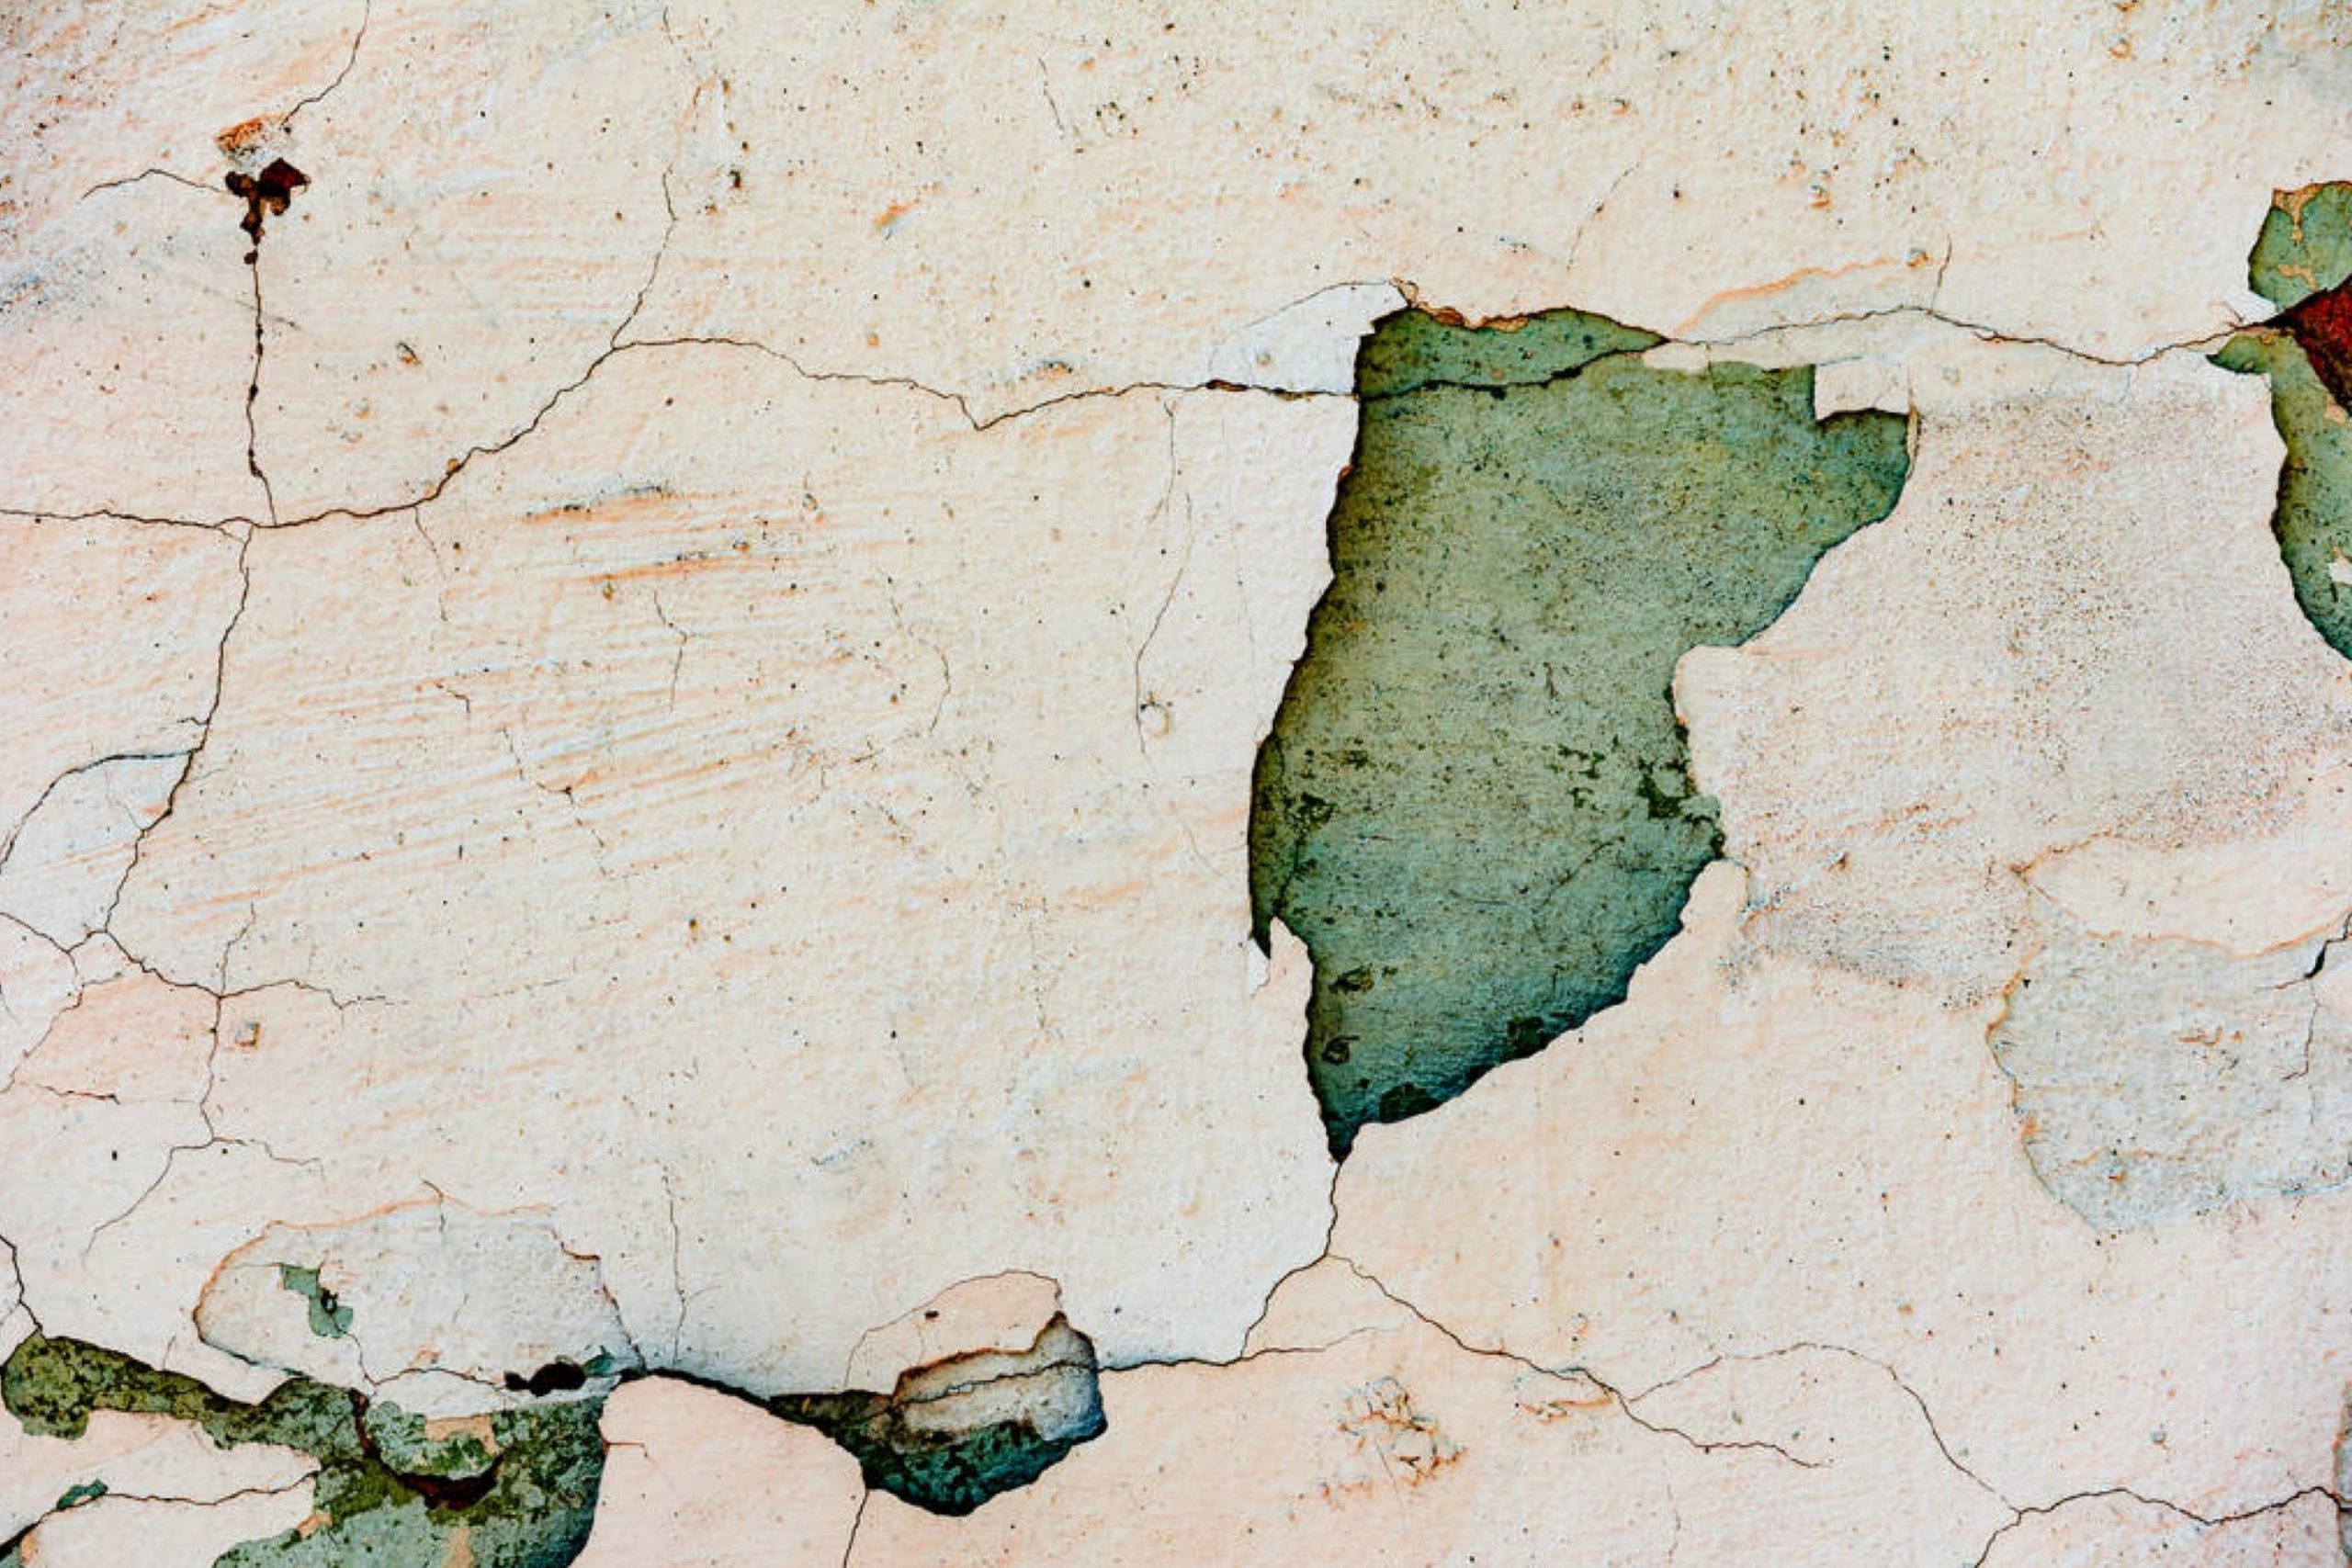
Why Does Paint Chip?
Even though you are now aware of what to do if you notice chippingg painton your iterior walls, we find it necessary to let you know why paint actually chips.
Like this, you will be able to take the necessary precautions and measures and prevet this problem long before it may start developing. As a result, you will not have to waste your time on removing the paint chips, sanding, and repainting the wall.
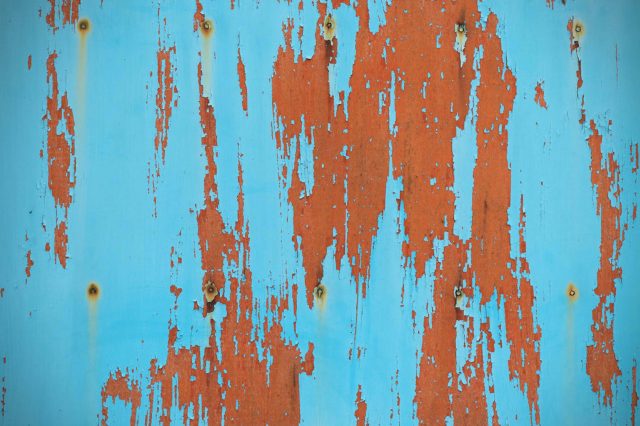
Of course, the most common, as well as the most obvious reason why yyour wall paint may start chipping is time.
The top layer of paint on any wall will sooner or later start developing chipped areas simply because paint dries up and becomes more fragile and prone to crumbling.
However, apart from this obvious factor, here are two things you must look out for.
Using The Wrong Paint
If you have decided that you want to do this project on your own, then knowing what types of paints you have in your home is an absolute must. Before you head out to buy a can of paint, we recommend you ask your landlord what kind of paint was used in your home.
Why would you need that?
See, wall paints can be of two types:
- oil-based
- latex-based
Oil-based paints were generally used in older homes and they are the favorite ones because of their durability.
When applied to the wall and dry, this type of paint mostly has a shiny finish. You will find these paints used in bathrooms and kitchens most commonly.
We are telling all this to you because you should keep in mind that latex paint and oil paints don’t mix!
If your walls are initially painted with oil-based paints, and after fixing the chips, you apply a coat of latex paint over oil, it is doomed to crack!
aspsvz via VistaCreate
Having Extra Moisture
Paint may also start chipping if there is too much moisture in the air. Check if you have any water pipes going through the wall or the outer part of your wall is often exposed to rainwater. The frequent chipping on your walls may be due to this.
Moreover, bathroom walls also tend to chip faster because of excessive humidity.
Luckily, this problem can be fixed by adding a ventilation fan and fixing any pipe leakages. In addition, to get even better effect, you can use special protective paints on the exterior of your home walls. Such paints will increase the lifespan of your painted walls.
Like this, now you know more about chipping paint on your interior walls.
You know why this issue may develop and what can be done in order to cope with the problem. Also, you havve learned how you can fix paint chips should you spot any on your interior walls. We have also listed all the tools that you might need for this procedure.
As you know now, fixing chipped paint is relatively simple. You just need to make sure that you get the surface of the damaged wall ready for the upcoming fixture properly.
And of course, note that you should have the same type of paint both on your walls and in the cans bought in a hardware store! In this case, both old annnd new paint will adhere well and you will nothae to deal with the poorly painted surface afterward.
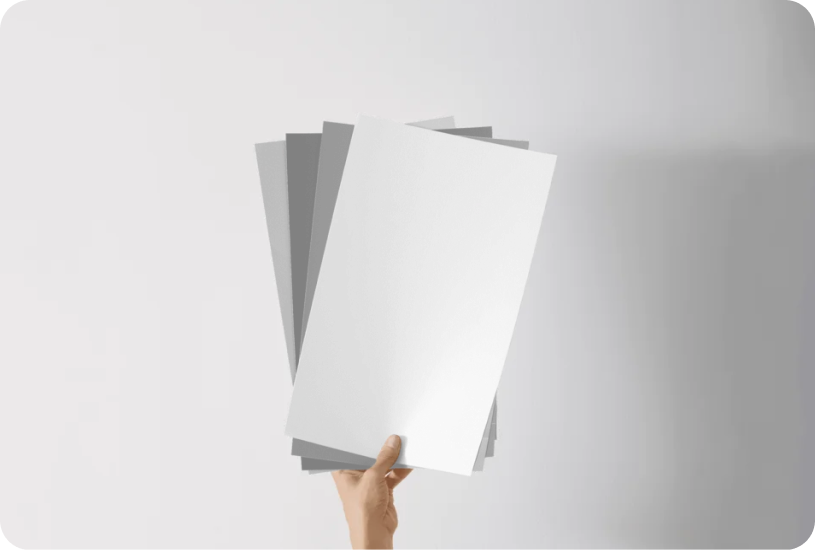
Ever wished paint sampling was as easy as sticking a sticker? Guess what? Now it is! Discover Samplize's unique Peel & Stick samples. Get started now and say goodbye to the old messy way!
Get paint samples


Frequently Asked Questions
⭐Is there a way to quickly fix chipped paint?
No, not actually. You’ll still have to remove the chips, then sand and repaint the surface.
⭐Can new paint start chipping?
It’s very unlikely, unless you didn’t pepare the wall for being painted properly.
⭐When is it ok to paint over chipped paint?
When chipping paint is found in a small area, you may simply brush it off and then prime the wall and paint over it.
4 thoughts on “How to Fix Paint Chips On Walls?”
Leave a Reply


I need to scrape quite a lot of old peeling paint but I’m not sure what to use for that. Does anyone know what tool is the best for this kind of work?
Hi! For me, 3-inch flat heavy-duty scraper is the best. With its handle, this scraper gives you a firm grip as you push into the paint. This tool is flat and is shaped like a large putty knife. But if you want to, you can aso use a 2.5-inch two-edge paint scraper. It’s shaped like a large facial razor and has a thin handle and a wide head.
I need to repaint my walls but they have a coat of old paint on them. Do I need to scrape all old paint off before painting?
A universal answer is no, this is not necessary. You only need to remove all the paint that has failed. Most of the time, it’s just some problem areas like areas of chipping or peeling paint, where paint has been compromised, that must be removed.