DIY Wood Furniture Refinishing: What You Need to Know?
Detailed Guide With All Examples
DIY project is a fascinating craft whenever you want to save money. Redoing old wooden furniture eliminates the need to buy new furniture. Give a piece of wooden furniture a new life by following simple steps like stripping, sanding, and staining.
DIY wood furniture refinishing requires proper tools and time to achieve good handwork.
Before bringing the grain out and eliciting a beautiful luster finish, below is a comprehensive step-by-step guide to aid in refinishing your wooden furniture.
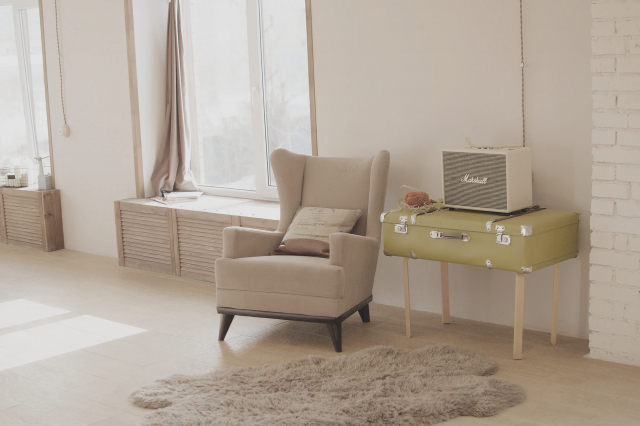
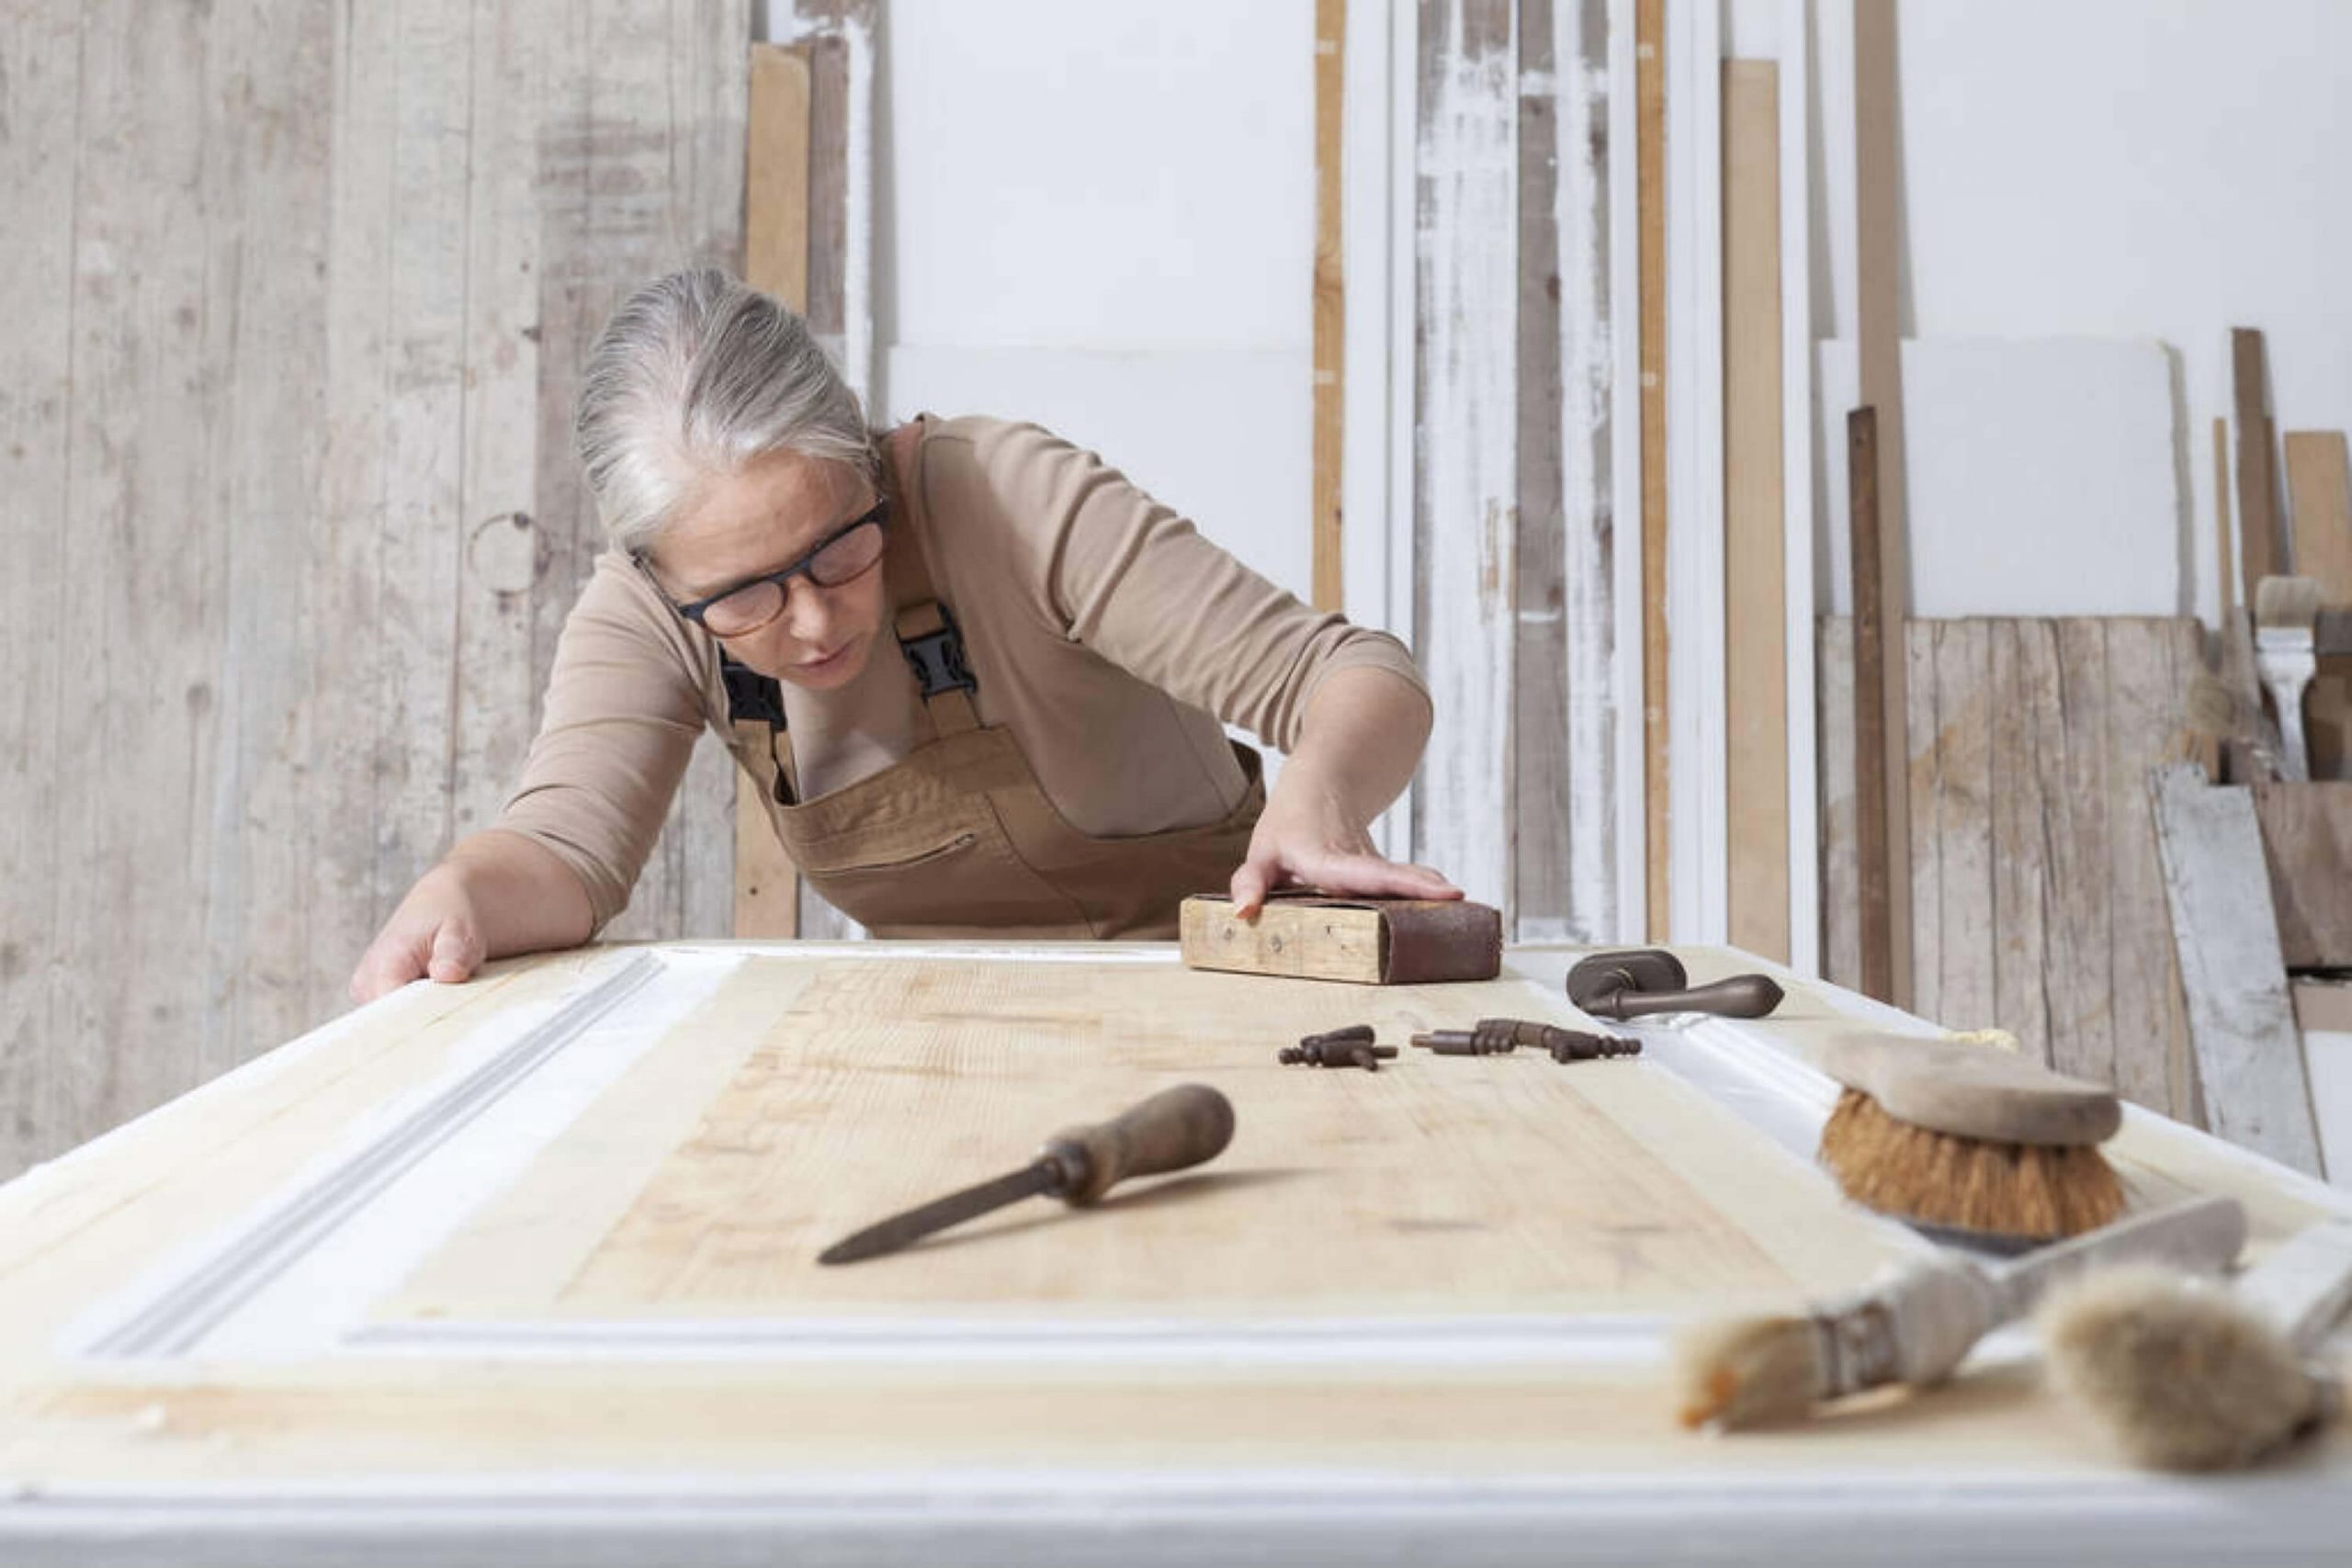
Process of Refinishing Wood
Table of Contents
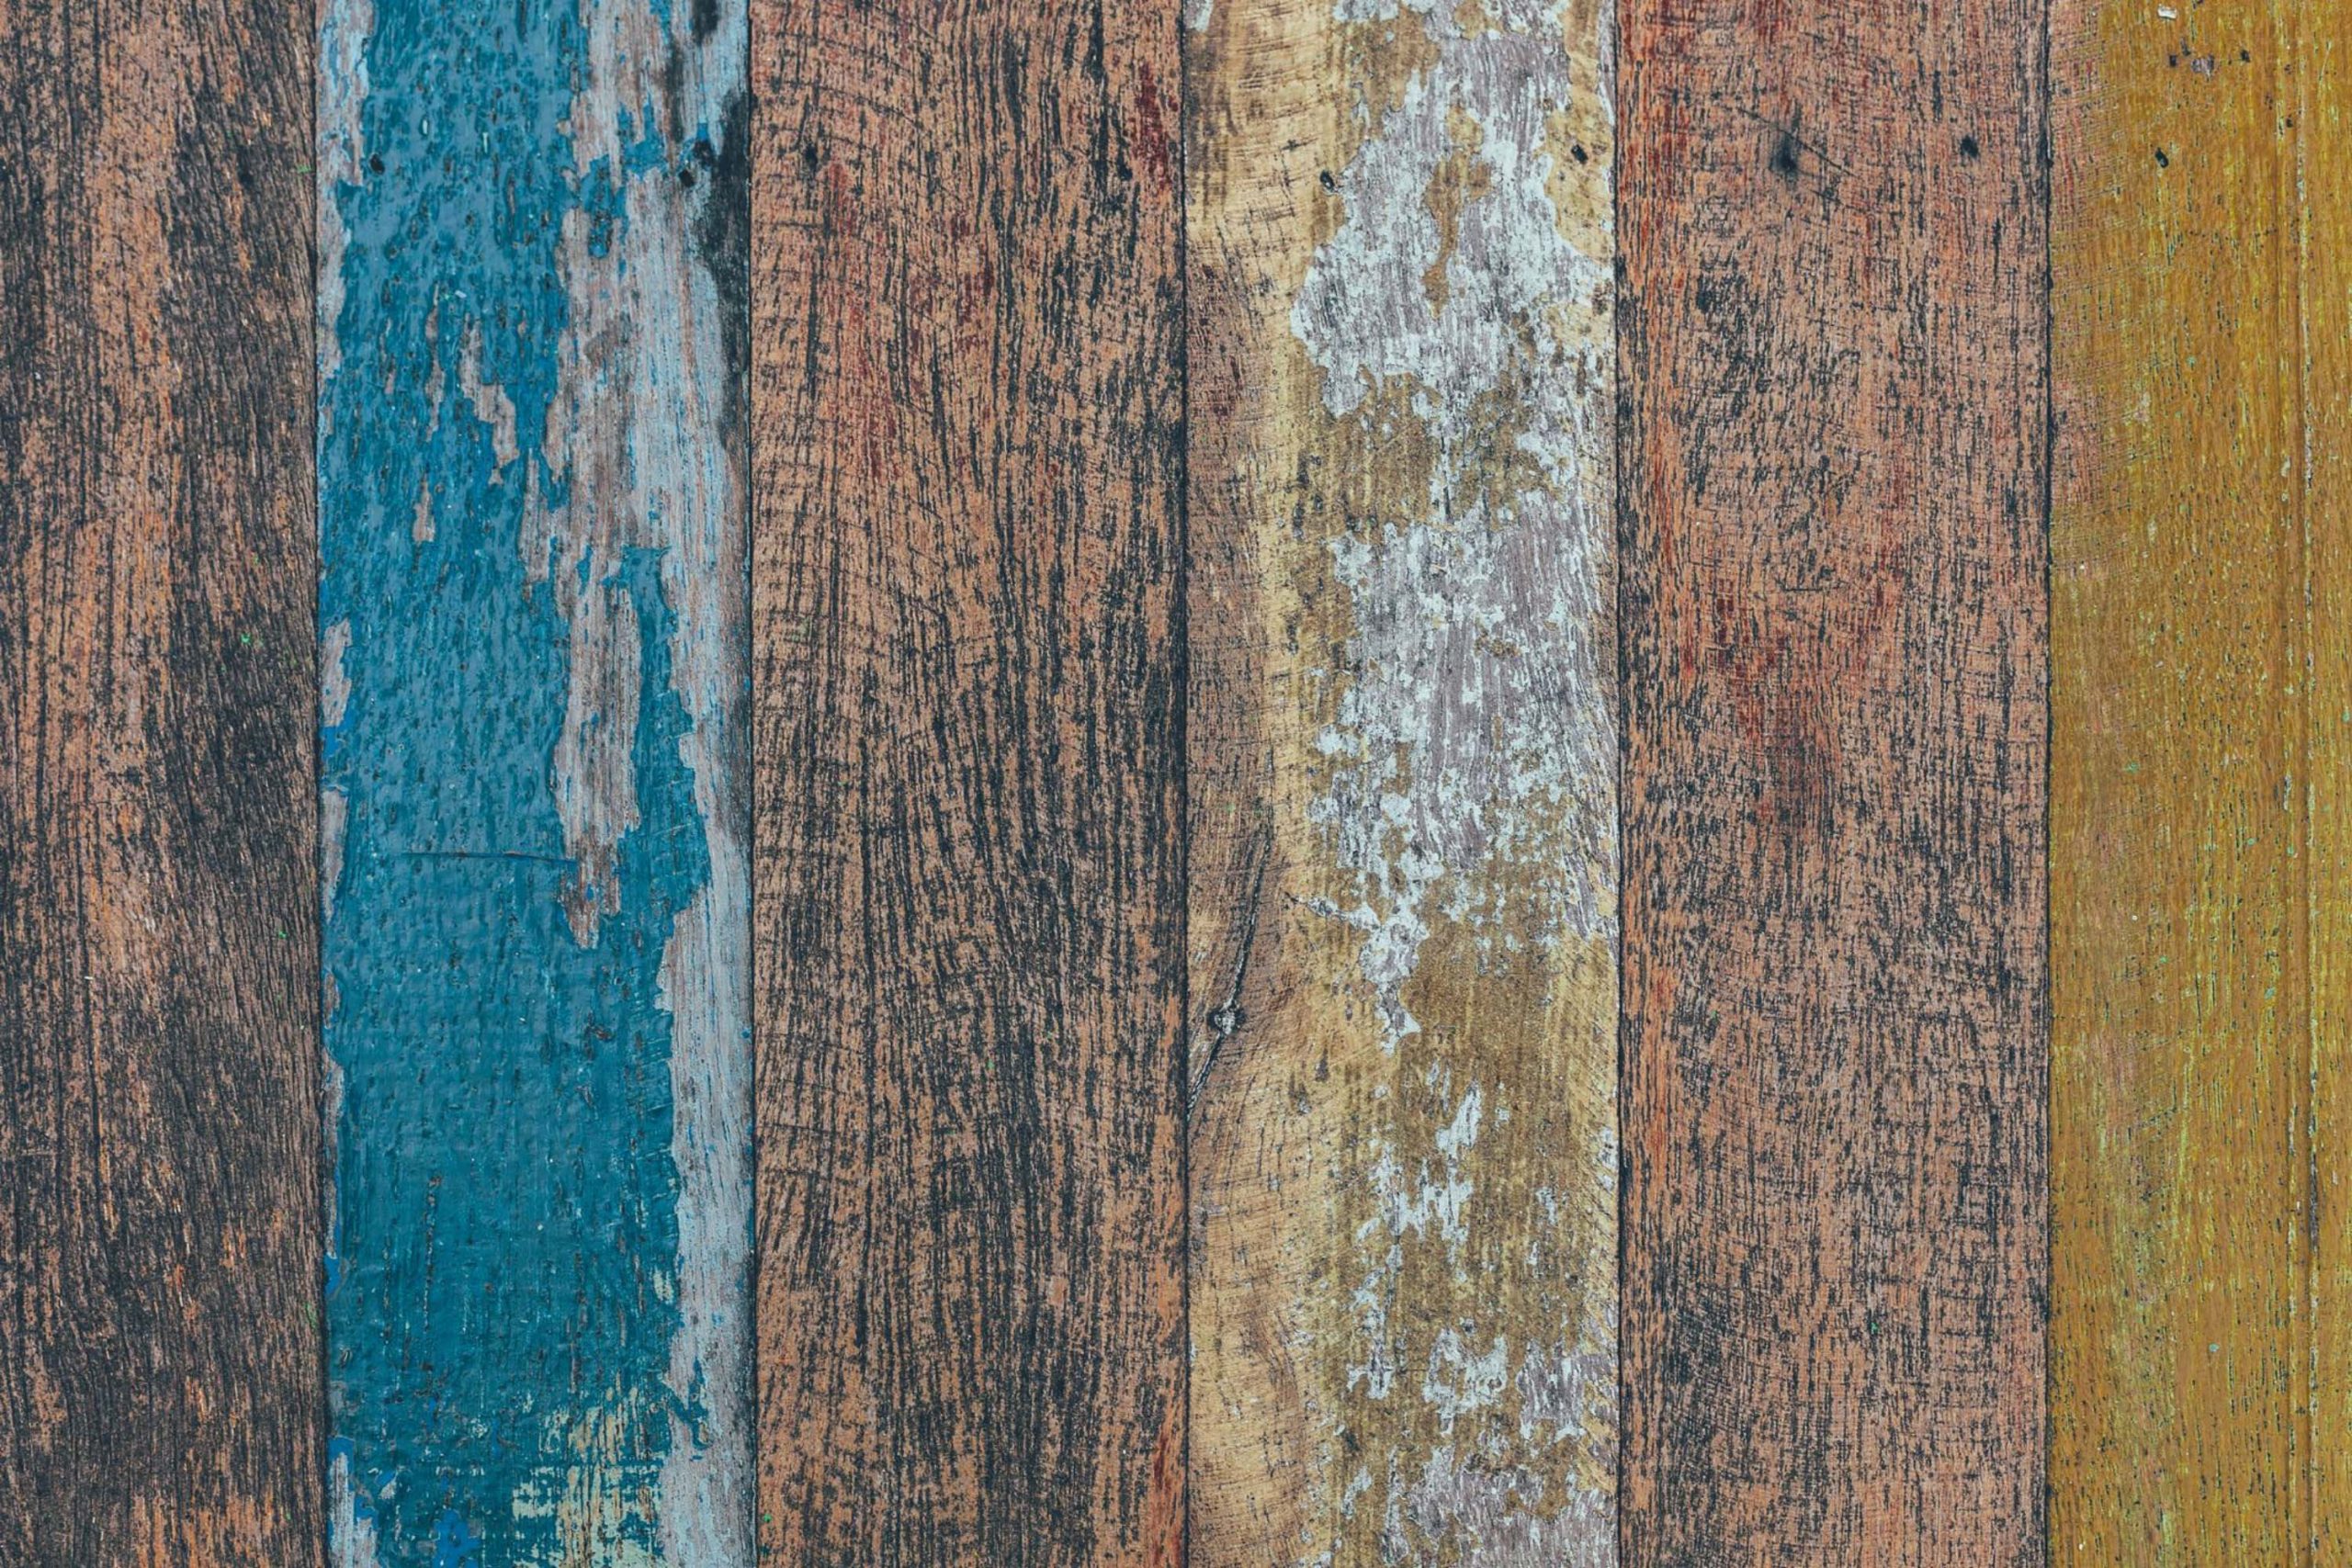
Before beginning the restoration process, here are signs that indicate your wood furniture requires refinishing work;
- Presence of noticeable rings and watermarks under the existing finish
- Sticky surface
- Worn-out patches and blemishes
- The crackdown on the existing finish
ViktoriiaDyachenko via crello
Clean the furniture and assess the current state
Wipe down dusty or dirty furniture with a sponge, dish soap, and warm water. Give the piece a good and thoroughly clean. Scrub down gently with a soaped-up sponge till the surface is clean.
In a clean bucket, pour cool rinse water and use another sponge/ towel to wipe off the moisture.
Let the wooden furniture dry thoroughly. Assess the furniture’s current state to determine the need for repairs.

Y-Boychenko via crello
Remove the old finish
Prior to starting any repairs or touch-ups on furniture refinishing, apply a stripping agent to help decide on the subsequent resolution. Stripping furniture is a relatively messy and time-consuming step.
Remove the old finish by using chemical stripping and sanding.
Apply chemical strippers
Also termed finish strippers, chemical strippers are effective in removing old varnish and paint from antiques and wooden furniture. Some of the materials and tools required for stripping include;
- Rubber gloves
- Dust mask
- Eye protection
- Scraper tool/ Putty knife
- Steel wool
- Chemical wood stain/ finish stripper
Carry out the stripping process in a well-ventilated space because chemical strippers can be harmful when inhaled. Liquid paint strippers run; thus, they can only be used on horizontal surfaces.
- Aerosol spray paint strippers are ideal for small projects because they are easy to control and won’t spill.
- Spray the stripper paint evenly over the wooden surface.
- After 5 to 10 minutes, the old finish will lift off the wood.
- Remove as much old paint and varnish as possible using a scraper tool or a putty knife.
- Use a disposable shop cloth to wipe the blade of your device between the scrapes.
- Apply a thick coat of the stripper and scrape more than once to remove most of the old finish.
- Follow up the removal of stricter spots by use of steel wool.
- Let the wood dry and wipe with mineral spirits.
Mineral spirits temporarily saturate the finish to indicate how the surface will look with just a coat of wipe-on clear finish. Use a clean cloth to remove any residue stripper and allow the wood surface to dry fully.
Sanding
Sanding is a crucial step as it aids in removing decades of dirt and grime. Sanding releases bits of dust and debris into the air; hence you might require supplies such as;
- Rubber gloves
- Dust mask
- Eye protection
- Palm sander
- Sandpaper/ sanding block
Sand the wooden furniture in the same direction as the grain. Remove the last bits of old finish using a palm sander (80-150 grit). Repeat the process until you see bare wood. Switch to fine sandpaper (150-200 grit) for a uniform wood surface.
Use a sanding block to reach awkward areas that are impossible to get with the sander. Use a tack cloth to wipe down and remove any sanding residue on the wooden surface.
Sanders for furniture are advantageous in smoothening woodwork surfaces and efficiently removing layers of old finish.
If knowing all the tips/ useful info we’ve provided you with, you’re still puzzled about what to look for when shopping, here you can find sanders for furniture.
amedeoemaja via crello
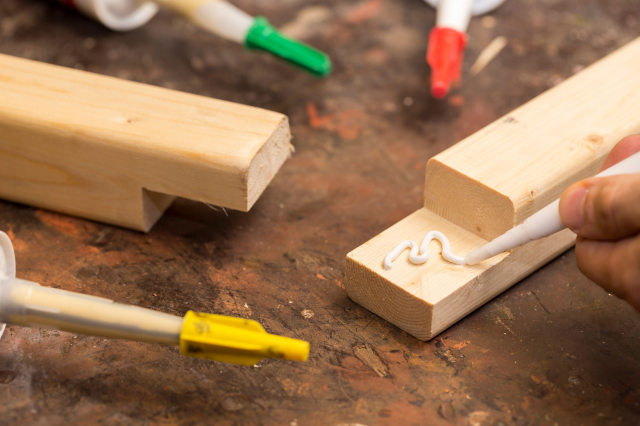
Fill the grain
The step largely depends on the type of grain in your furniture. Unlike woods with tight grain, wooden furniture encompassing open grain like mahogany requires filler application. Supplies needed for the process include;
- Wood filler
- Stiff paintbrush
- Putty knife
Select filler pigment that contrasts wood color. Apply epoxy putty to fix missing veneer, chipped wood, or damaged molding. Apply the filler using a stiff paintbrush. Use a plastic scraper to remove excess filler.
Let the filler dry completely, and then sand the furniture grain. Wood grain filler facilitates the production of a glass-smooth, pore-free finish on your wood furniture.
AntonMatyukha via crello
Apply a sanding sealant
As much as the step is optional, the application of sanding sealer aids the wood in absorbing the stain more evenly. Apply a thick coat of sanding sealer and let it soak into the wood. Use a clean rag to wipe off any excess sealer. Let the sealer dry, then sand the surface lightly.
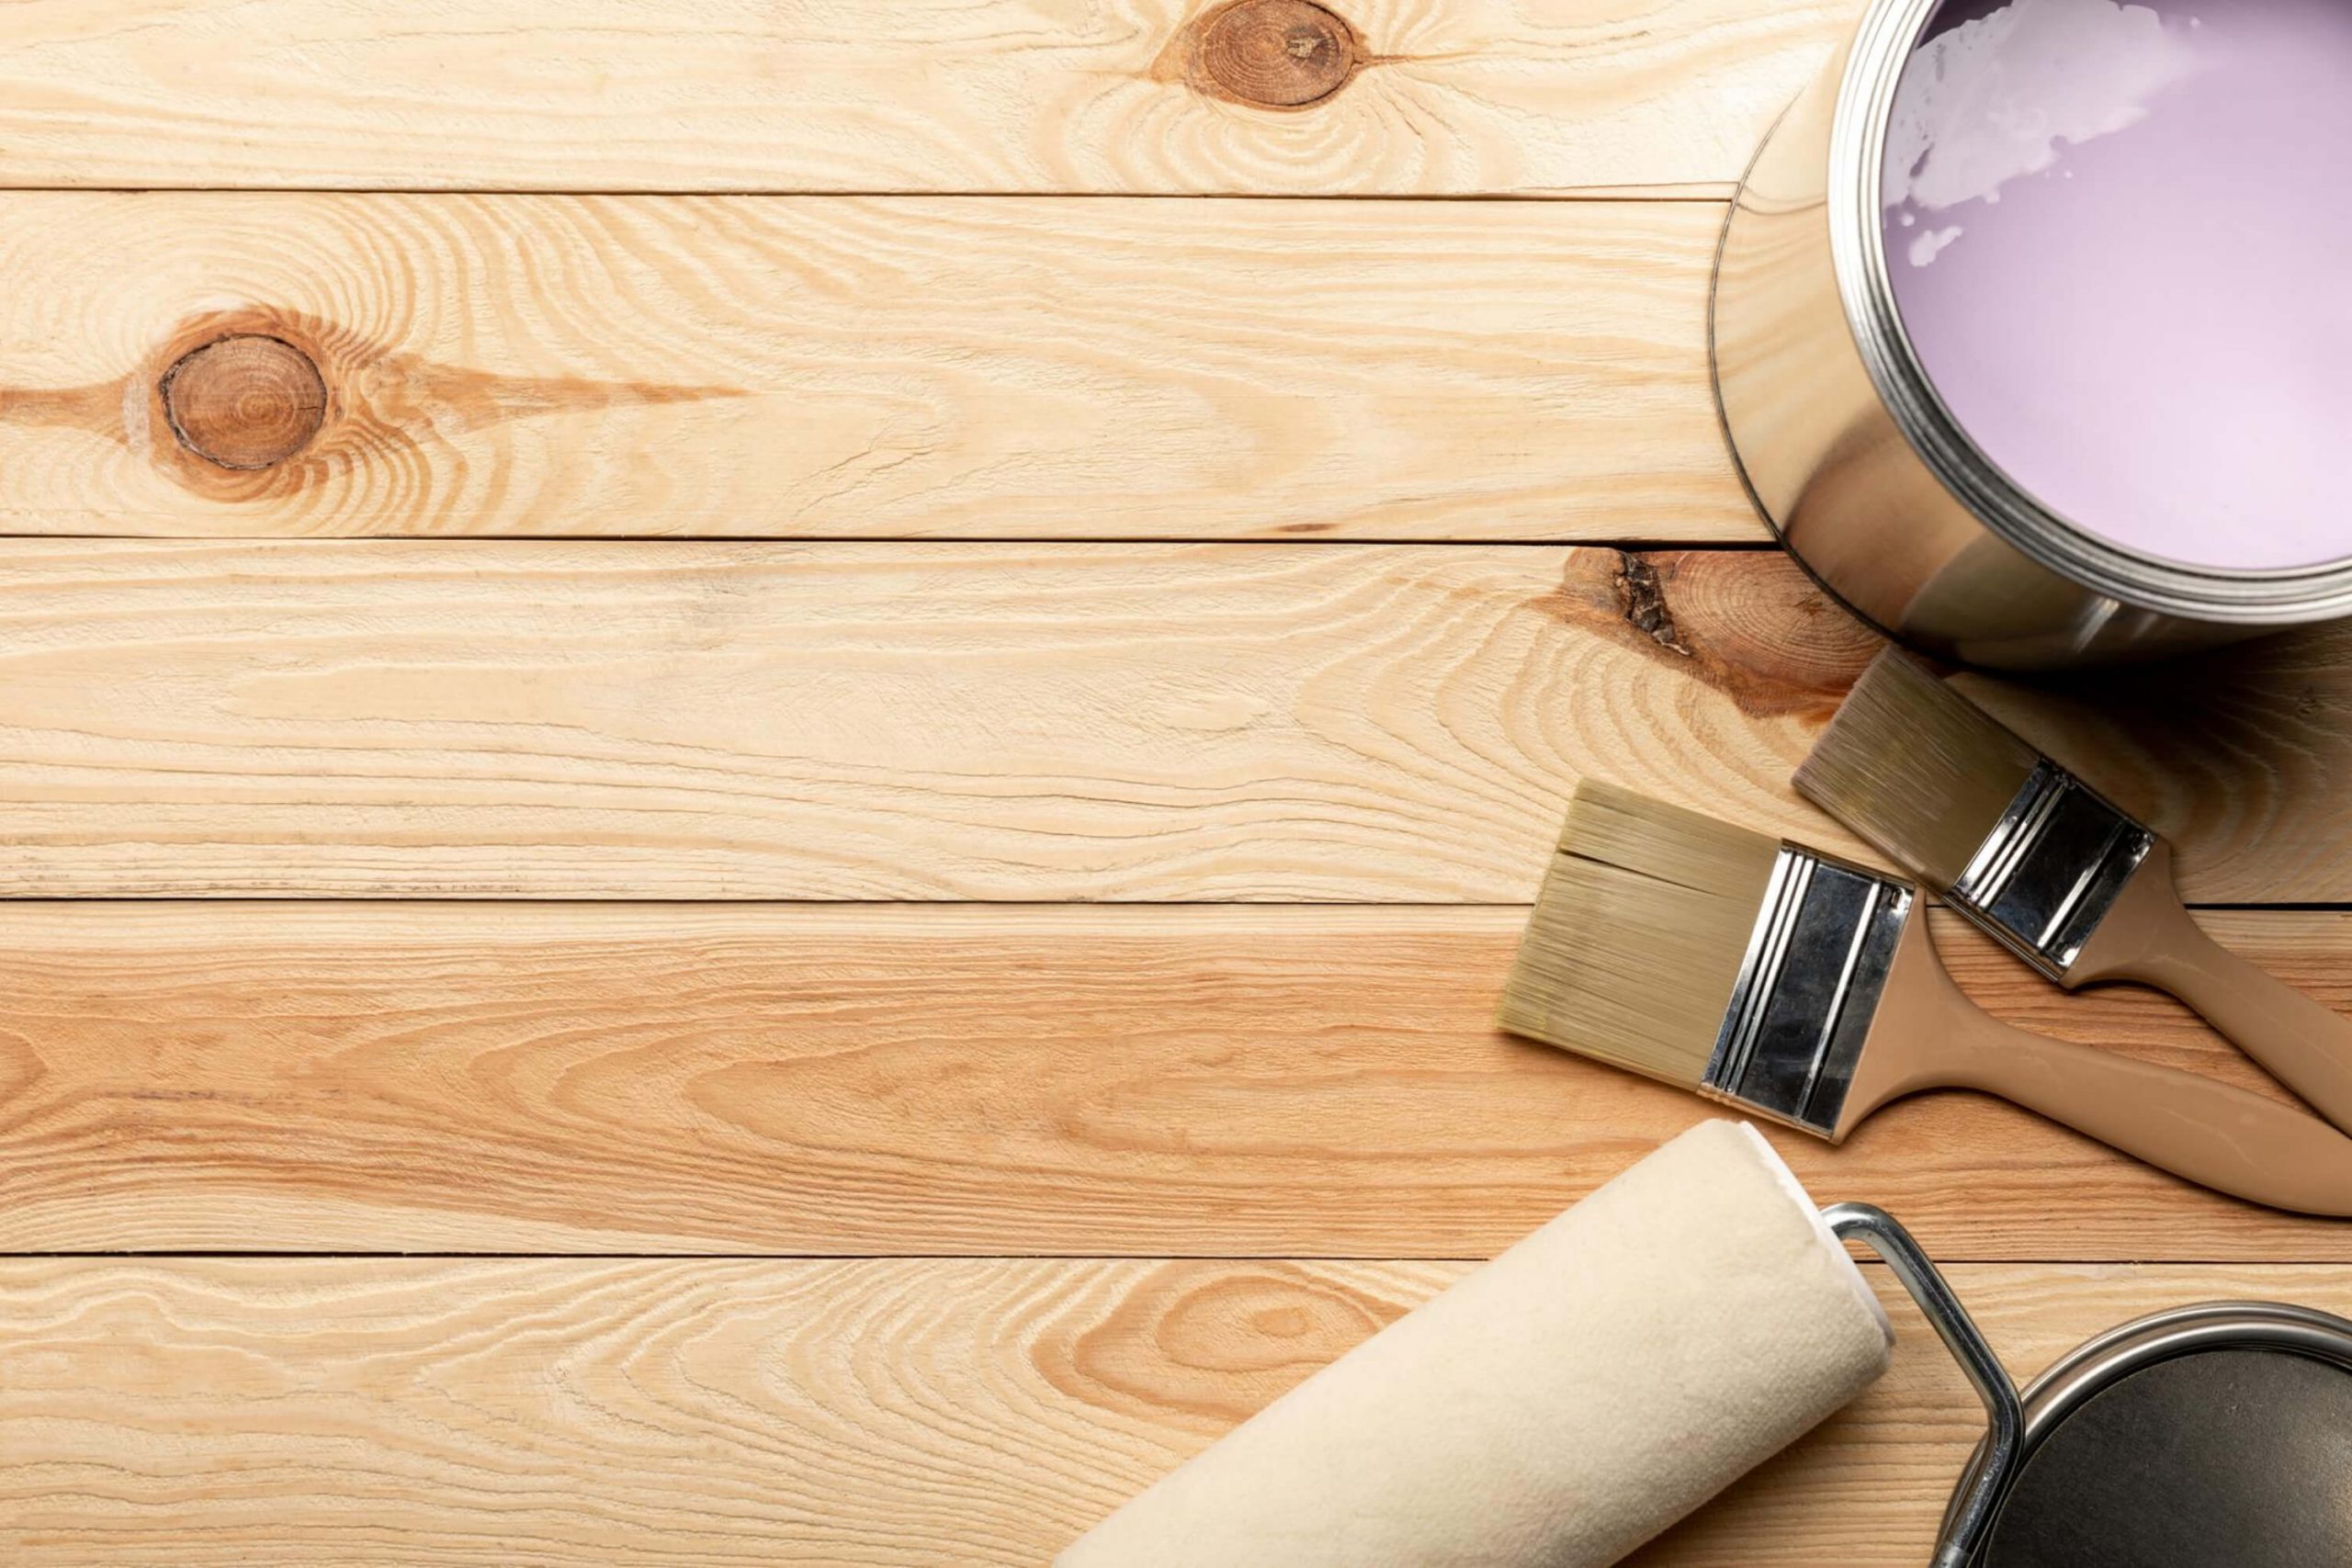
Stain/ Paint the wood
Stains/ finishes come in varying options, including water-based stains, gel stains, one-step stains, and oil-based stains. Use a staining pad or paintbrush to apply the paint.
Dip the pad in the stain and wipe the surface using long, even strokes. Generously coat the wood surface with a select stain.
Use a clean cloth to remove excess stain. Wipe lightly with the grain to deter streaking. Apply another coat of paint on the wood surface.
Add multiple coats until the desired color is attained. Let the stain dry between coats to help gauge what it looks like before adding another coat.
AntonMatyukha via crello
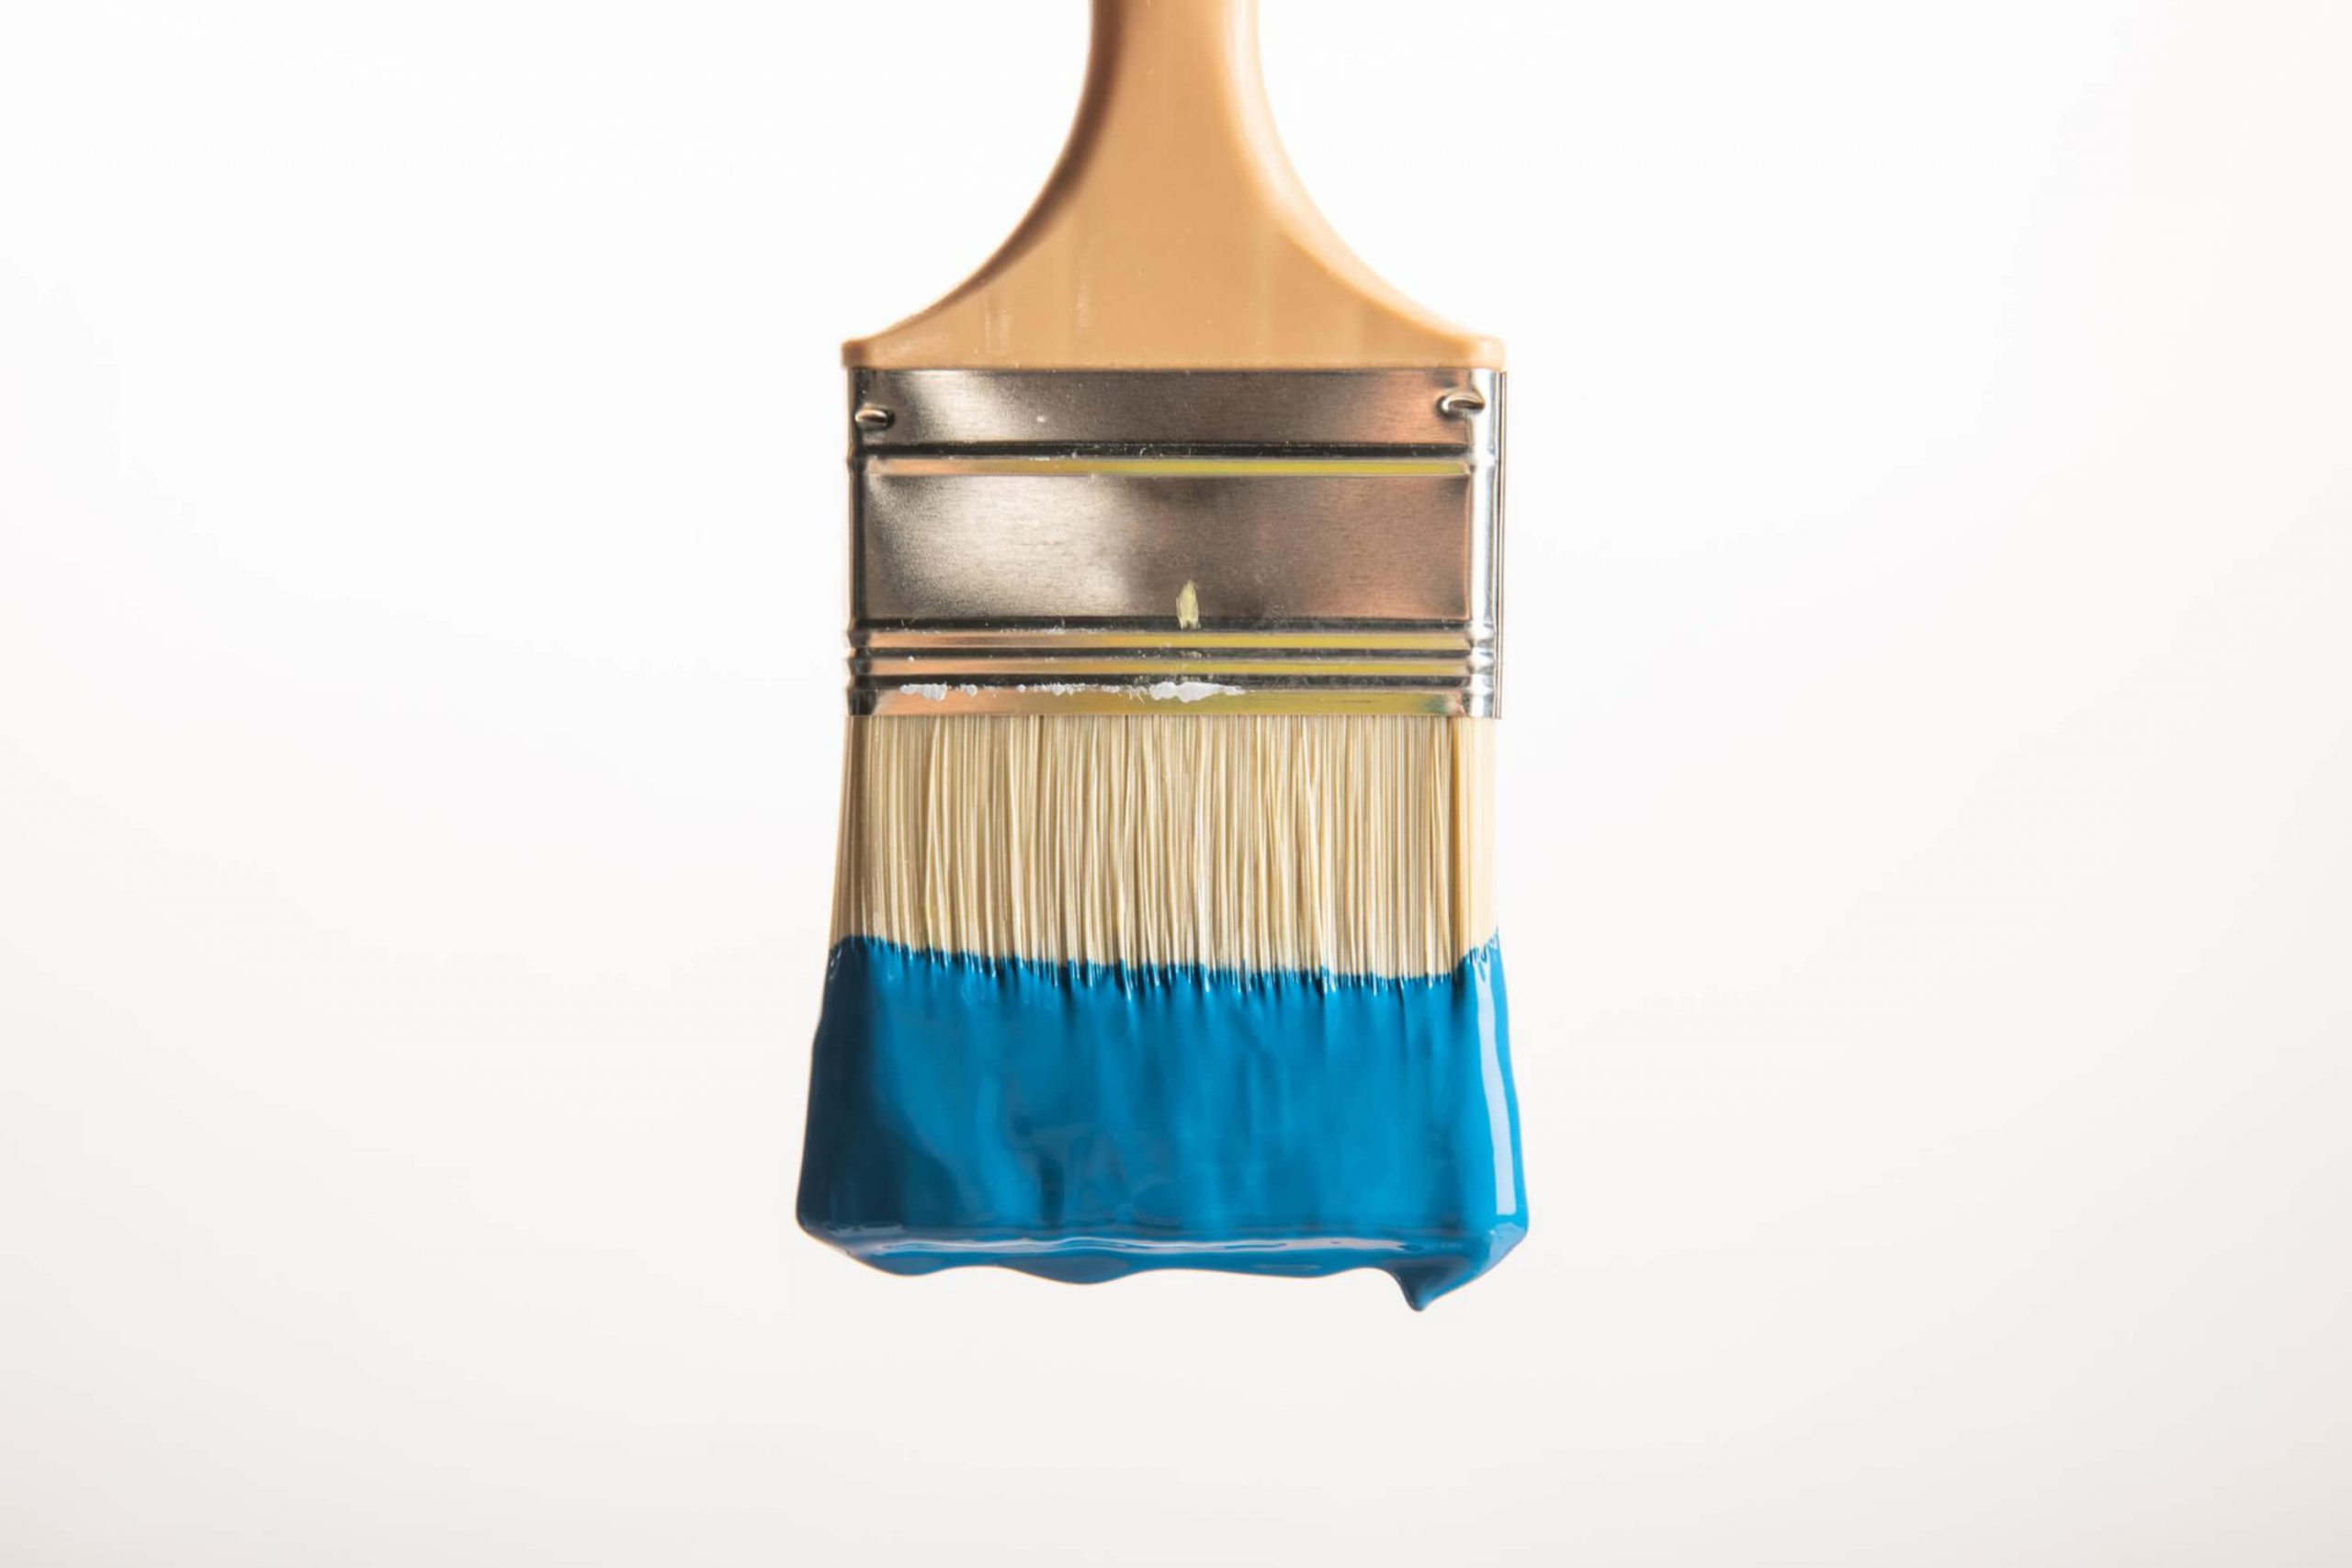
Apply a clear coat
Apply an oil-based clear coat once the stain is thoroughly dry. Spray-on clear coat acts as a final layer of sheen and protection. With a nice even motion, apply a layer of clear coat directly into the wood. Follow the natural lines of the wood.
Sand the surface (200-grit) after the first coat is dry.
This technique enhances smoothness and removes imperfections from the first coat. Apply the second coat to achieve a pro-grade finish. Allow the wood furniture to sit for 24 hours before use.

Conclusion
Wooden furniture refinishing is a great craft to give your valuable furniture new life. Whether you are a rookie or an experienced handyman, follow the above-mentioned steps to produce eclectic and high-quality wood furniture for your living space.