How to Clean Enamel Paint?
Learn how to keep your paintbrushes and painted surfaces clean
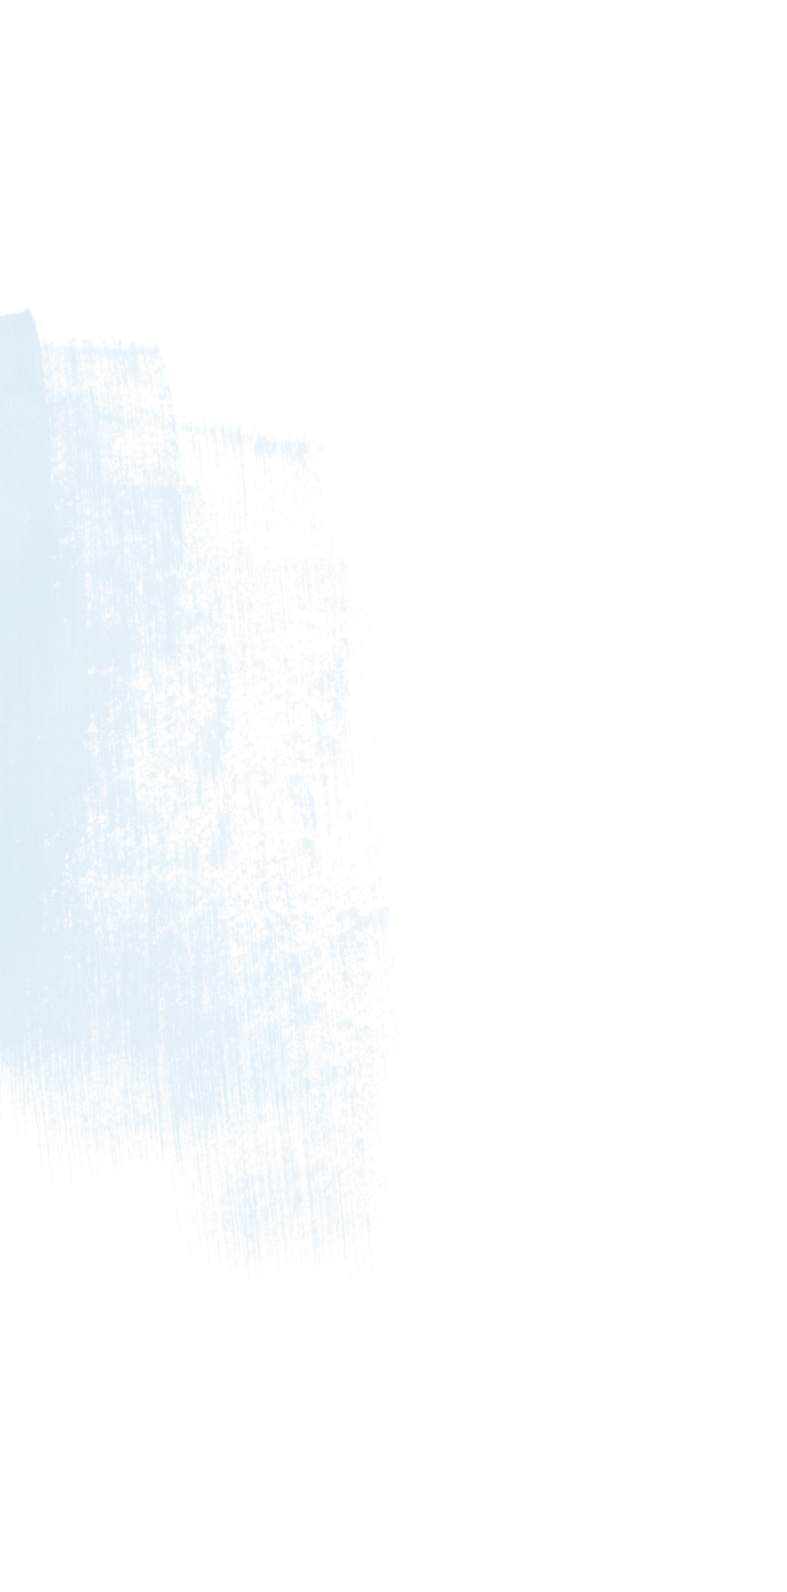
Whenever we are doing any paint job at home, there is always the moment when some cleanup has to be done. Typically, it means cleaning the area where we were painting, but also, it means cleaning the painting tools that we were using.
Those are brushes and less often, paint rollers.
But here is the question: how do you clean paintbrushes if you were working with enamel paint? Quite many home painters feel uncertain about this, and today, we want to make it clear for you.
In this article, we will tell you in detail how you can clean your paintbrushes if you were using them for enamel paint.
Moreover, you will learn how to clean off both water-based enamel paint and oil-based enamel paint.
In addition, we will tell you more about this type of paint so that you understand better how it should be cleaned. And also, you will find out how to maintain a surface painted with enamel paint correctly.
All You Need to Know About Cleaning Enamel Paint
Enamel paint is known to be quite tricky. This is why, when you need to clean it off your paintbrushes, you might feel a bit uncertain regarding what cleaning methods to use and what cleaning products will be more effective on this type of paint.
Below, we have prepared a detailed step-by-step guide for you on this subject.
You will learn how to clean off water-based enamel paint from your brushes, and also, what cleaning method and cleaning products will be more suitable for dealing with the oil-based type of this paint.
via crello
Table of Contents
How to Clean Water-Based Enamel Paint Off Brushes?
So, how do you clean water-based enamel paint from your brush and make sure that there is no residue or particles of paint left in between the bristles? First of all, get ready properly!
For this cleaning procedure, you will need the following tools:
- Warm water
- Dish soap or Super clean
- Brush comb
- Paper towel
After you get all the items that are on the list, you can proceed and go through the following steps (luckily, the cleaning process is relatively simple!):

Garsya via crello
Remove the Excess Paint From Your Brush
First of all, you will want to remove as much paint as you can from the bristles of your brush.
This is quite easy to do, simply scrape the paint off moving against the paint’s rim, or use any clean cloth instead.
Also, to make sure there is no paint left on your brush, pull off any strips or clumps of paint using your fingers to clean the bristles.
However, we want to warn you! Be very careful when doing so because it is possible to scrape the brush so hard that it gets damaged!
Mix the Warm Water and Dish Soap
Now, it is time to prep your cleaning solution.
- Take enough warm water
- Pour it in a bowl or bucket
- Then add a dash of dish soap to it.
- Mix everything thoroughly until the solution is sudsy.
- As an option, you can use super clean directly.
Soak the Brush In The Soapy Water
Once you prepared the soapy cleaning solution, it is time to give your paintbrush a good bath!
- Swirl your brush in the soapy mixture until you see the paint is removed.
- Alternatively, spray the super clean on the brush directly.
- If needed, make use of your fingers for separating the bristles and get rid of the dried paint strips or clumps.
At this stage of the cleaning process, many of you may face the issue of water-based paint being already dried on the brush. What shall you do in this case?
If this happens to you, you need to soak the bristles in soapy water for around 20 minutes. It will help you loosen the dried paint. Then you can swirl the brush around and the stubborn paint should be removed easily.
Rinse Your Brush Well
Now that your paintbrush is paint-free, you need to remove the soap suds from its bristles. To do this, simply rinse it with the help of a faucet or hose.
Afterward, using the brush comp, scrape off any remaining paint that can be seen on the bristles.
Dry the Brush Well
Finally, after you wash and rinse your paintbrush, and you make sure that all the paint and soapy suds are removed, it is time to dry it. Before you do so, shake your brush off to remove any remaining water.
And then just dab it with paper towels. We recommend you make use of a regular paper towel (like the one you use in your kitchen) for drying the brush.
It is not mandatory to make the brush completely dry, of course. However, we would not recommend you store your paintbrush with the water remaining on the bristles. If it happens, that water can make the bristles weak after a while.
How to Clean Up Oil-Based Enamel Paint from Brushes?
Now that you know exactly how you should clean off water-based enamel paint from a paintbrush, let’s see how to do it if you used an oil-based alternative.
This time, these are the tools and products you will need for a brush cleaning procedure:
- Paint thinner/ mineral spirit
- Protective rubber gloves
- Face mask
- A plastic container
- Brush comb
- Paper towel
As you can see, we already have certain distinctions! Now let’s move on and find out what exactly should be done step by step.
AntonMatyukha via crello
Put On Your Safety Gear
When you are going to clean off oil-based enamel paint from your brush, you must always remember to put on your “safety kit” first! This is because paint thinners that will be used may lead to chemical burns if they get on your skin!
So, to avoid being hurt and traumatized, you should always wear a protective face mask and rubber gloves.
Both will keep you safe from the chemicals. Also, remember to keep the windows in your room open while cleaning the brushes.
Apply The Paint Thinner to The Brush
Now, after you are ready and you have all the tools on you, it is time to start the brush-cleaning process.
- Take a clean container or jar.
- Pour the paint thinner into it. Be very careful while doing the job to avoid the paint thinner spill or splash!
- After that, take the brush and swirl it around the paint thinner.
- Keep doing it for around 30 seconds.
After half a minute, you will start noticing that the solvent is removing the paint from your brush. You will understand that because the paint thinner will take the color of your paint.
At this stage, you should never soak the brush for more than 30 seconds! If you do so, the chemical solvent may weaken the bristles.

JanPietruszka via crello
Comb Through the Bristles
It’s time for combing now! You will need a brush comb for that. Combing through the bristles of your brush allows you to break up any clumps of paint that might get stuck there.
But please, remember to do it gently! Otherwise, you will simply pull the bristles out, leaving your paintbrush bold!
And remember that you may need to run the comb 7-10 times until you see that the bristles are totally paint-free.
Refill the Container With Clean Paint Thinner
Yes, you go it right, you are going to repeat this step again. Simply swirl the brush in a clean paint thinner again. Why would you need that again?
Well, in order to remove the very last remaining bits of paint that might be stuck in between the bristles somewhere.
Rinse and Dry the Brush
Finally, we are almost there! This is the last step of your brush-cleaning procedure. Using clean water, rinse the brush thoroughly. Then, shake it off to remove any excess water. Finally, gently dab the bristles with a paper towel.
Like this, you are now aware of the detailed process of cleaning your paintbrushes that were used for working with enamel paint, both water-based and/or oil-based. Like that, you will be able to keep your painting tools clean and in a good state longer.
How Do You Clean Enamel-Paint Surface?
Enamel paint is durable and resistant to damage, this is why so many homeowners choose this type of paint for their interior painting projects. However, things are a bit different when it comes to cleaning surfaces that are painted with enamel paint.
In this case, it is on the contrary best to use less abrasive materials.
Here are some general cleaning recommendations for those of you who have walls or other surfaces pained with enamel paint at home:
- Dust your walls and ceiling at least once per year. For this, your vacuum’s brush attachment will work great!
- To get rid of dirt, opt for a mild solution of warm water and dish soap.
- To cope with tougher stains, try using a baking soda paste or a Magic Eraser.
Below, you can find a more detailed description of the cleaning routine that will help you to keep your painted surfaces clean and good-looking.

AllaSerebrina via crello
Do Regular Cleaning Routine
You need to dust your painted walls at least once every year.
Removing dust regularly is important for keeping enamel-painted surfaces in a good state and nice-looking. But if you need a more thorough cleaning, opt for the method we provide below.
Dust the Surface
First of all, it is important to get rid of the layer of dust on the surface you are going to clean.
- Using the brush attachment on your vacuum, run it over the walls and/or ceilings.
- For smaller areas, a hand duster will be a good substitute.
- Always dust before starting a deeper clean.
Make a Cleaning Solution
If you can see dirt and/or smudges on your painted walls, those will require something stronger than just a simple dusting. However, you can easily make it with the help of mild dish soap and warm water!
- Fill a medium-sized bucket with warm water
- Add a few drops of mild dish detergent.
- Mix all the components together.
- Fill a separate bucket with just warm water.
When the solution is ready, you can move on to the next step.
Dampen a Non-Abrasive Sponge With the Solution
Take a non-abrasive sponge (remember that we need to be gentle, right?) and dunk it into the bucket filled with the cleaning solution that you have just prepared. Remember to squeeze the sponge to remove excess solution since it has to be dampened but not dripping!
Work In Sections
Finally, this is the cleaning stage! Divide the surface you are going to clean into several vertical sections and clean them, doing one at a time. Start from the top and work your way down to the bottom, scrubbing the surface in circular motion delicately.
When you notice that your sponge is dirty, dip it back into the solution, wring it out, and continue.
If the water in the bucket starts to look dirty, feel free to dump it out and make a new batch of cleaning solutions. Luckily, it doesn’t take much time to do that!
natazhekova via crello
Rinse
When you’re done scrubbing, rinse each section with clean water. For that purpose, you will need a second sponge to use with the clean water (which means that you will also need a second bucket).
Just like with scrubbing, start at the top and move down, wiping section after section and rinsing away the cleaning solution.
Dry the Surface
The final stage is drying. You need to make sure that the surface you were cleaning is now completely dry with no moisture on it. Dry it with a towel, thoroughly working on each section.
Also, it’s best to use a fresh towel on each section. Like that, you will be able to remove excess moisture from the surface.
Now you know how you should clean any surface that is painted with enamel paint. As you can see, there is nothing difficult about the process, it’s just important that you follow all the recommendations precisely.
What Enamel Paints Are?
Before you start the cleanup process, it is good to have at least some basic idea about enamel paints and their types. This is so important because each type of this paint requires an individual cleanup procedure.
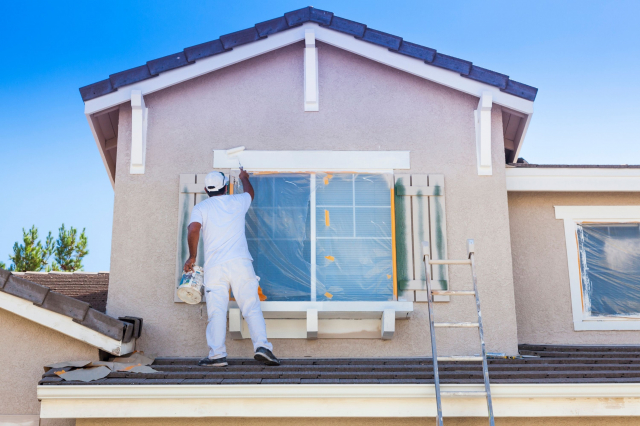
If you use enamel paints often enough, you most likely know that when they dry, they create a solid, lustrous, and durable finish. People usually use enamel paints if they need a glossy trim for surfaces that require a shiny finish but must withstand constant washing as well.
All enamel paints offer you a hard, glossy, and washable finish. However, there are two basic types of enamel paint that have certain distinctions:
- Water-based paint
- Oil-based paint
The first type (water-based) usually dries faster and can be recognized by a low odor. The second type, oil-based, dries slower and comes with a strong solvent scent.
Also, oil-based enamel paint needs to be washed off with the help of harsher cleaning products. Often, they are chemical cleaners and paint removers. In comparison, to wash water-based enamel paint off, you will only need a bucket of soapy water!
Well, this is all that we wanted to share with you today on the subject of enamel paints and how to clean them off your brushes in particular.
Now that you are more aware of the specifics of this paint and the cleaning methods suitable for it, you will be able to maintain both your painting tools and the surfaces painted with enamel paint easily.
Ever wished paint sampling was as easy as sticking a sticker? Guess what? Now it is! Discover Samplize's unique Peel & Stick samples. Get started now and say goodbye to the old messy way!
Get paint samples


Frequently Asked Questions
⭐What surfaces can be painted with enamel paint?
This paint is pretty versatile. You can use it for painting such surfaces as copper, metal surfaces, glass, wood, plastic, and even walls!
⭐Is it possible to remove enamel paint with acetone?
In fact, it is possible. Use an acetone nail polish remover or acetone for enamel paint removal, but don’t expect it will cope with the old and dried paint!
⭐Is enamel paint toxic?
It does contain chemicals, so inhaling the vapors of this paint is not recommended. However, there are no proofs that it’s toxic.
22 thoughts on “How to Clean Enamel Paint?”
Leave a Reply


Are there any specific techniques or solutions recommended for cleaning Testors enamel paint off brushes?
Testors enamel paint can be cleaned from brushes with the Testors Enamel Paint Thinner. Rinse the brush with the thinner until the bristles are clean. Afterwards, rinse the brush in warm soapy water, reshape the bristles and allow it to dry.
What is the procedure for cleaning enamel paint from a paint sprayer to ensure its longevity and prevent any clogs or damage?
Empty out any remaining paint from the sprayer. Run paint thinner or mineral spirits through the sprayer to dissolve any paint left inside. Follow this with a warm, soapy water rinse. Make sure you thoroughly clean the nozzle and other components, as dried paint can clog the sprayer.
How to clean enamel paint off hands if I accidentally get it on them? What are some safe and effective methods to remove it without causing skin irritation?
Wear gloves to prevent this from happening, but if you do get some paint on your hands, try using a mixture of warm water and dish soap. If this doesn’t work, a commercial hand cleaner like Gojo or Fast Orange will. Remember, don’t use paint thinners or solvents on your skin as they can be harmful.
What steps should I follow to ensure I properly clean enamel paint off paint rollers and ensure they’re ready for the next use?
Similar to brushes, remove the excess paint by rolling it on an old newspaper or a scrap piece of cardboard. Then, soak the roller in a container of paint thinner or mineral spirits. Make sure the entire roller is submerged. Let it sit for several hours or overnight if needed. Afterwards, rinse the roller thoroughly with warm water and let it dry before storing it.
What is the most effective method for cleaning enamel paint off of paintbrushes without damaging the bristles?
Start by removing as much paint as possible with a paper towel. Then, use a solvent such as mineral spirits or paint thinner to soak your brushes. Swish the brush in the solvent until all paint is dissolved. Finally, wash the brushes with warm, soapy water and let them dry properly to keep their shape.
Hey enthusiast painters! I really need your help! See, I stained my hands with enamel paint and I can’t wash it off. Do you know how to clean enamel paint off hands and keep my skin in place?
I use the following method: apply a dab of glycerin to the affected area to loosen any dried paint. And then add a small amount of turpentine or other solvent to the affected area of skin, and rub gently to remove paint. This should work.
Hey there! Is there anyone here who knows how to clean paint rollers? I need to figure out how to clean enamel paint off rollers and still keep them usable!
It’s pretty simple in fact! Plunge the roller cover into a bucket of clean warm water and work them around the bucket. Most of the paint build-up will be removed. If you’re using oil-based paints, you will need to use a mineral turpentine to clean the roller.
Do you guys know how to clean enamel paint from a sprayer’s nozzle? I tried to wash it externally but it seems like the paint is still stuck inside.
Well, I don’t know the exact scheme but I’m pretty sure you need to remove the spray tip and wash it by flushing. I guess you need a powerful stream of water, otherwise, the paint won’t come out.
Hi everyone! Your help is needed! I’ve never used enamel paint until today but now I have a problem. How to clean enamel paint off brushes? Is it the same procedure as for acrylic paint?
It depends on what kind of enamel paint you have. If it is an oil-based paint, use mineral spirits to clean it out and wash your brushes in water and detergent. For water-based enamel (latex, acrylic, emulsion), use detergent and water.
I have an old and dried blot of enamel paint on the floor of my studio, and I can’t get rid of it! The floor is wooden so I’m afraid of damaging it. Could you suggest me something please?
Hey there! Try to apply paint thinner to the blot first. Let it sit and work for a while and when you see the paint gets loose, try to remove it with a clean cloth.
Does anyone know whether or not white vinegar can clean oil-based paint from the paintbrushes?
Hello. Typically, oil paintbrushes are cleaned with either oils or solvents. But you can use vinegar on brushes when the paint is dried. You just need to place your brush in vinegar for a little while, and then add simmering vinegar a few more times during the wash down. The product should be rinsed after use.