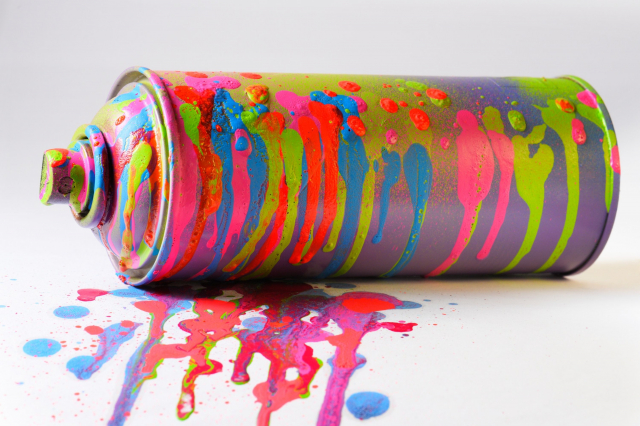
Why Is My Spray Paint Bubbling?
Learn what causes those annoying bubbles and how you can fix them easily.
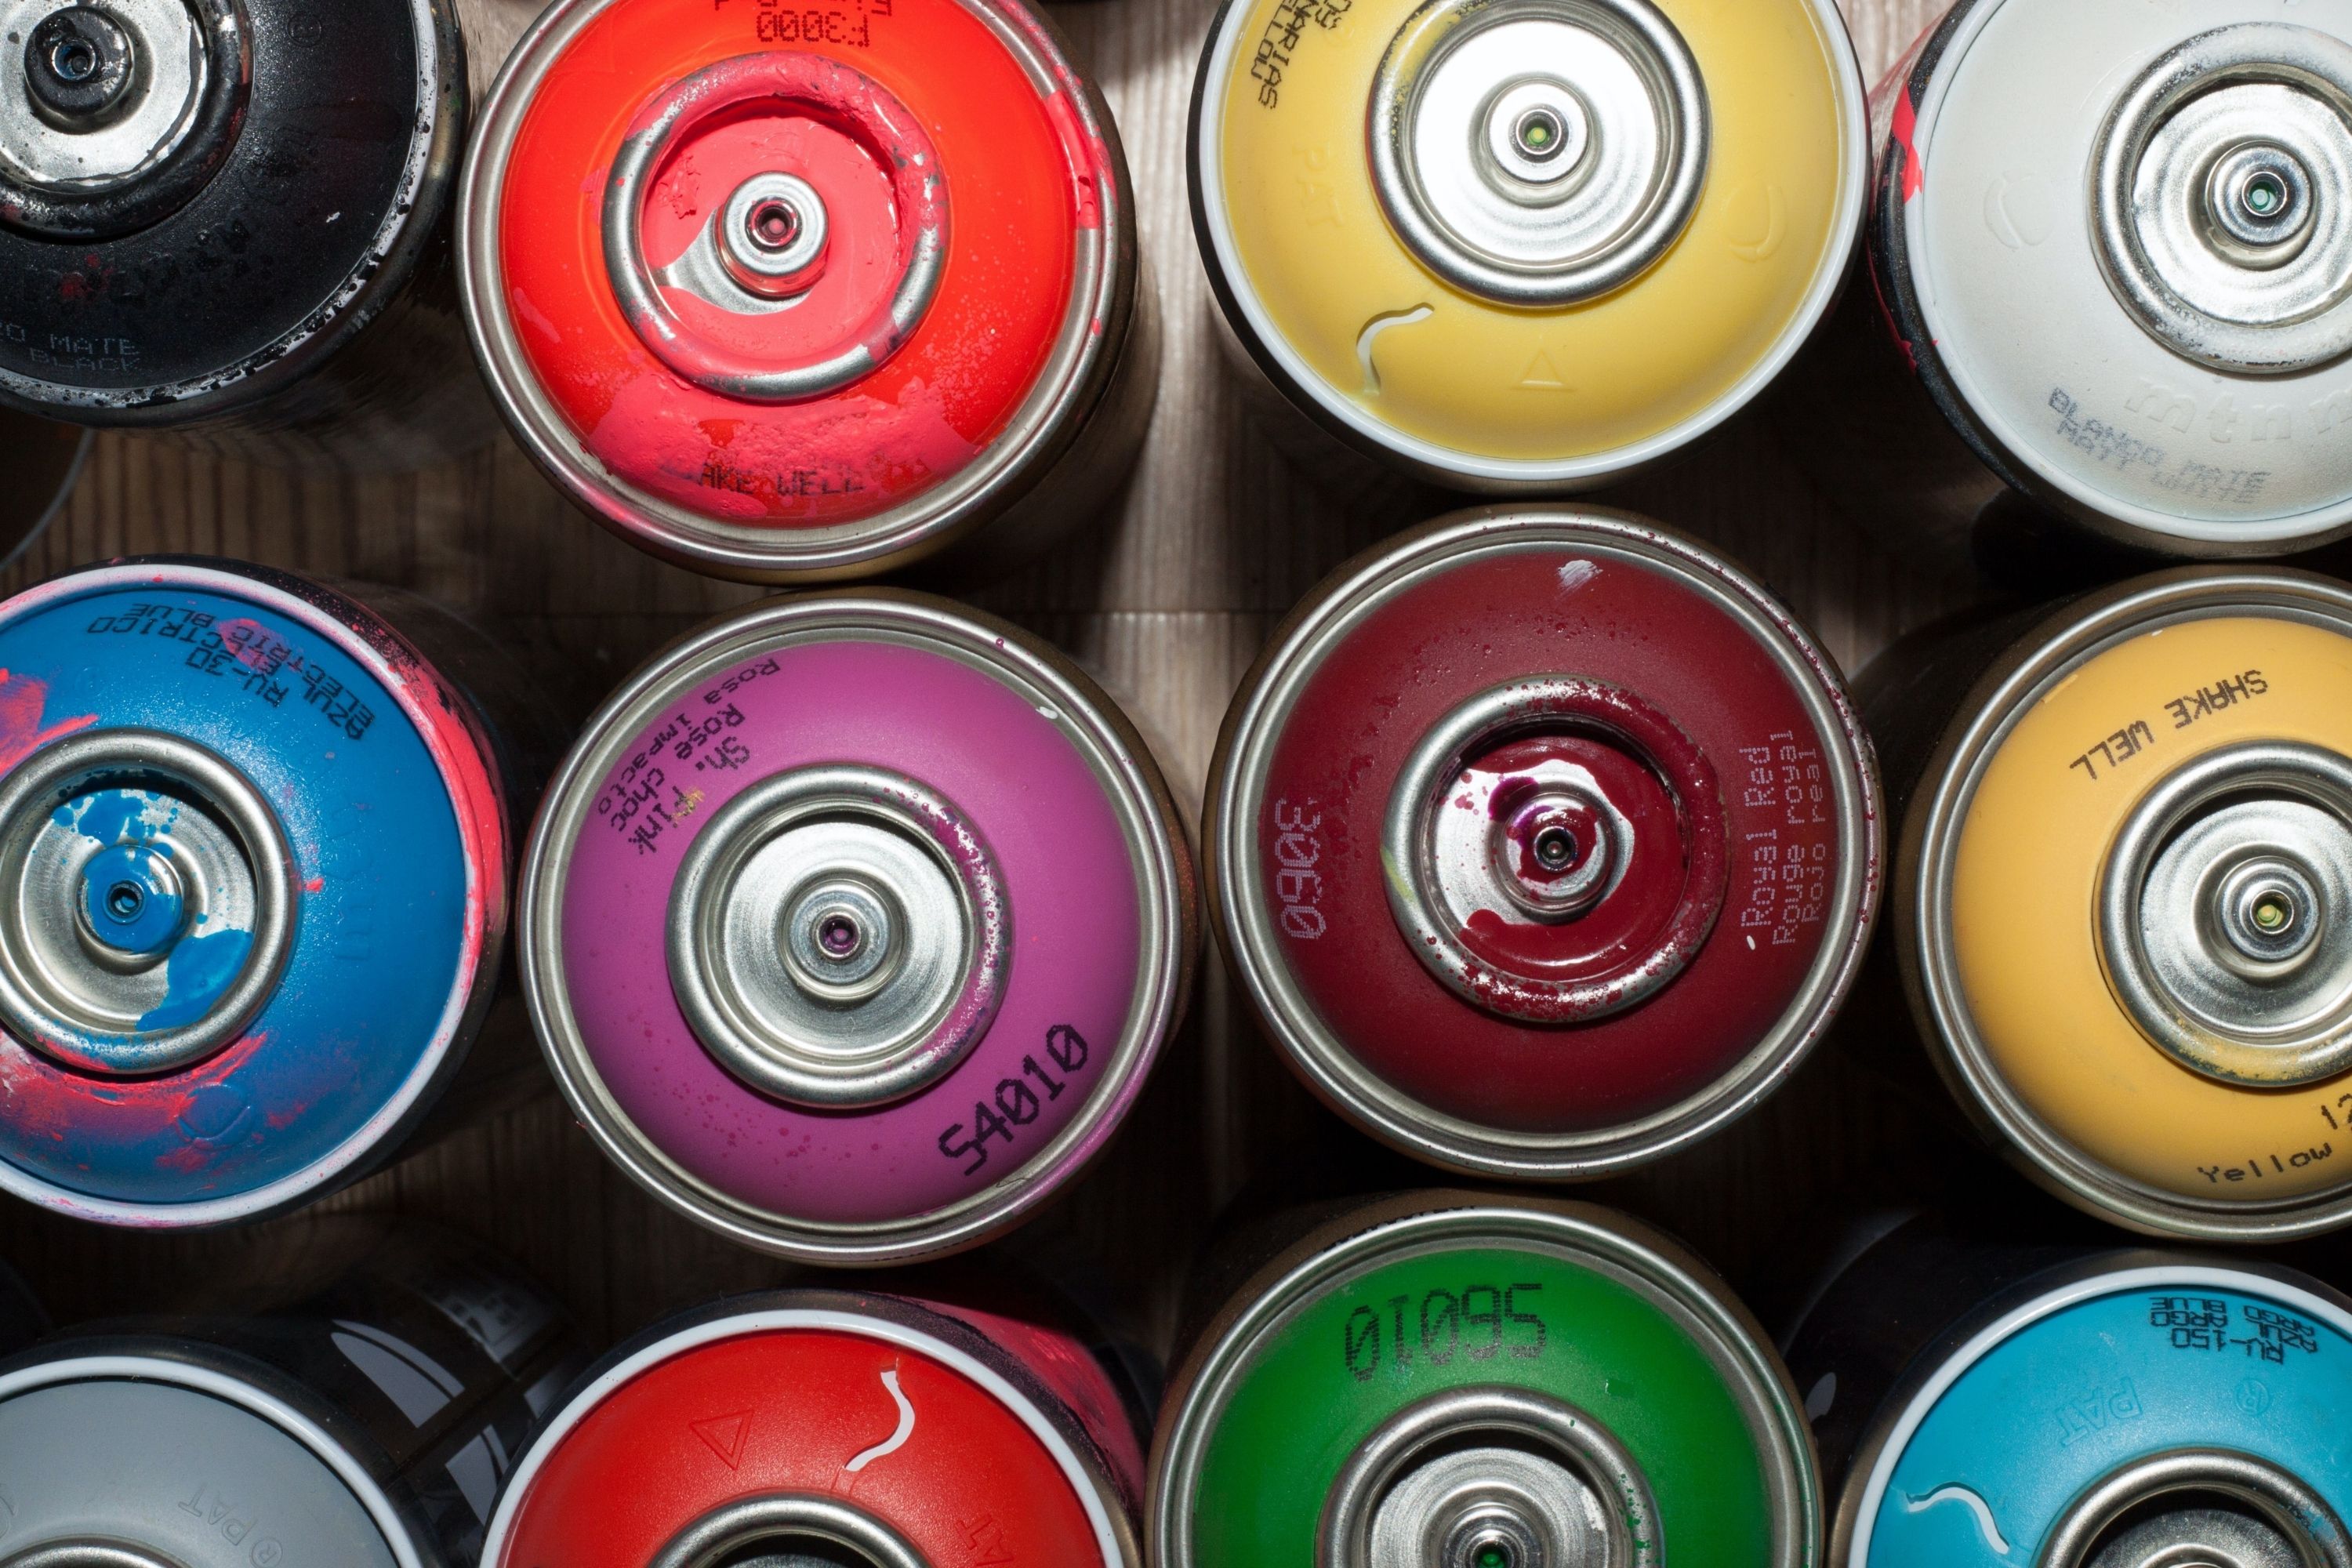
Spray paint is one of the most favorite types of paint for many. It is affordable, it is sold in a wide variety of colors, it is easy to apply and moreover, it does not require any complicated preparations of the surface that is going to be painted!
However, many amateur painters tend to face the same issue when working with this type of paint: they often notice that the fresh layer of it develops bubbles on the painted surface!
That does not look nice at all, and besides, it requires extra work since those bubbles must be somehow fixed.
So if you have also been asking yourself this “why is my spray paint bubbling up?” question, today is your lucky day! Today, in this very article, we are going to tell you what makes your spray paint develop bubbles.
Also, you will learn how to easily fix those air bubbles in your spray paint, and what to do in order to prevent them from developing at all.
With these tips and recommendations, painting any surface with spray paint will be super easy from now on for you, leaving you with a perfectly smooth and glossy painted surface!
Why Is My Spray Paint Bubbling Or Separating On My Surface?
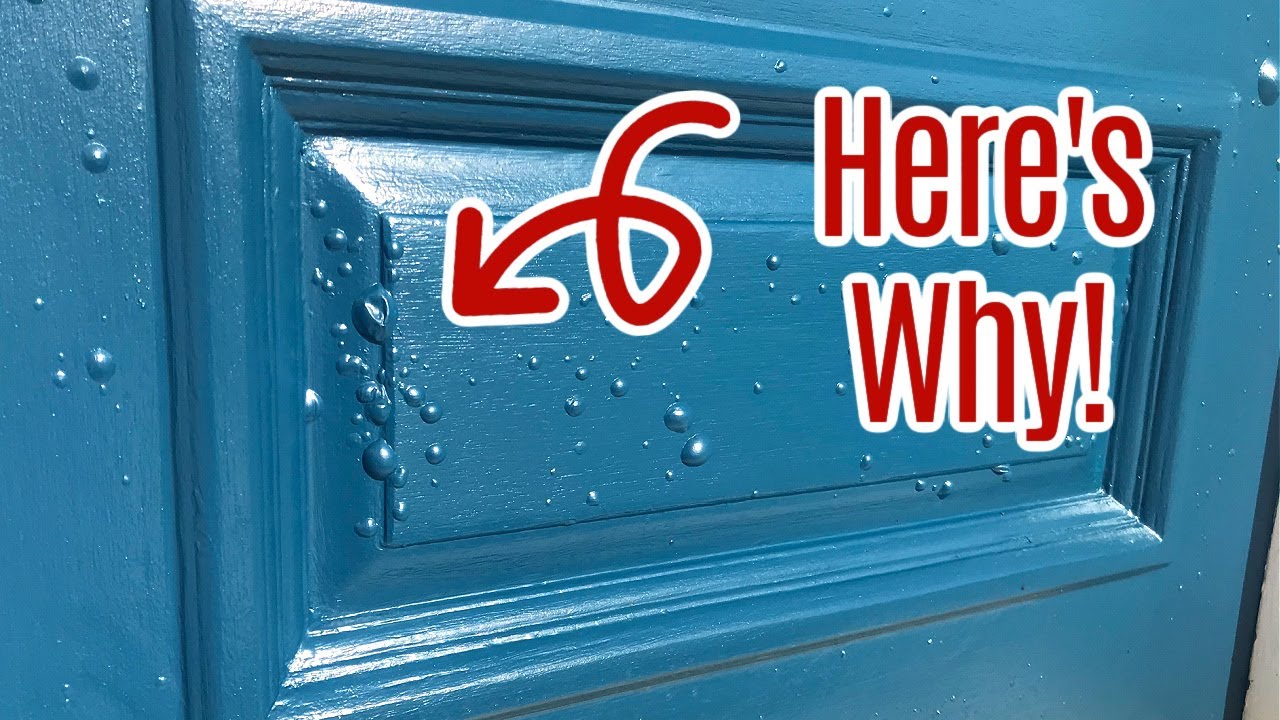
If you have ever used spray paint for your home renovation projects, you might have that trouble: you choose the paint color that (according to your plan) will fit the object perfectly, you apply the paint, and then you suddenly notice those annoying bubbles in spray paint that ruin all the exterior!
We agree, having such a problem is mind-blowing since it means that all your hard work was in vain and now you will have to start everything from the beginning and repaint the surface from scratch!
But before you begin getting crazy, let us explain why it can happen at all. We mean, what makes those bubbles appear on a freshly painted surface?
Credits: Lusky, via Canva.com
Well, we can give you a few suggestions on what causes spray paint to bubble:
- It can be too wet outside. In this case, the paint requires a longer dry time on the first coat. So, if you start putting on a second coat before the first one has enough time to dry, it will bubble. Even if you’re spraying in your garage, the humidity in there is similar to what it is outside.
- It’s too cold outside. Especially when you are working with metal surfaces, it is important to make sure that the outside temperature is between fifty degrees and ninety degrees Fahrenheit. But remember that metal will stay colder longer than, let’s say, wicker or wood! So it may need to be warmer or in warmer sunlight.
- Another possible reason is that it is too hot outside. There are quite few reports on this happening, but you could have heard that it happened to some of your friends or neighbors. So try to avoid applying spray paint on really hot days! Who knows, maybe, it really works?
- Finally, there is another reason for those bubbles. Try to remember: maybe, you cleaned your piece but you did not give it enough time to dry? Remember that the object that you are going to paint needs to be clean and very dry in order to make a nice smooth finish!
If, after checking all these aspects, you do get the bubbling on your painted surface, try to sand your object with 220 grit sandpaper. Then wipe it with a dry cloth, and then apply the spray paint again.
Or, as an alternative option, you can strip the entire coat of paint down, but think twice before you do this: this method is very and very time-consuming! And besides, it also means a lot of work. Do you really need that?
Credits: Lusky, via Canva.com
Table of Contents
How to Fix Spray Paint Bubbles
All right, you are now aware of the reasons that may cause your spray painted surface to develop those ugly bubbles.
And it is super great if you manage to use this information to avoid that bubbly effect on the object! But what if you have already applied your spray paint and it is now covering the entire surface with bubbles or flakes?
In this case, you surely need to know what to do in order to fix your spray paint bubbling issue.
We suggest you familiarize yourself with seven major solutions that will help you to always end up with an ideally smooth painted surface no matter what the initial conditions of it were.
Credits: Joel Filipe, via Unsplash.com
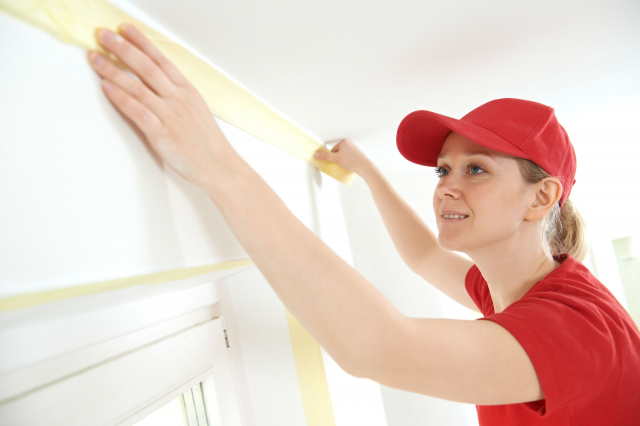
Prepare For the Painting Process
The environment is essential when you paint with a sprayer. So in order to avoid air bubbles in paint when spraying, consider doing this in a cool and less humid place.
The less humid and the cooler the space is, the better your paint will adhere to the surface. For example, you can do it in a garage if it is cool enough, of course.
Remember to Use the Primer
If you want to end up with an ideally smooth paint layer and a perfectly even painted surface, we recommend you consider using a primer all the time when you are painting.
The good thing is that it is possible to buy specially designed spray applicator primers. However, you can use a standard primer the same successfully along with a paint brush!
We suggest you apply the primer about twenty four hours in advance to when you are going to spray paint your item. Also, you should allow it to fully dry before you start applying the coats of spray paint.
You should normally allow at least a full day in between the coats of paint to dry completely.
To speed up the process, feel free to place a fan or ventilator near the item – especially if you are not sure that it will dry in time on its own!
Finally, the drying process will be faster if you apply thin and even coats of primer. In addition, it will ensure that the paint will also adhere evenly when applied later.
Credits: Pawel Czerwinski, via Unsplash.com
Don’t Forget to Sand!
Sandpaper is your best friend when spray painting! Even if the damage is already done, you can still save the situation and the item! Grab fine-grit sandpaper and rub off the bubbly and/or cracked areas.
Consider that you may need to sand all the way back down to the initial finish. Or, if the layer is badly damaged, you may be able to just take off the top paint and salvage the original base coats.
And once you have sanded the entire item smoothly, clean it off with water and mild soap, allow it to fully dry, and then simply apply the primer and spray it all again.
Credits: Lusky, via Canva.com
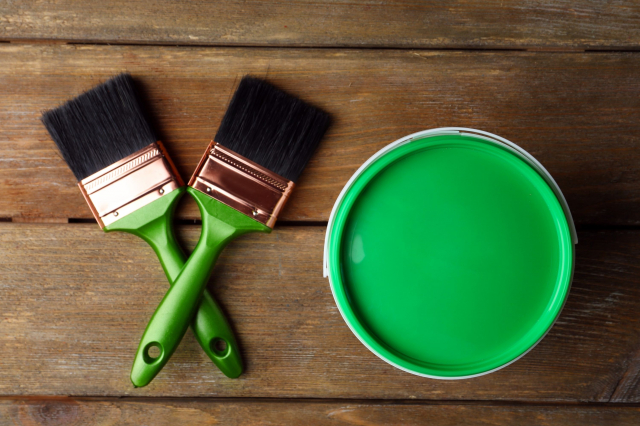
Consider What Type Of Paint You Are Using
To be precise, consider its quality. The higher the quality of the spray paint that you are going to use, the better it will adhere and thus perform on the surface later. Better paints often even have significant differences in their distribution!
So we recommend you define what you need that paint for. Is it any DIY craft projects or design making?
If yes, you can stick to cheaper versions of paint, such as Krylon, that will allow you to get a smooth and even finish.
But if you are into something really serious like professional decorations or street art, you will need to look towards such brands as Montana, Belton, or Rustoleum. Those will give you an even and thick paint cover that is long-lasting and durable.
Credits: Pawel Czerwinski, via Unsplash.com
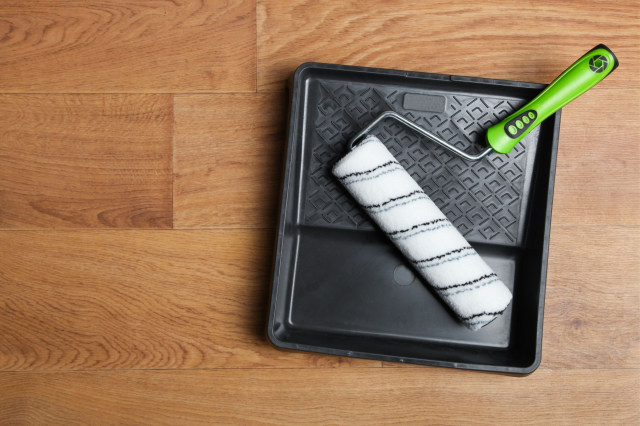
Apply the Right Number Of Coats
Have you ever wondered how to define the number of paint coats needed for your project? Well, the answer depends on the brand of paint you are using, as well as on the item that you are going to spray paint.
See, in general, for the majority of spray paint brands, two coats will be more than enough. This is some sort of a standard level, we would say.
In this case, the base layer of paint you apply helps to cover all surfaces and it also provides a beginning layer for the second coat of paint that you will apply. Like this, it enables you to get a robust and dynamic color.
We would say it is better to have many lighter coats than one or two really heavy and improperly applied ones!

Credits: Markus Spiske, via Unsplash.com
Wait Between the Coats
Being impatient when painting is no good for the surface you are painting. How long shall you wait? Whether you are asking about the primer or the paint, a good rule of thumb is to wait at least twenty four hours in between coats.
Of course, depending on the brand of your paint, it might be best to wait a bit longer, sometimes up to two days before the next coat is applied.
Anyway, remember that you should allow each coat to dry completely! It will prevent wrinkling or bubbling.
Credits: Tim Mossholder ,via Unsplash.com
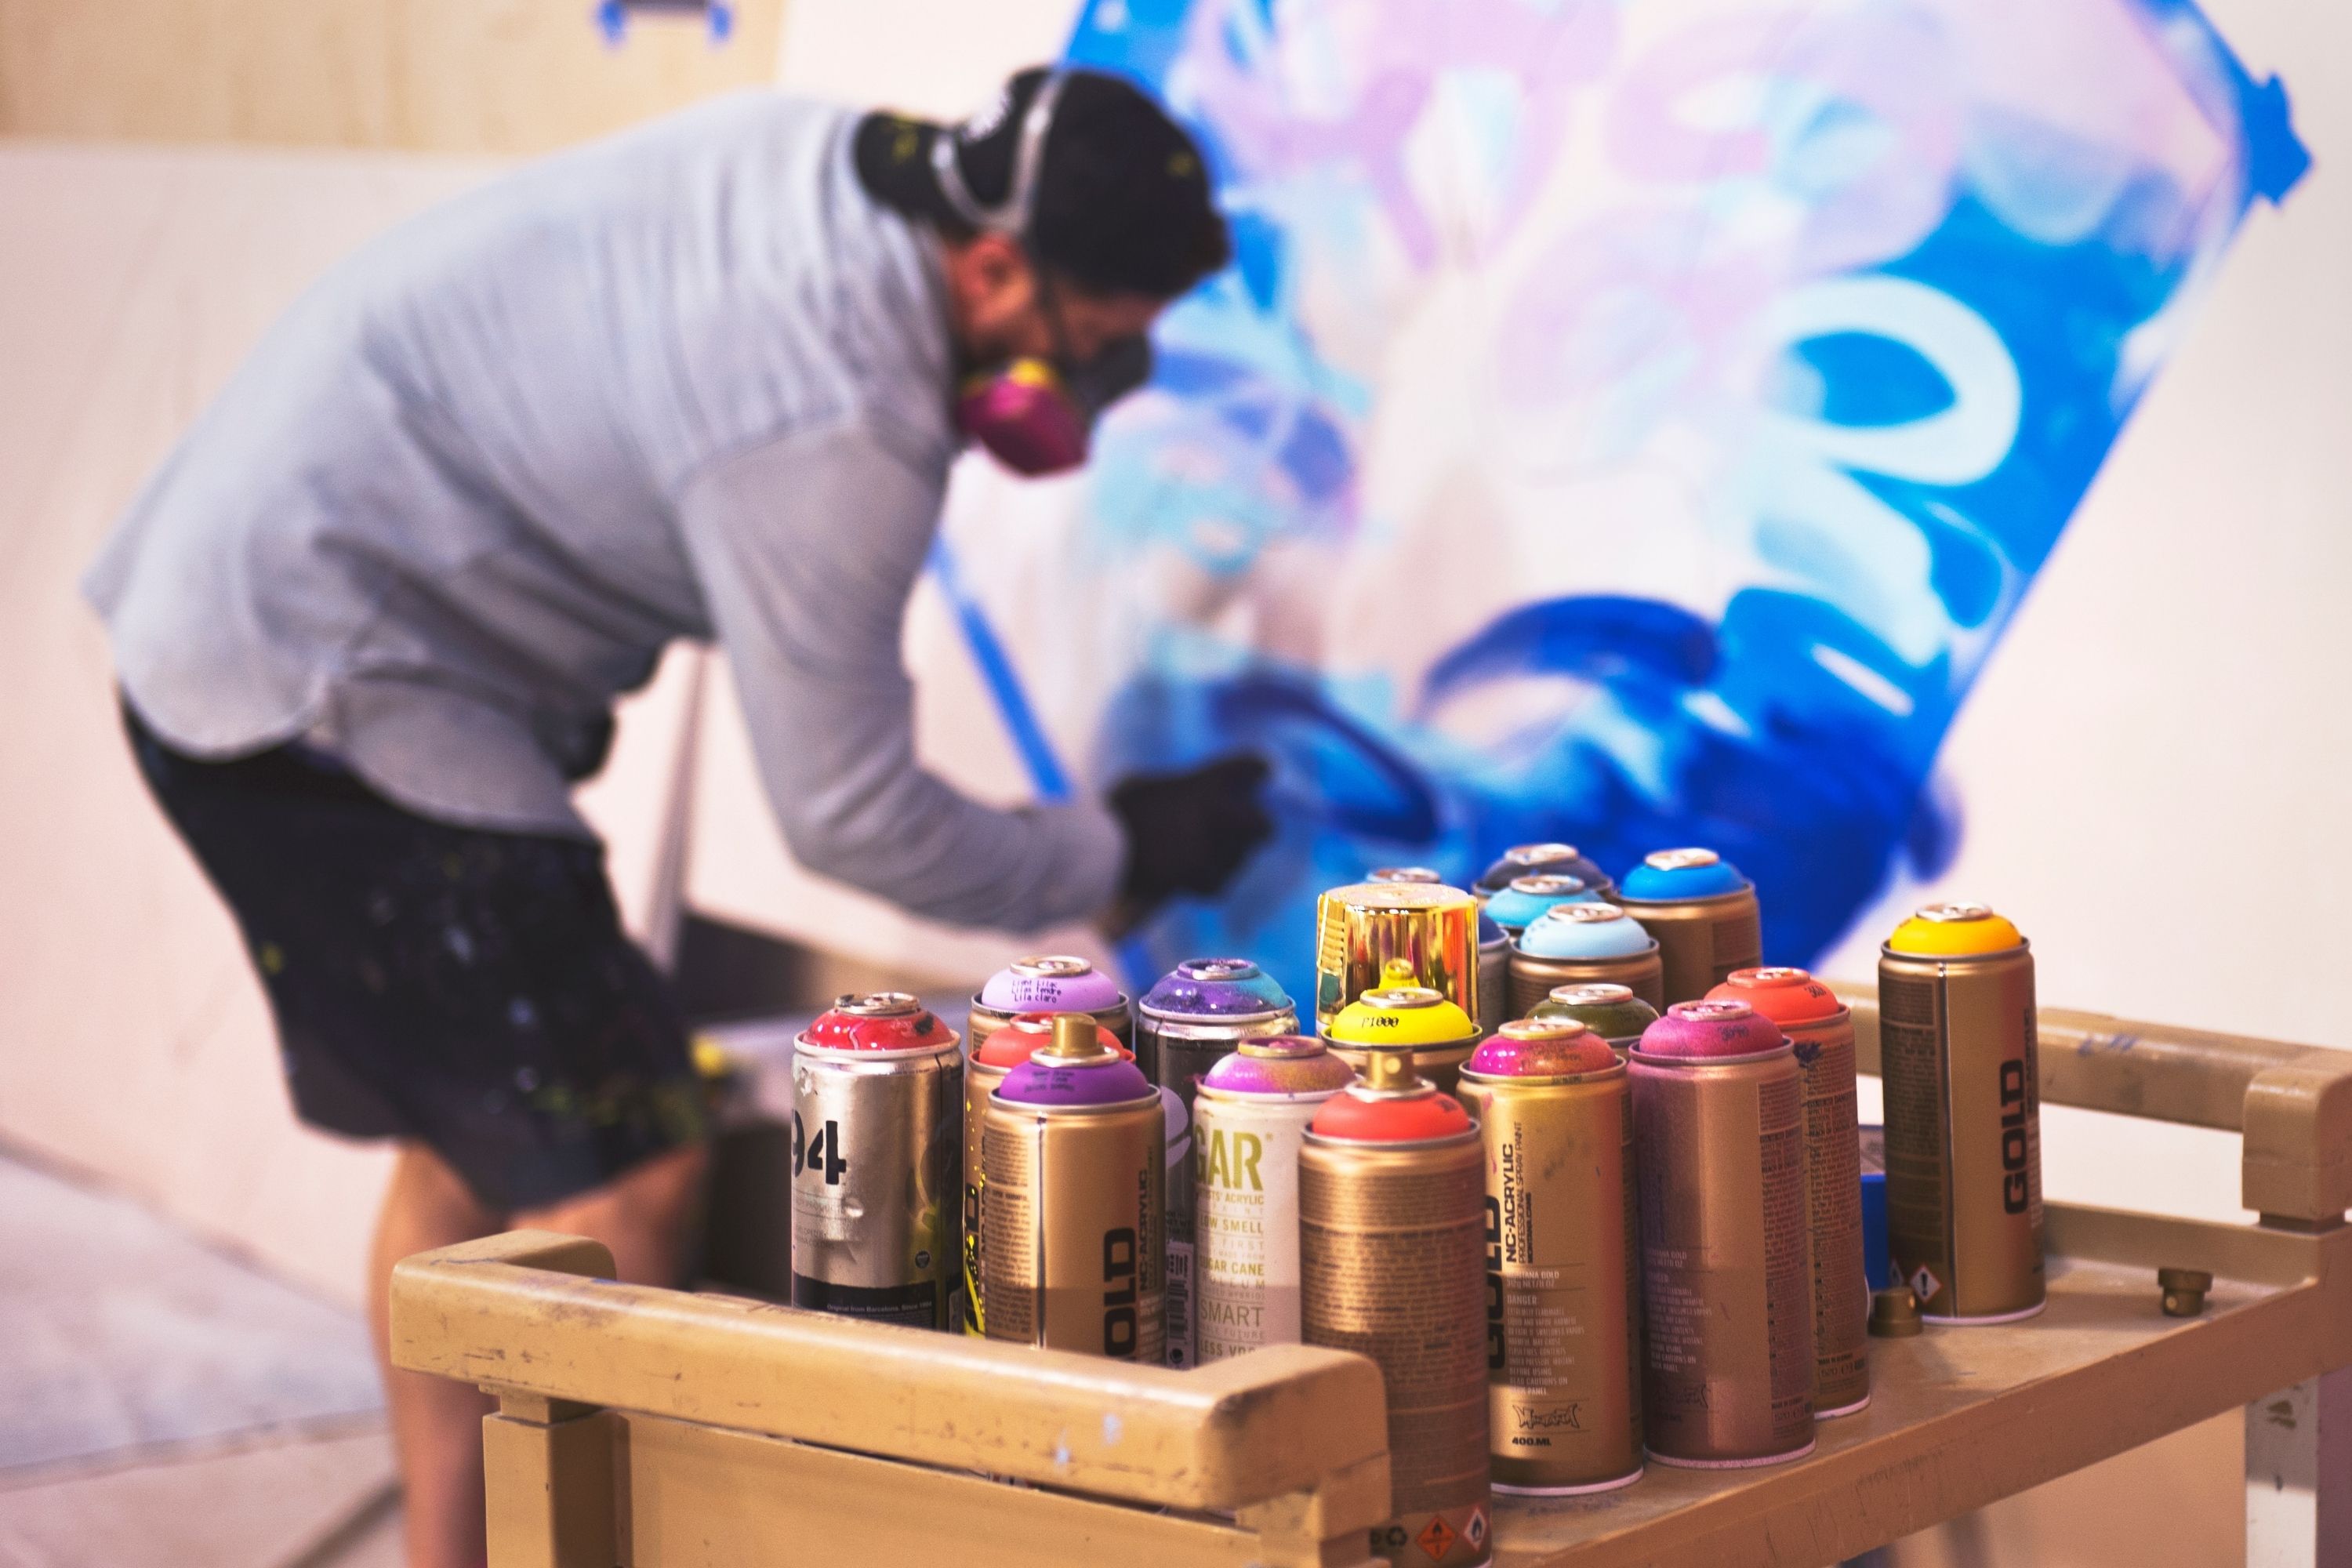
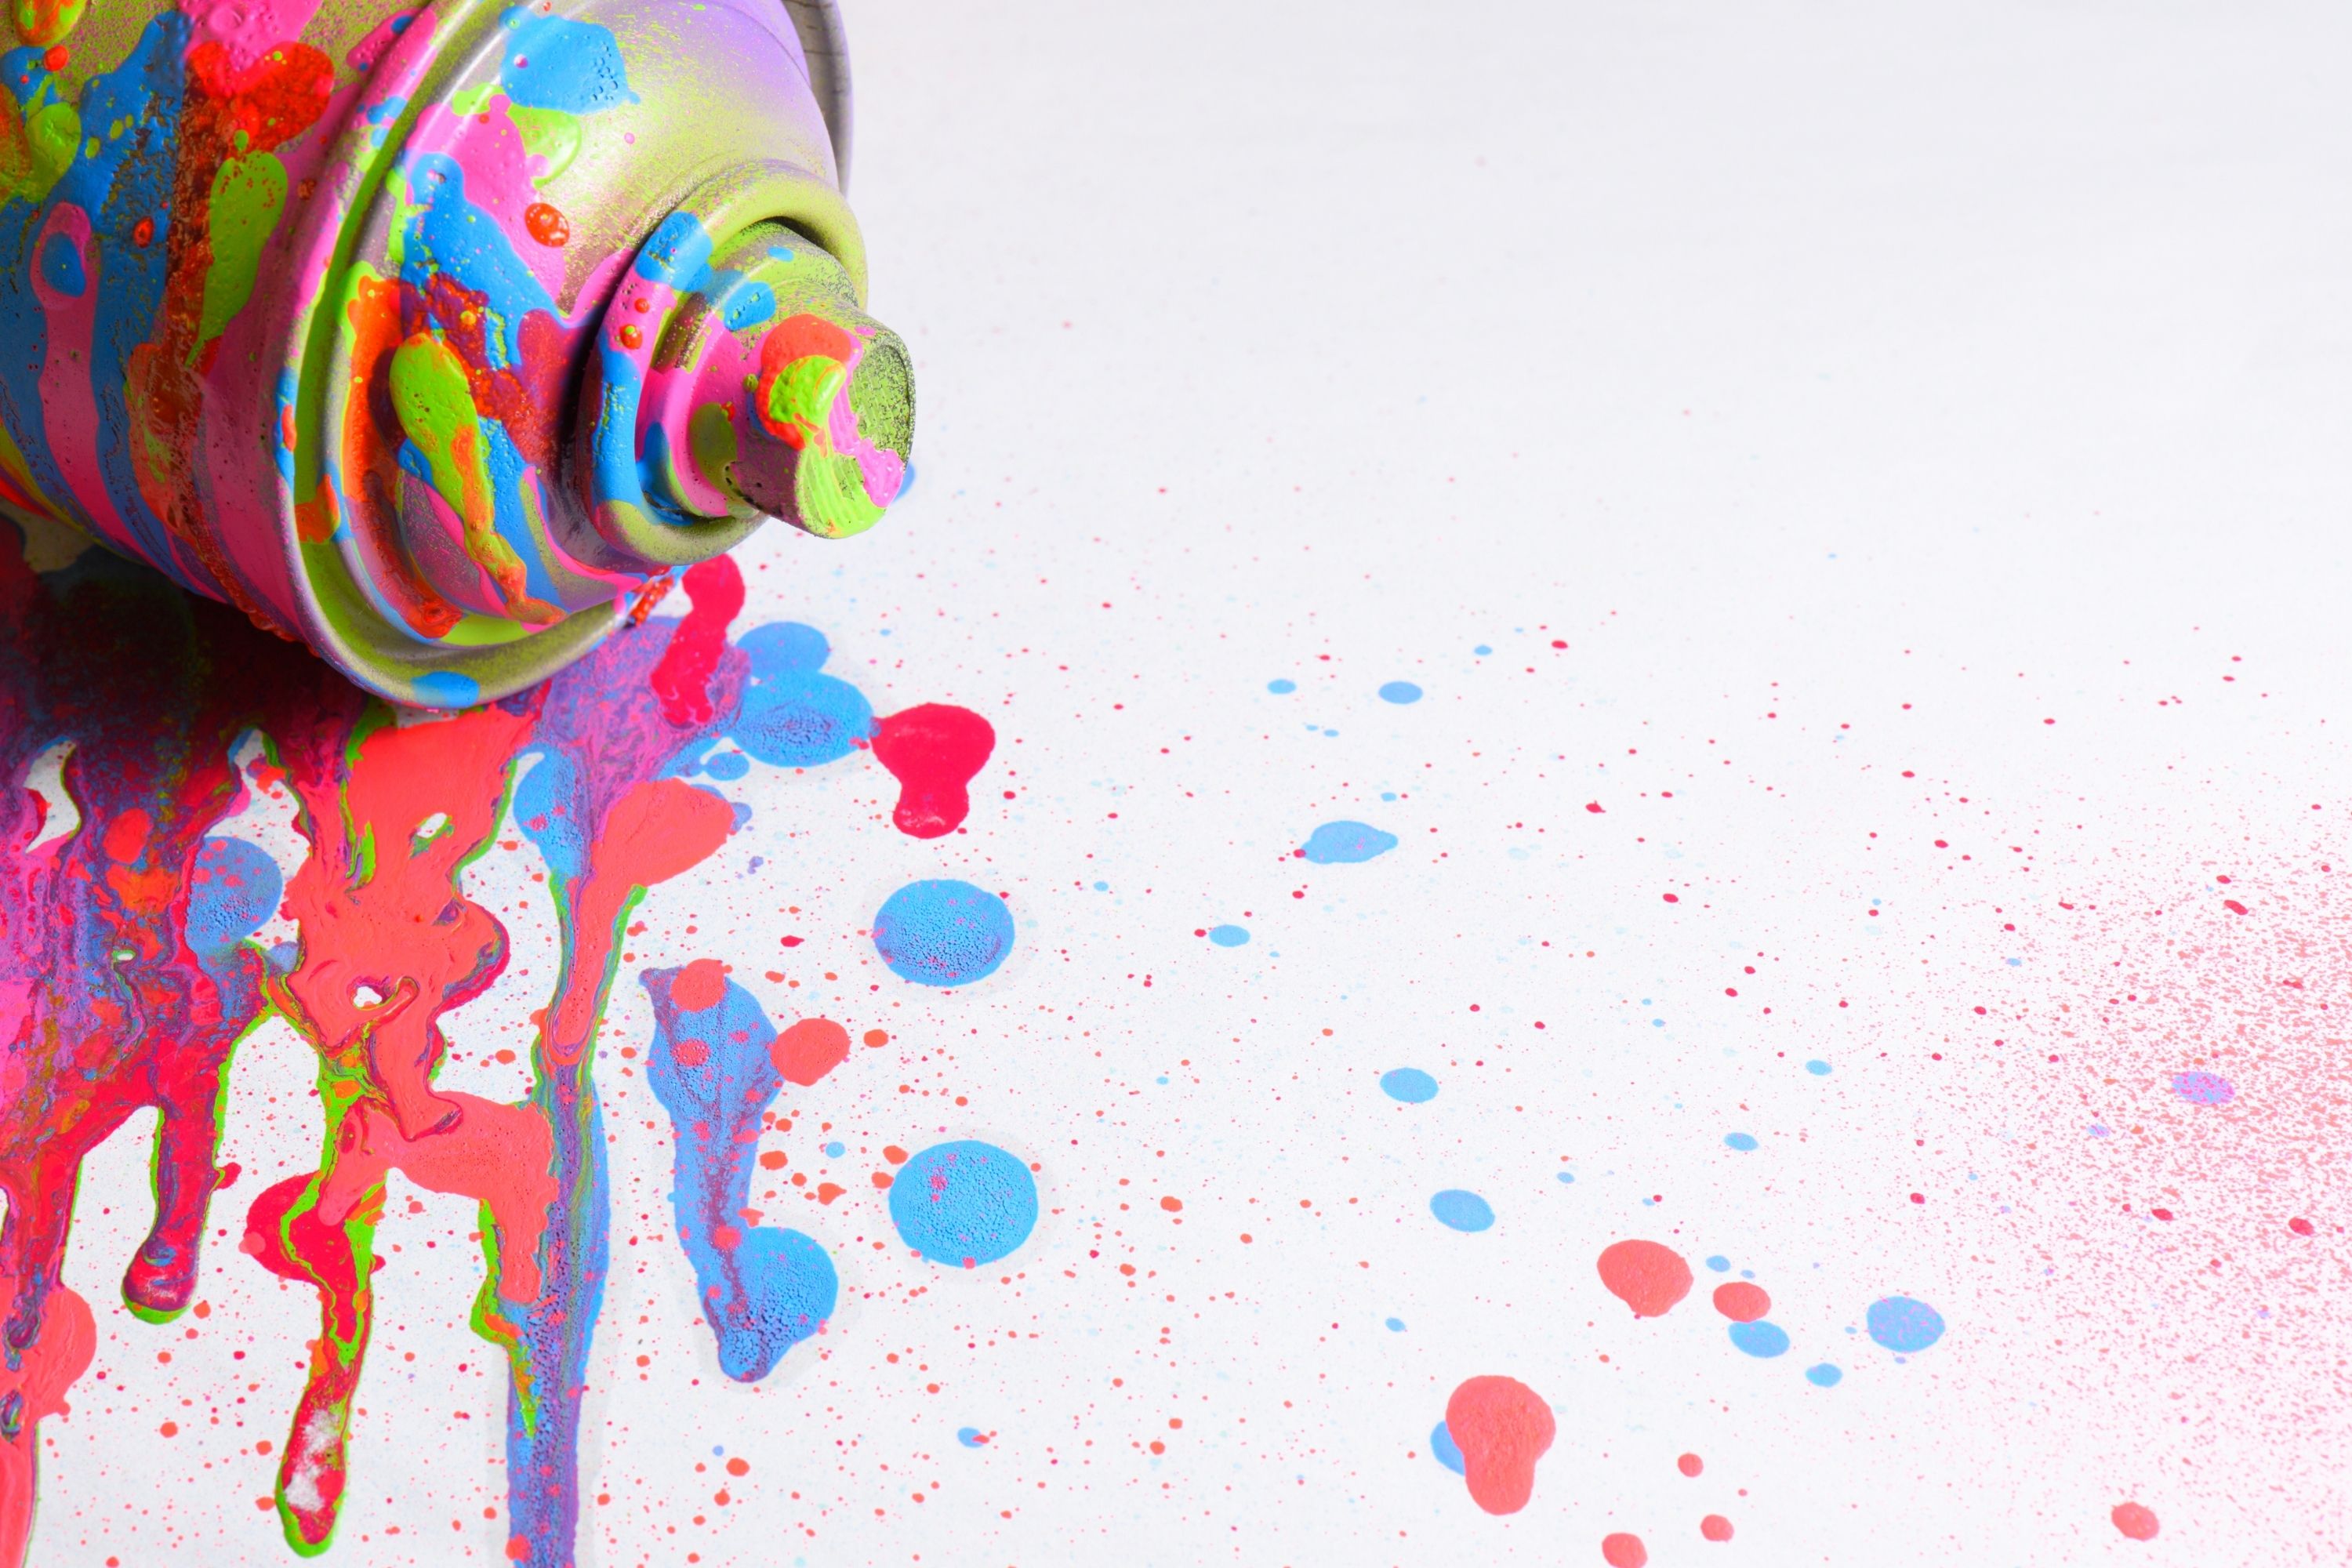
Apply Your Paint Correctly
This is the major and the most common mistake people do when using spray paints! Before you begin to paint, make sure that you know how to apply this type of paint correctly:
- Always shake the can of paint for at least three minutes before using it
- Shake it during and after the painting process to keep it properly distributed and able to be applied evenly
- When spraying, keep your application stroke fluid and light
- Keep the can of paint so that you have six inches between its nozzle and the painted surface
- Allow forty four hours between layers to dry
- When painting wood, always seal it
With these tips and suggestions, you will definitely forget about such an issue as bubbled spray paint on any type of surface you apply it to!
Credits: Ehimetalor Akhere Unuabona, via Unsplash.com
What to Do In Order to Avoid Spray Paint Bubbles
Of course, it is good to be aware of the basic methods of fixing the bubbled spray paint cover.
But let’s agree, it is way better to know what to do in order to avoid that issue at all.
Fortunately, when dealing with spray paint, you can relatively easily skip this unwanted bubbly scenario!
- We suggest you spray paint when the temperature is between fifty and ninety degrees Fahrenheit and the relative humidity is below 85%.
- We also suggest applying multiple thin coats of spray paint.
- Begin and finish your spray paint pattern off the object.
- Release spray button at the end of each pass.
- Use an even side-to-side motion.
- Overlap your spray paint pattern by about one-third.
Like this, you can keep your surface bubbles-free easily.
Credits: Illya_Vinogradov, via Canva.com
So, today you have learned how to get rid of bubbles in your spray paint if those appeared after its application! Also, you are now aware of how to prevent those bubbles from developing and why they can appear at all.
Use the tips we shared with you, paint wisely, and you will always have an ideally smooth and glossy finish on whatever surface you have!
Ever wished paint sampling was as easy as sticking a sticker? Guess what? Now it is! Discover Samplize's unique Peel & Stick samples. Get started now and say goodbye to the old messy way!
Get paint samples


Frequently Asked Questions
⭐ Can spray paint be bubbling on metal?
Yes, it can.
⭐ Why is my airless paint sprayer leaving bubbles?
The layer of paint is too thick.
⭐ How to fix my spray paint can that’s spitting?
Pull the trigger before you’re over the surface and release the trigger when you’re after the edge.
15 thoughts on “Why Is My Spray Paint Bubbling?”
Leave a Reply


What makes spray paint bubbling on plastic surfaces? And how do I fix that?
I know that it’s often recommended to poke paint bubbles with a needle. Is this how to fix spray paint bubbles on metal too?
I guess it is. I mean, bubbles appear either because of dirty surface or because of high humidity levels. It doesn’t matter what surface they’re on.
I guess it is. I mean, bubbles appear either because of dirty surface or because of high humidity levels. It doesn’t matter what surface they’re on.
The reason for bubbles in paint is often contaminants left on the surface. This is why, before you begin the painting process, remember to clean the surface to get rid of those bubbles.
Hi! Could you please explain how to fix spray paint bubbles on wooden surfaces? Thanks!
Hi! Well, it’s the same method you’d use on other surfaces to deal with bubbles. You need to pierce them with a fine sewing needle and then flatten the surface using a paint scraper.
Does anyone know how to fix bubbles in spray paint? I mean those bubbles that are left after you spray the paint to the surface.
Well, the only tip I can share with you is to use a regular sewing needle to pop those bubbles. Yep, it will take you some time, but I don’t know another method. You just need to pierce the bubbles with a fine sewing needle and flatten them with a paint scraper.
Why is my second coat of spray paint bubbling all the time? Do I need to prepare the surface somehow beforehand?
It’s not always about the surface. Perhaps, it’s just too wet outside or the humidity level is too high in the room! In these cases, the first coat of paint needs a longer dry time. So, if you start applying a second coat before the first one has dried, it will bubble.
I was spray painting my garden furniture yesterday, and I applied two coats of paint as recommended. But why is my second coat of spray paint bubbling?
Perhaps, you applied too thick coats of paint? It happens sometimes, I went through this, too. Or, maybe, you didn’t apply the primer. Also, something might be wrong with the surface itself (it was damp, etc).
Why is the spray paint bubbling on my wooden dresser? Is it something wrong with the paint or the way I applied it?
I guess the problem might be with the wood itself. Was it fully dry when the paint was applied? I once painted my wooden garden table when it was still a bit damp after the rain, and the paint attached really badly!