How Thick Can You Apply a Joint Compound?
Learn the ideal thickness that will allow the product dry fast and effectively
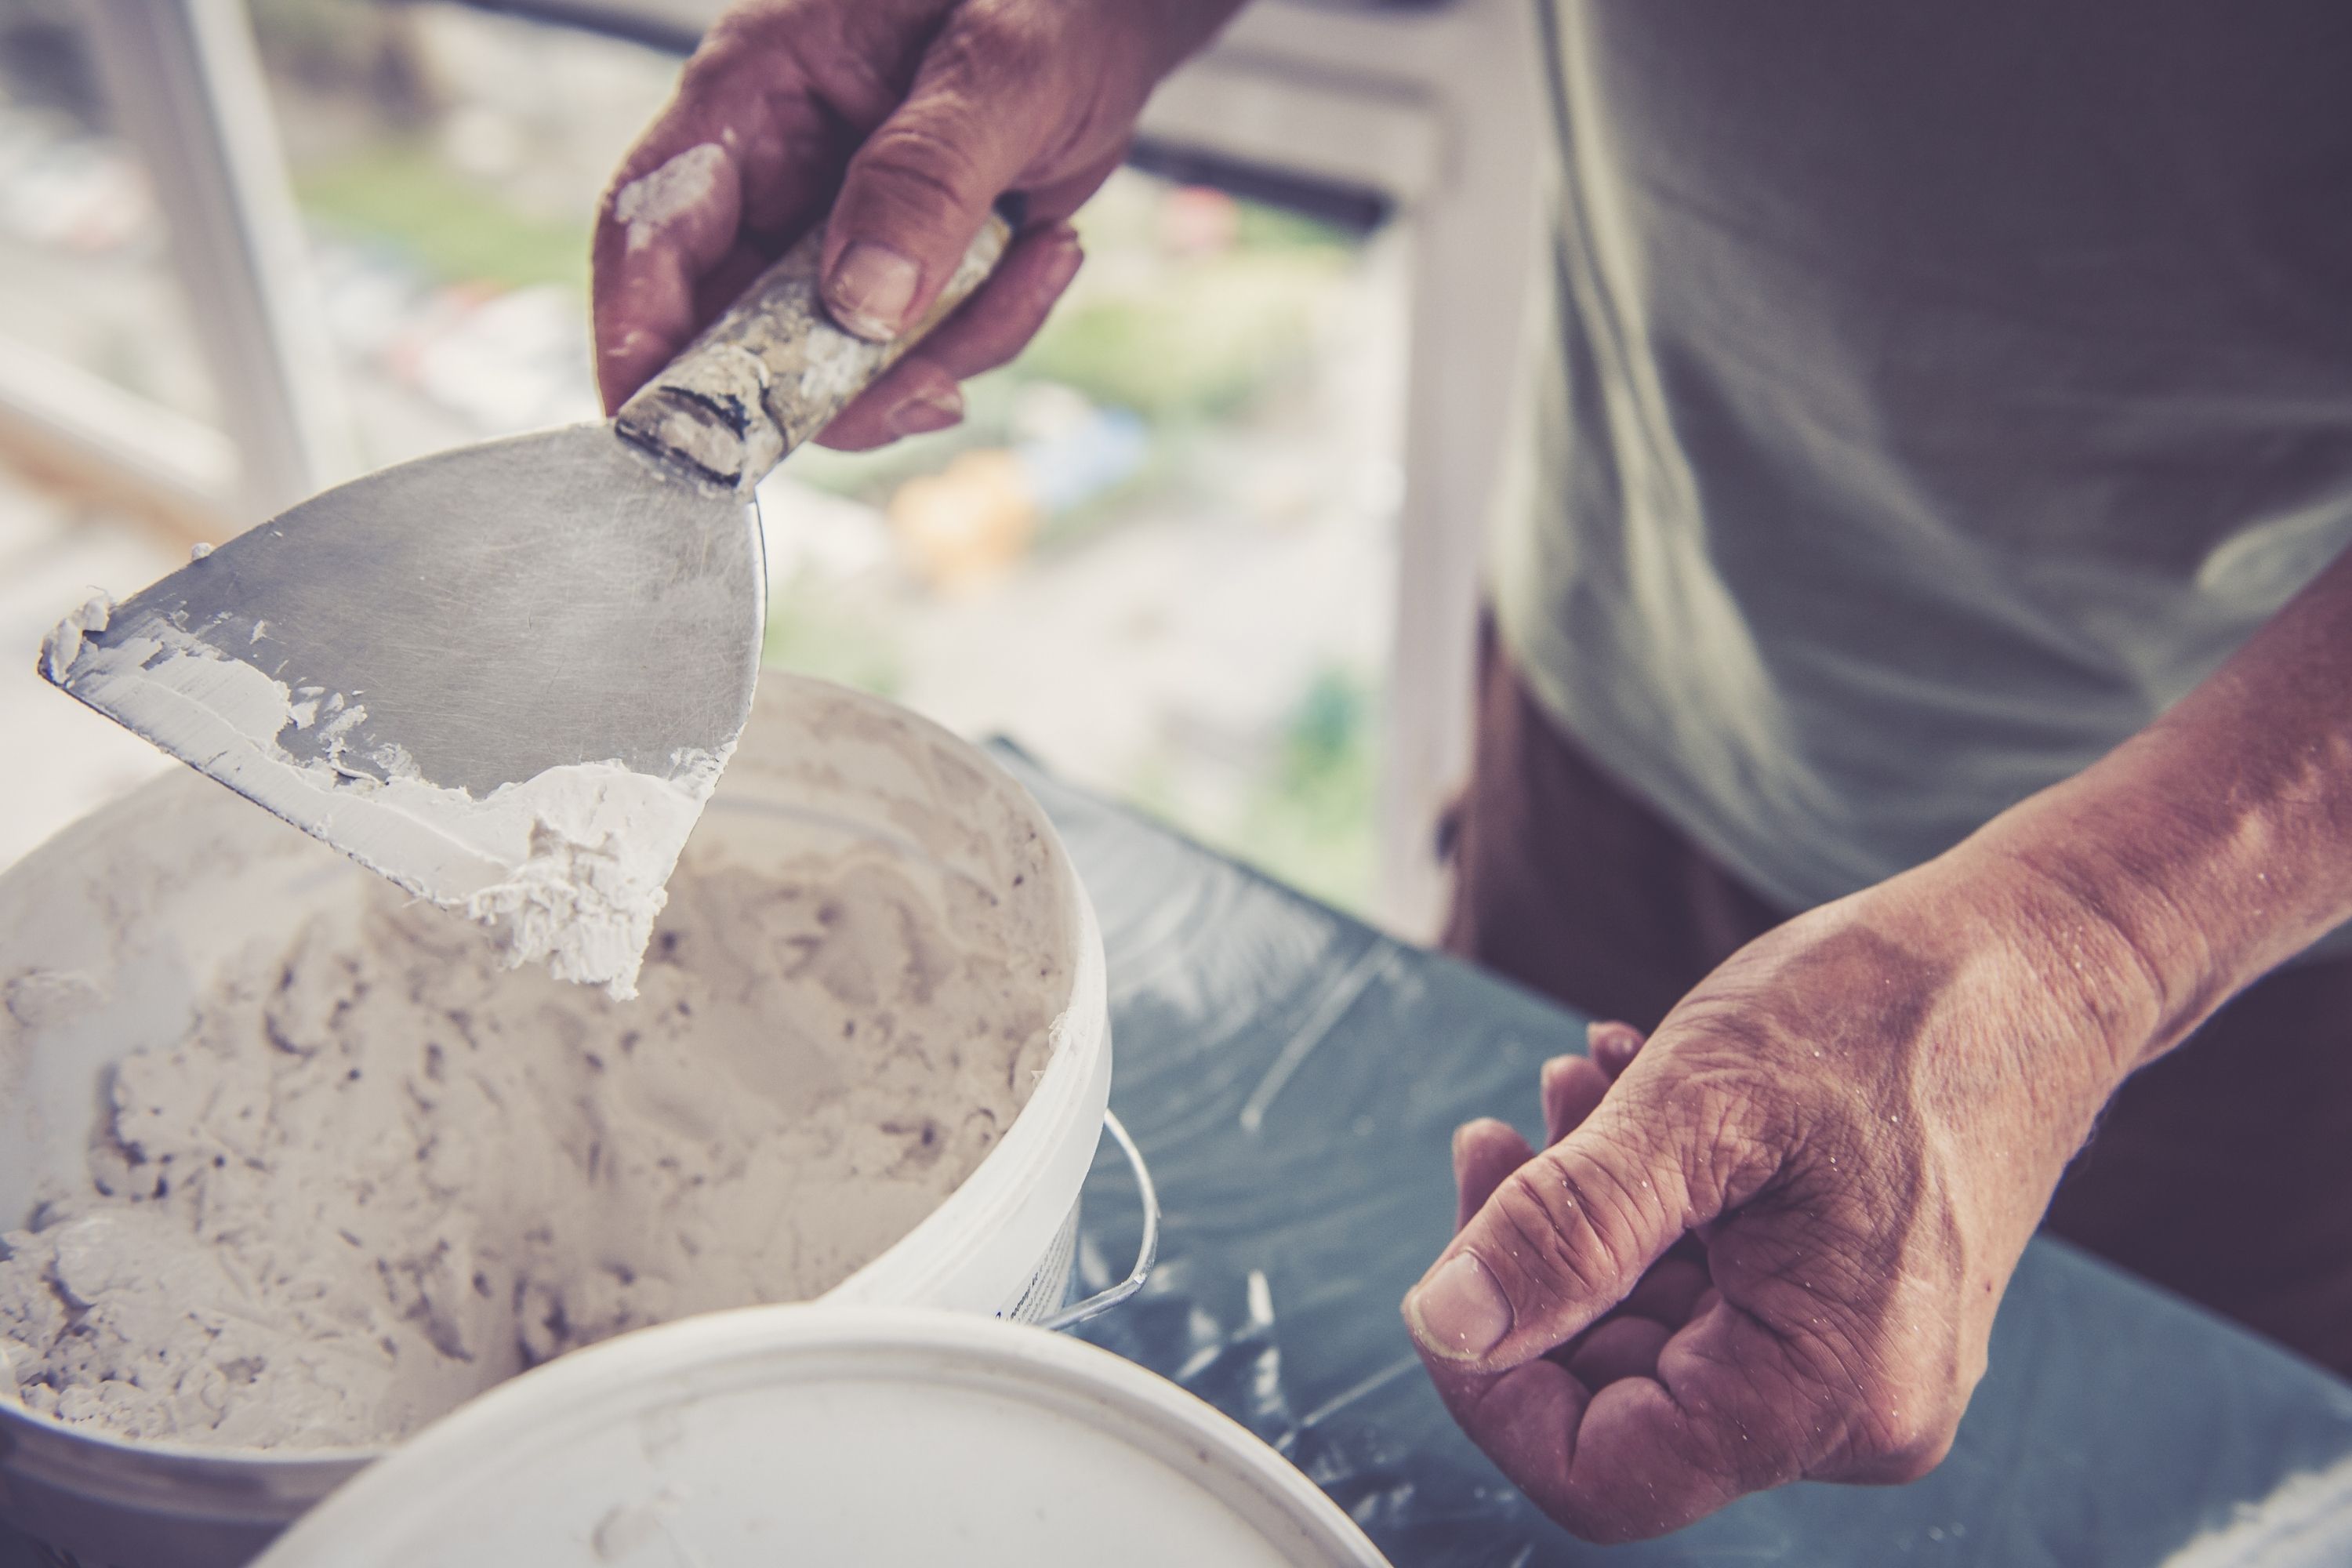
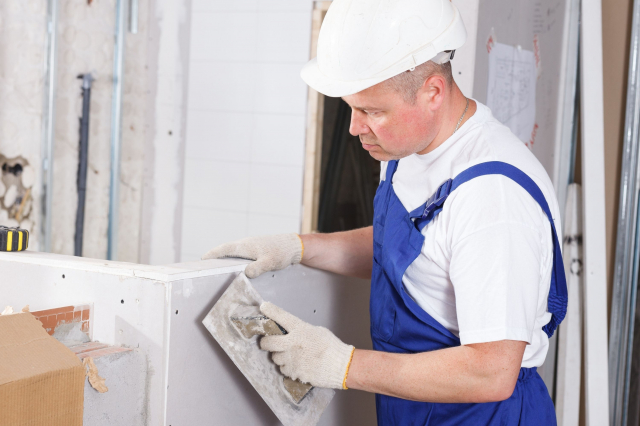
Drywall joint compound application is an irreplaceable step in fixing or renovating your walls. However, if you want to speed the process up and get a really high-quality result ending up with smooth walls, you need to know how thick you should apply the joint compound.
So today we will tell you how many coats of drywall mud to apply to make it dry faster and better. And as a bonus, you will learn what to do if you did apply a bit too much of it and your wall needs to be fixed.
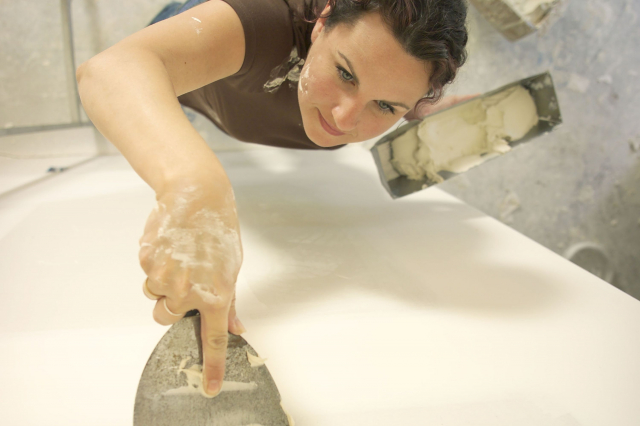
How Thick to Apply Drywall Mud?
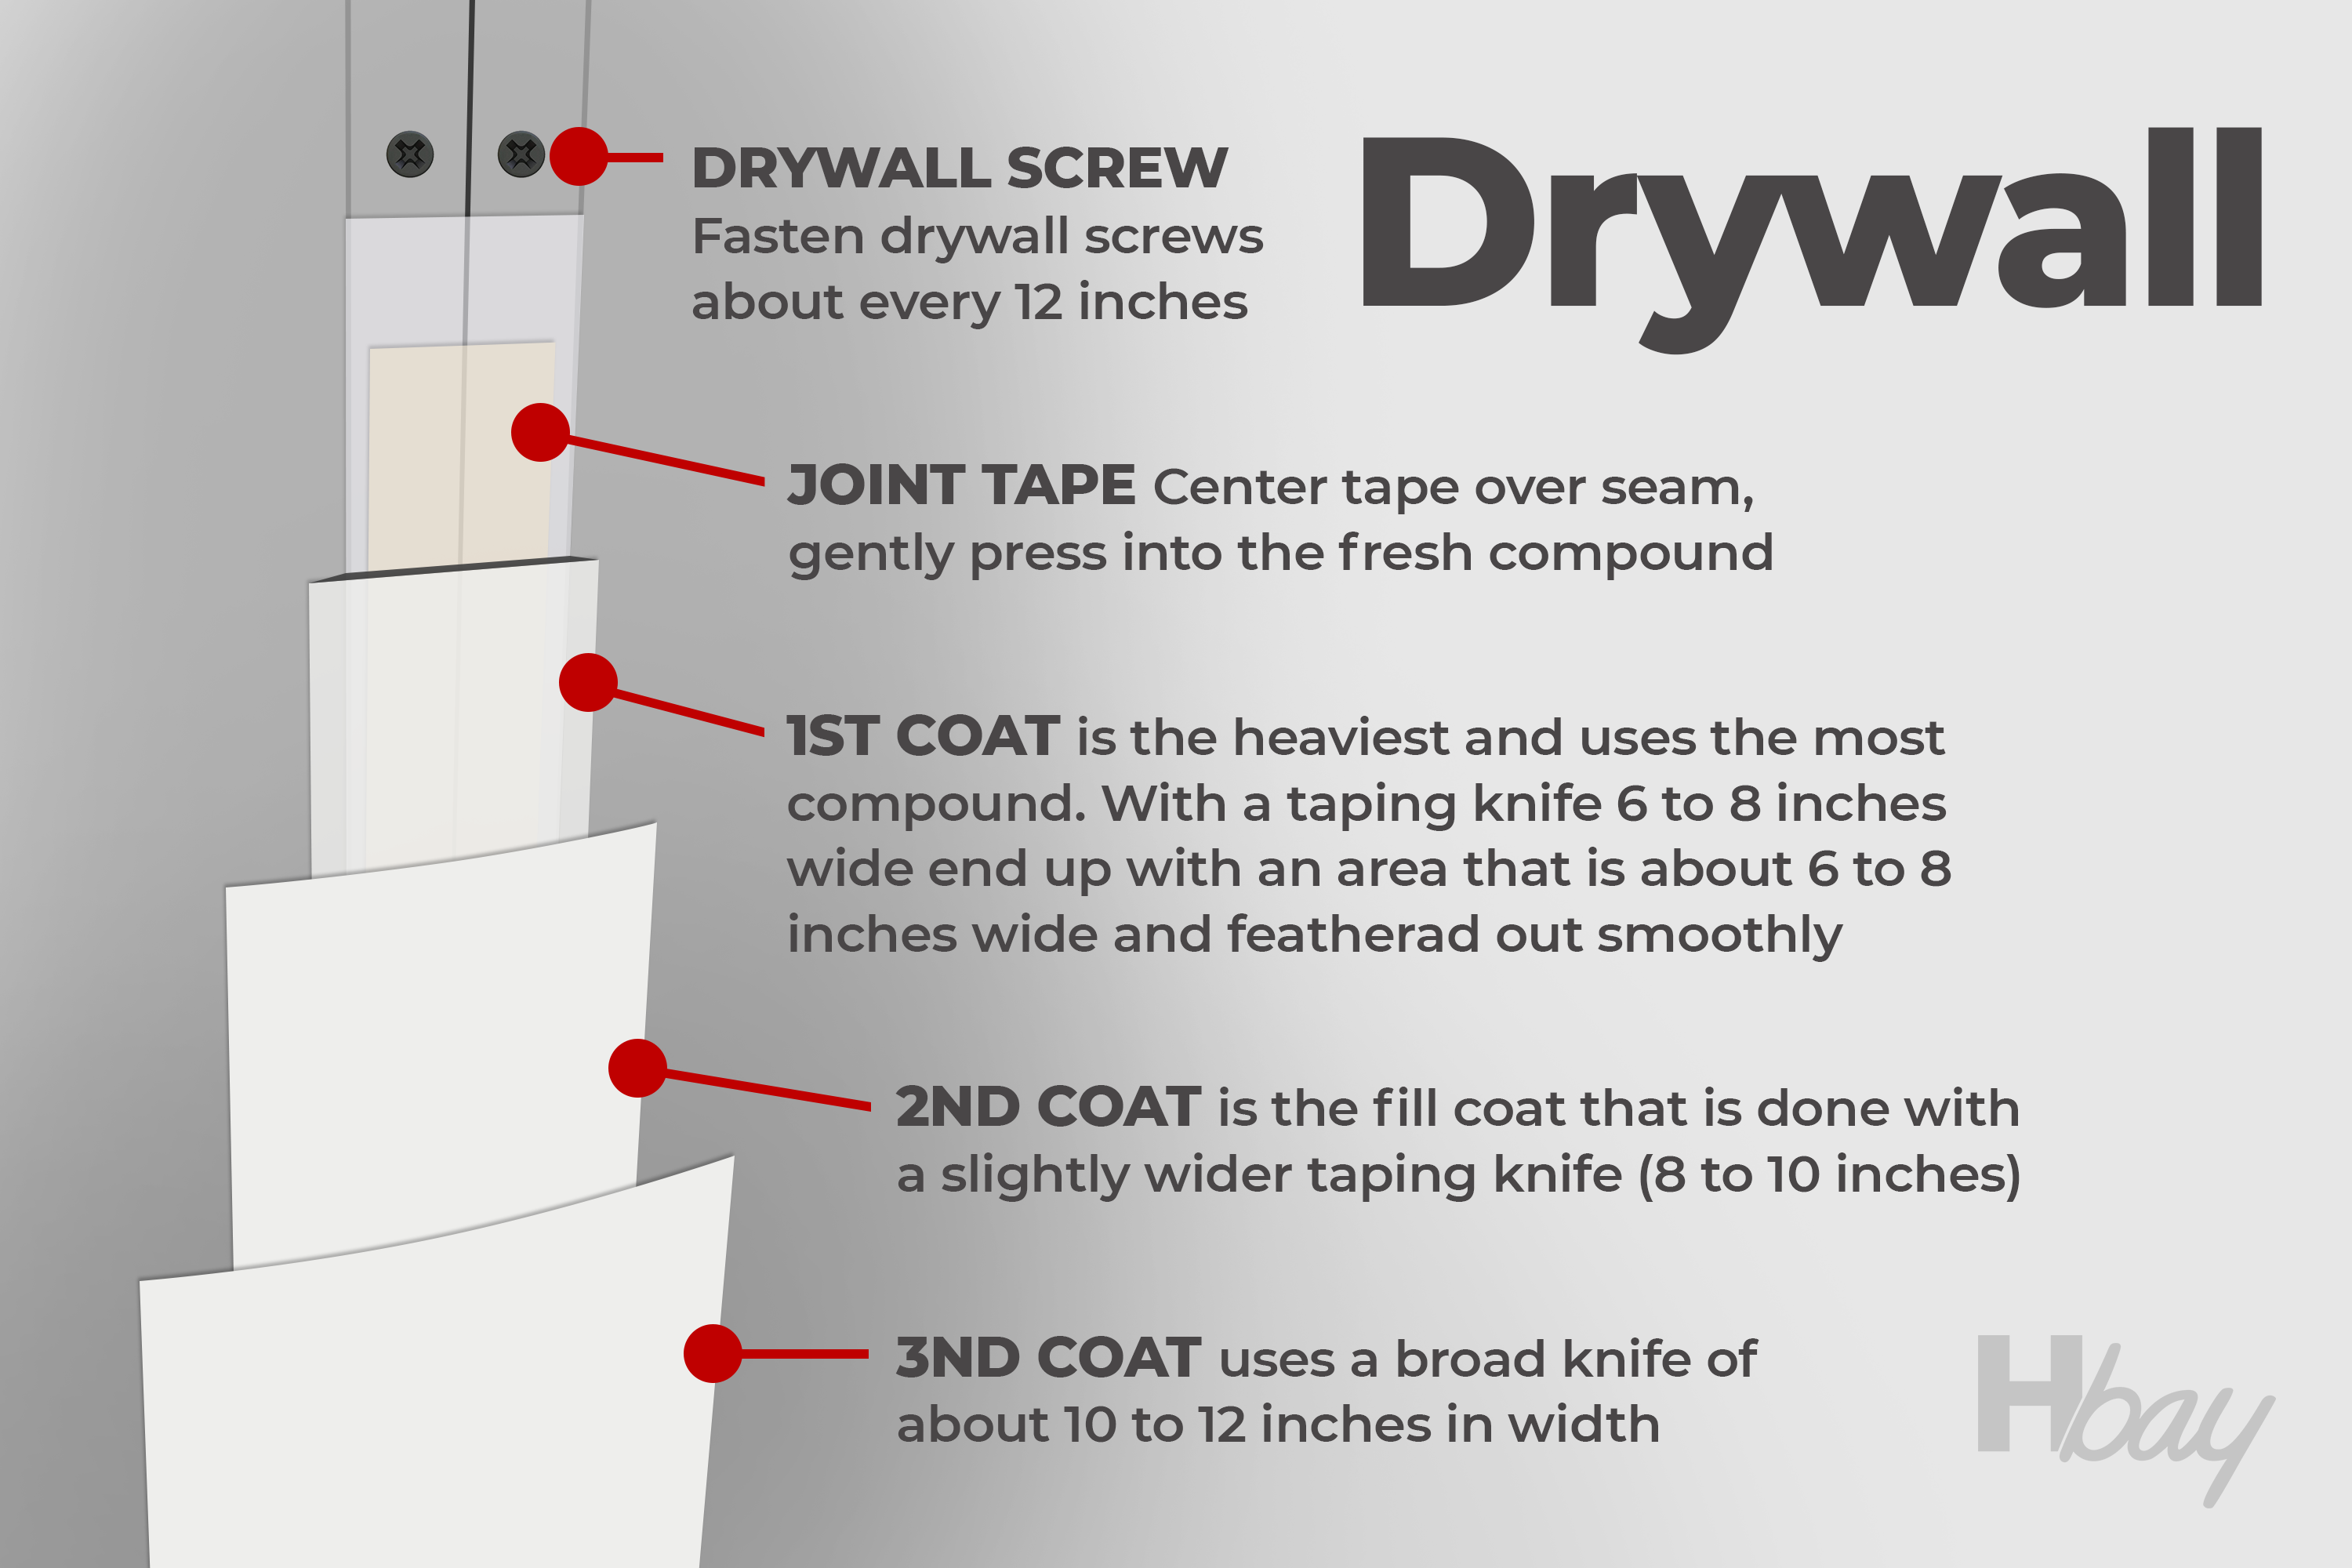
When applying joint compound, you normally have to make sure that the layer is not too thick. Up to twelve centimeters is usually fine, however, the most common average thickness is about a quarter of an inch. But in most cases, the very first layer that is applied using a regular light compound, will be even thinner, often about eight millimeters.
housekeepingbay.com
Nevertheless, the thickness of this compound needs to be different on distinct areas of the wall, and this also has to be taken into consideration.
For instance, you want it to be as thin as possible in general. When applied along the joints or the long edges, you will want it flush with the face of the drywall. Also, when you apply it over the screw heads and butt joints, a thinner layer is always better, but remember that the tape or mesh also needs to be covered!
In addition, there are a few nuances that need to be taken into consideration during the drywall mudding process.
First of all, bad framing will definitely affect the drywall not in the best way. As a result, you or the taper will have to apply more joint compound, as well as to fine tune all the imperfections and flaws. Butt joints will also require more mud in width above the surface in comparison to angles or recesses. Also, the thickness of the drywall joint compound layer hangs upon the drywall hanging workmanship and the joint being coated.
Housekeepingbay.com
How to Fix Too Much Mud On Your Drywall?
When mudding drywall, you may accidentally apply too much drywall joint compound. This usually happens with the taping newbies, but even if you already have some experience in this sphere, you should not exclude such a flaw possibility.
housekeepingbay.com
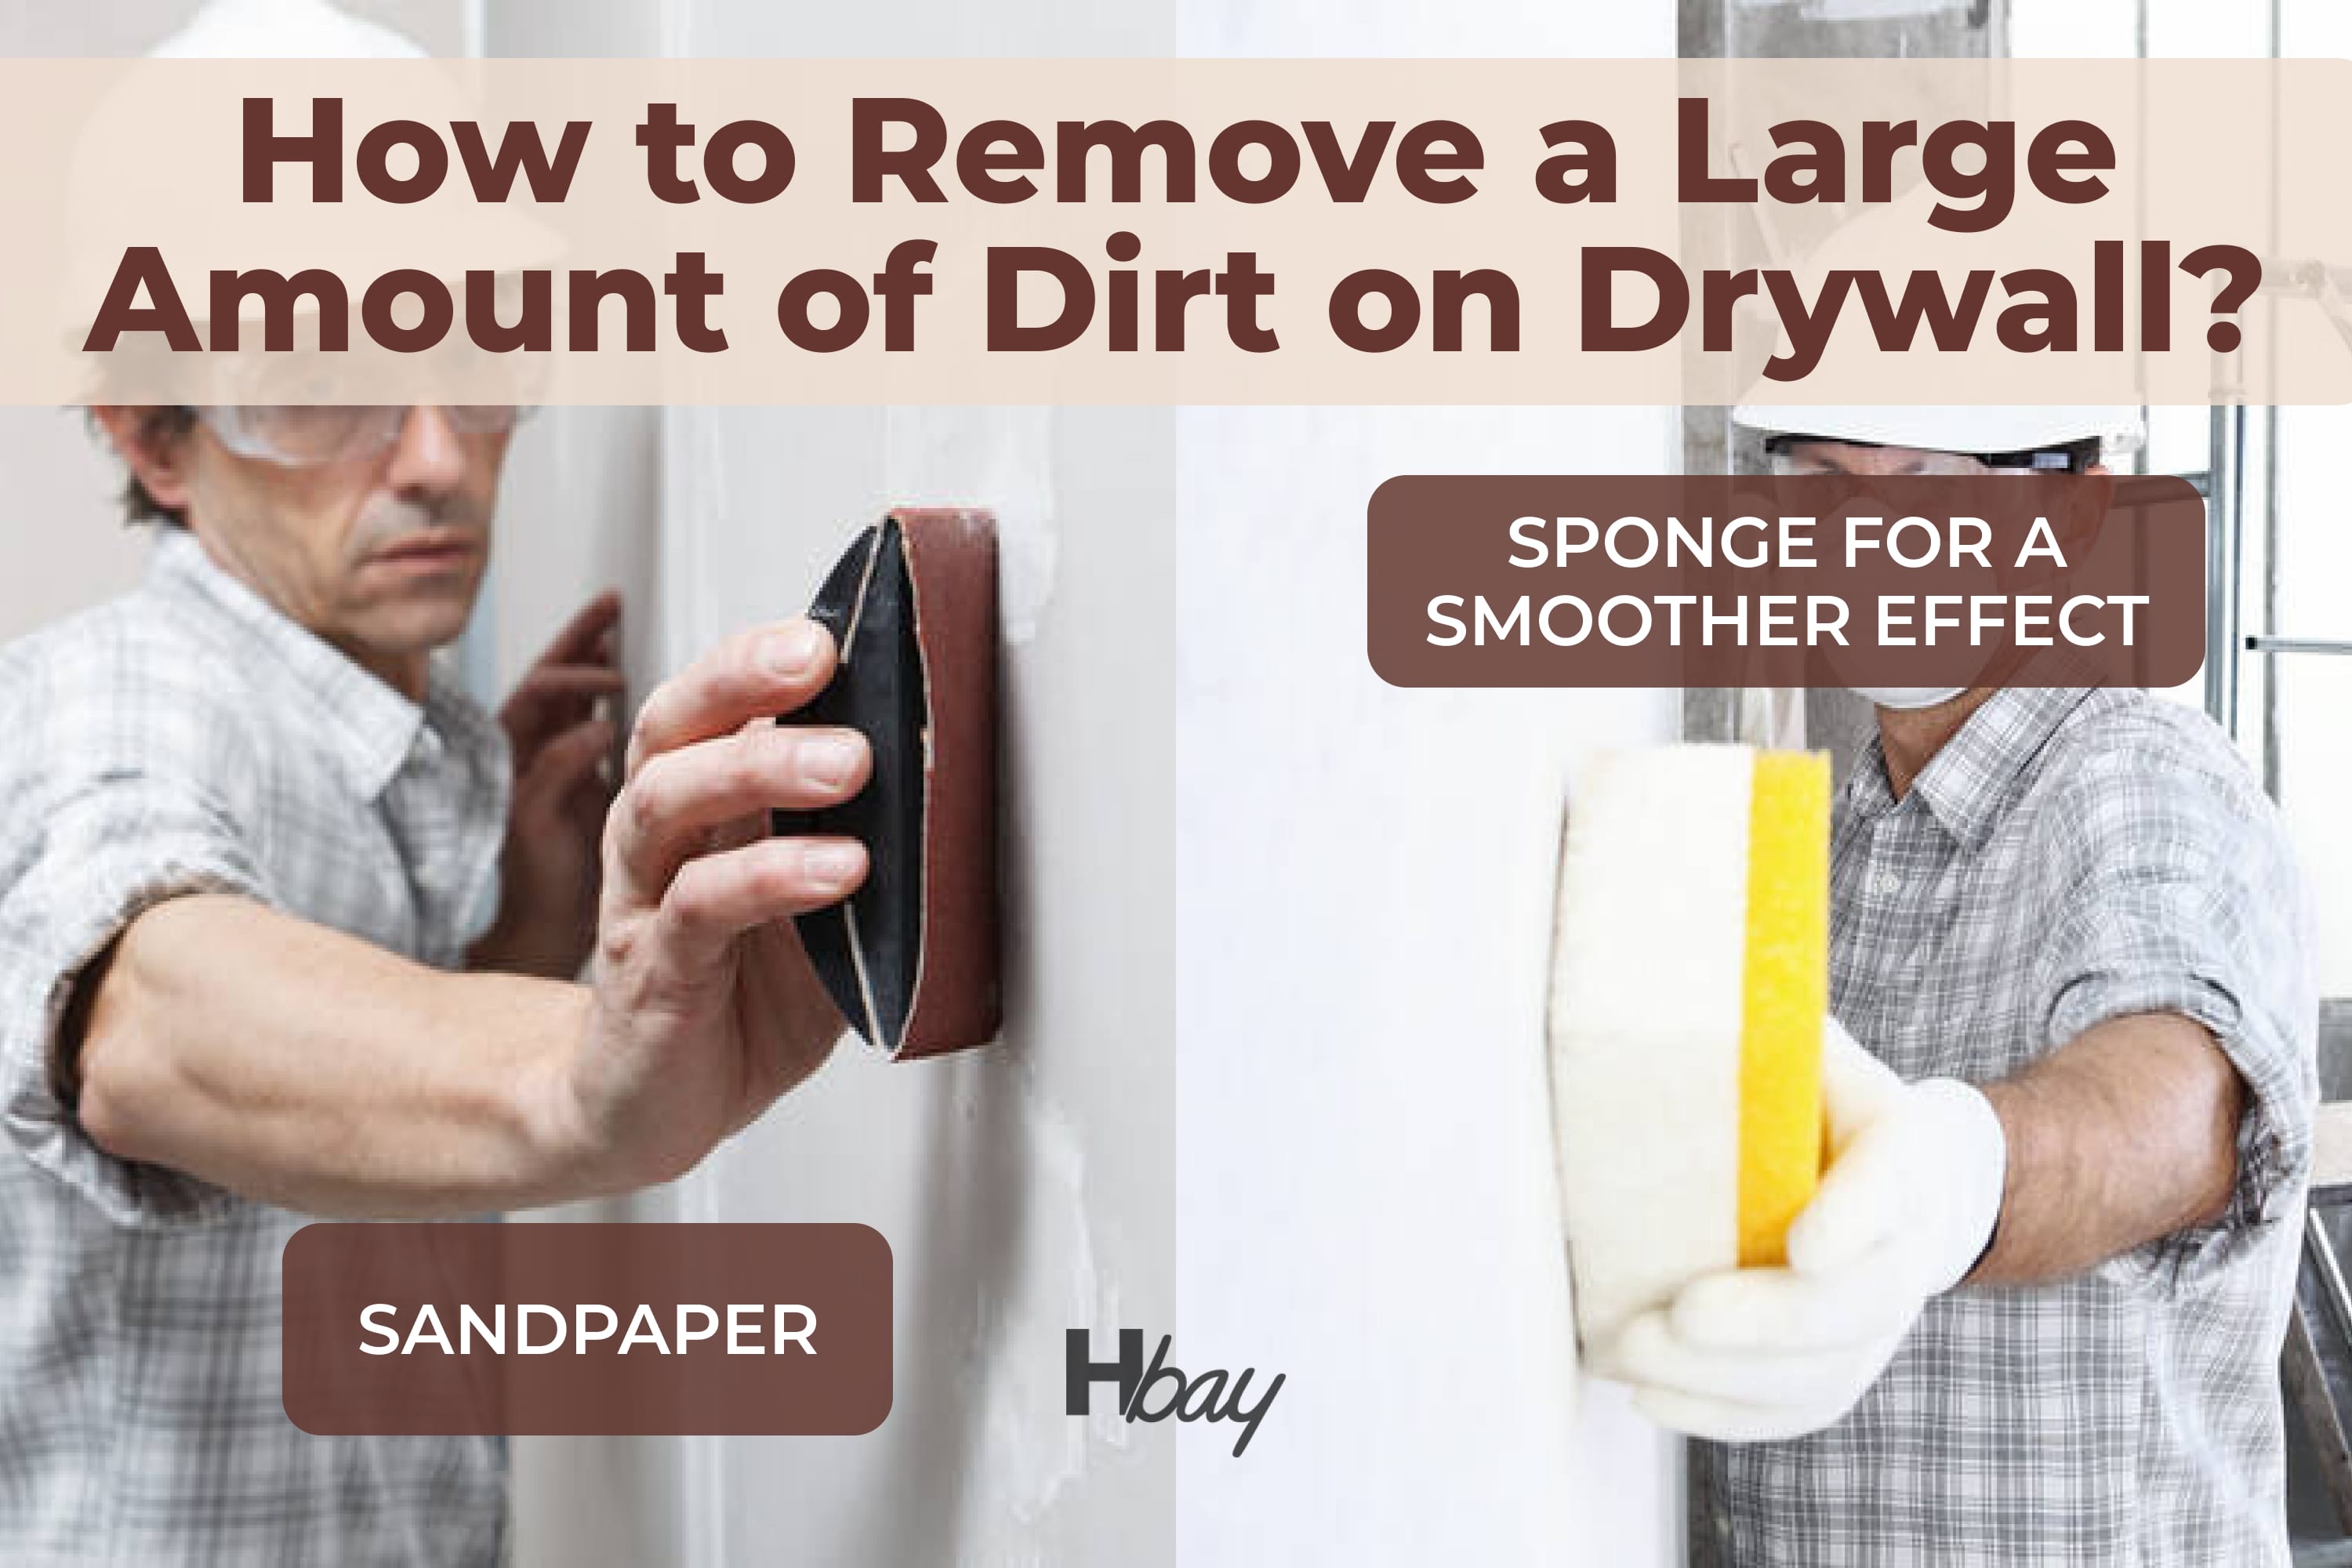
So what shall be done if it happens and you need to save your wall urgently? The solution is obvious and very simple: sand it! For this purpose, you can make use of one of the following tools:
- Go for a sand paper
- Or better opt for a sponge to get a smoother effect
Both methods are effective and are quite delicate when being applied to the drywall that has been recently covered with the joint compound.
However, do please note that, when using sandpaper, you will get way more dust! This is why make sure you protect your face with a respiratory mask to be able to breathe properly and avoid inhaling the joint compound dust.
In comparison, using a sponge (which is also known as a wet sanding method) will reduce the dusty effect.
Credits: valentynsemenov, via Canva.com
Table of Contents
What Can Excessive Drywall Mud Result In?
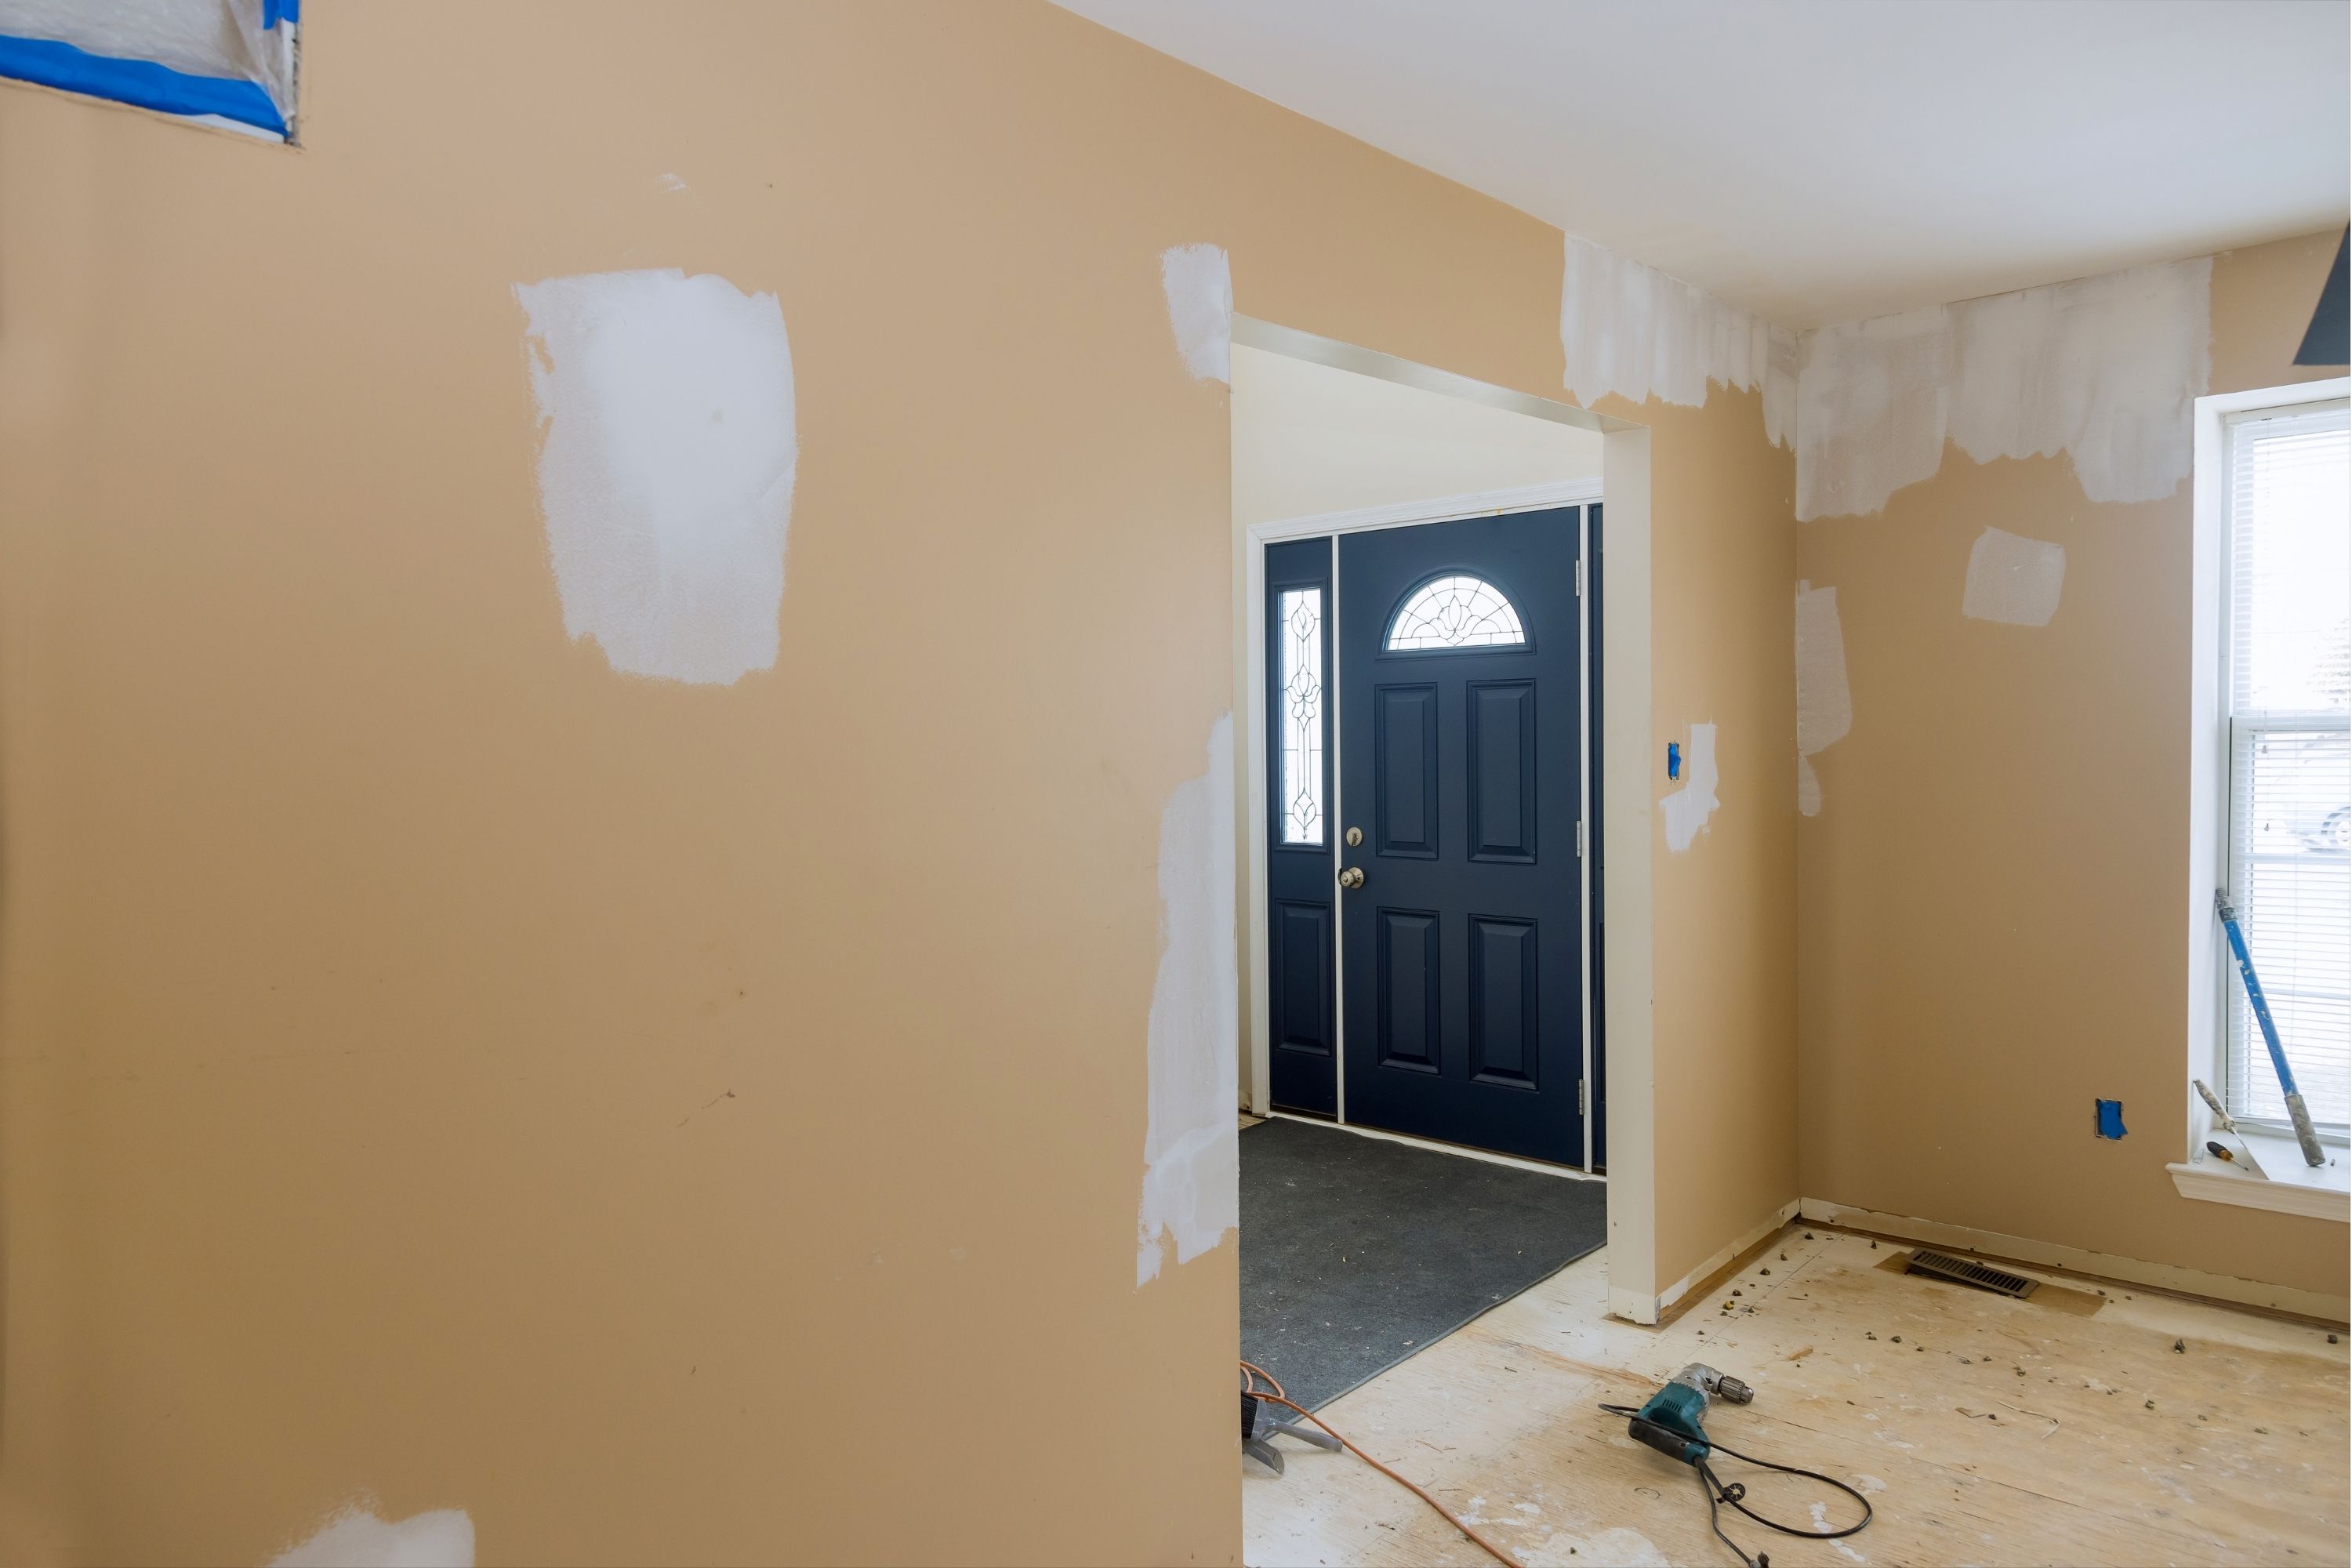
If you mud the drywall using way too much of the joint compound, it may result in a most common problem that most home renovators face. It is that you are going to have cracks on your drywall.
It usually happens if the joint compound is applied in a too thick layer, or if it was applied too quickly. To prevent cracking, simply don’t use more mud that you need for the current project for any of the coats. Also, let each coat of the drywall joint compound dry thoroughly and all the way through. Only when it is completely dry, another layer can be applied.
Credits: AlenaPaulus, via Canva.com
Handy Drywall Taping Tips
If you want on your drywall or plaster taping project to result in a smooth and flawless wall, and if your goal is to finish it faster, we recommend you considering a few handy yet very simple tricks that will allow you to boost your mudding skills and avoid any flaws or mistakes that most of us face while taping or mudding the wall.
housekeepingbay.com
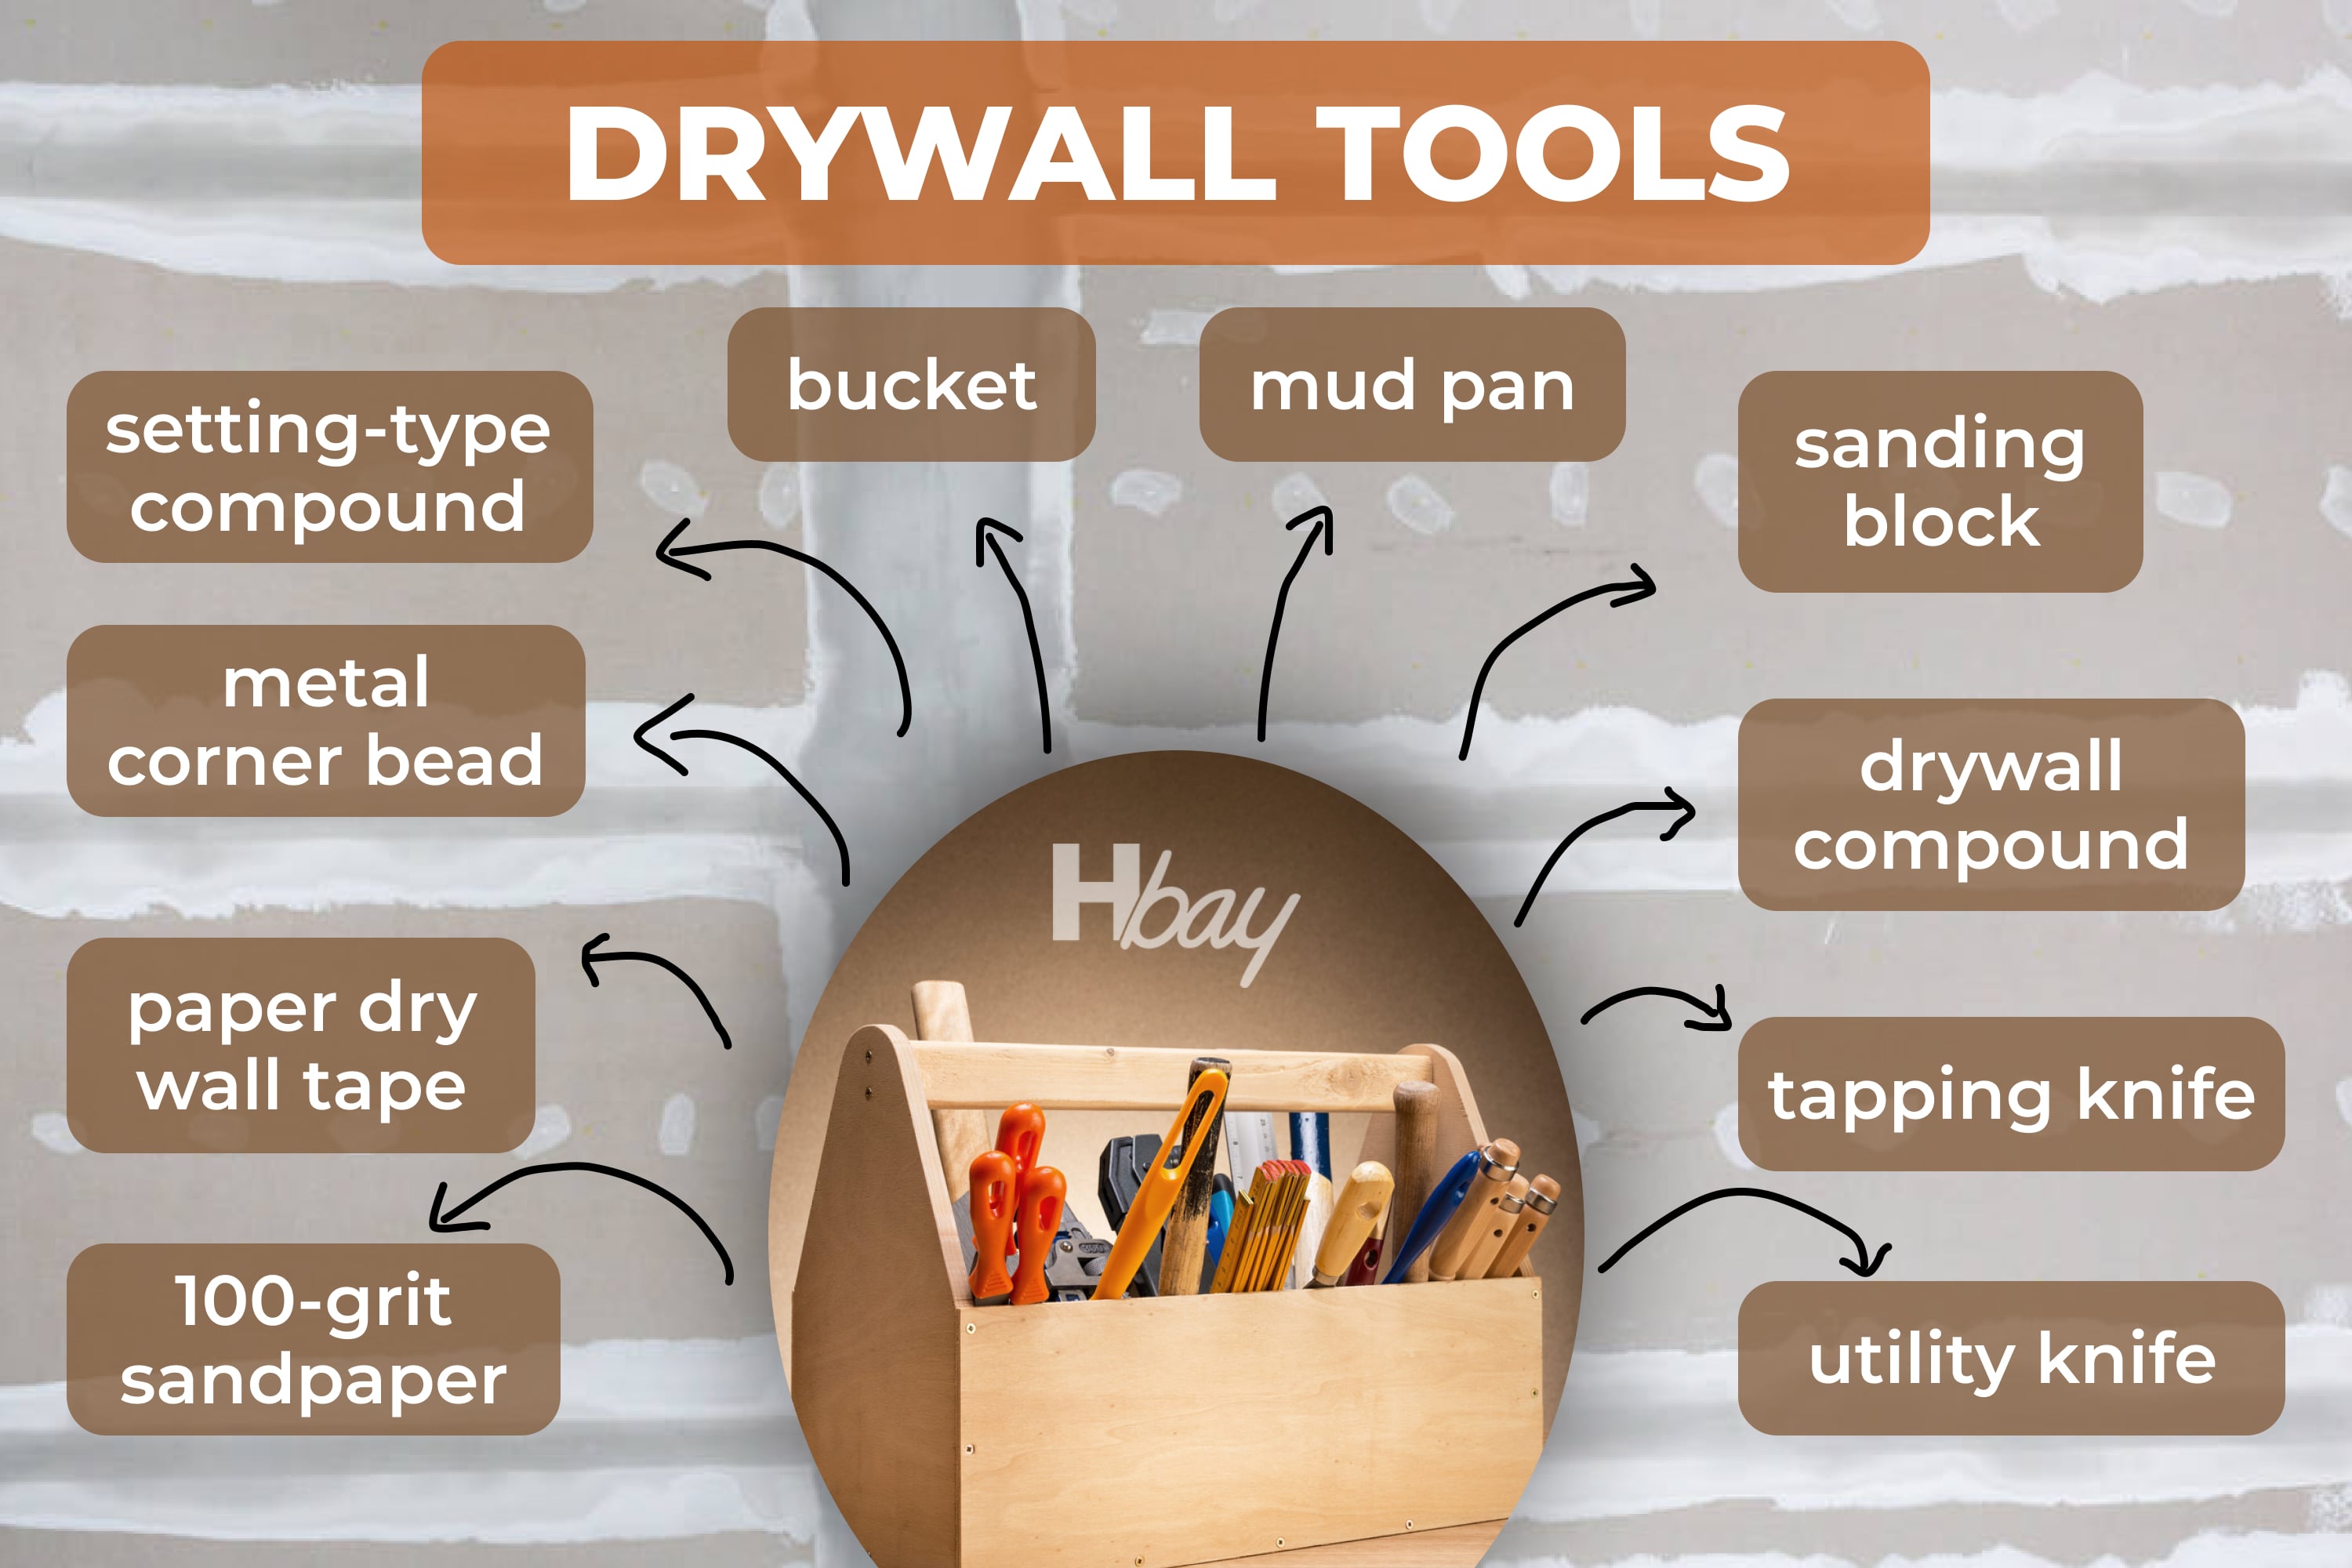
But even before you proceed, make sure you have all the necessary tools and products to fulfill this project successfully:
- a bucket
- a mud pan
- sanding block
- taping knife
- utility knife
- 100-grit sandpaper
- drywall compound
- metal corner bead
- paper drywall tape
- setting-type compound
With all that, check out what can be done to make your taping and mudding wall project flawless.
Credits: valentynsemenov, via Canva.com
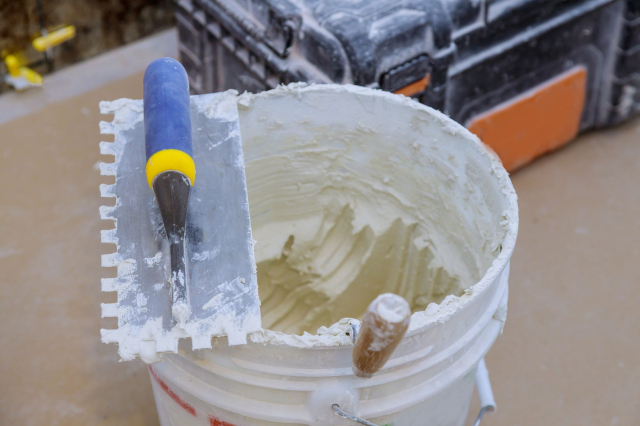
Mix the Compound
In case you have just opened the bucket with your drywall joint compound, we suggest you remove nearly a quart of it to have some room for water. Then you simply need to add two or three cups of water and start mixing the compound thoroughly.
If you want to act like a pro and speed up the process significantly (making the result also way better), we recommend you using a special ½ inch drill that has a special mixing paddle. But if for any reason you can’t get that one, stick to the good old “potato masher” – a type of mixer that is specifically made for this purpose and is supposed to be manually powered.
By the way, while mixing the joint compound, do keep in mind what it will be used for since it will influence its consistency! For hand taping, make sure your compound is of a pudding consistency. For the final coats, it needs to be even a bit thicker.
Also, if you are going to make use of this joint compound to utilize it for different minor projects, transfer some of it to another pail before you start mixing it. Like this, it will be more convenient for you to make use of it for, let’s say, finishing or taping!
Credits: valentynsemenov, via Canva.com
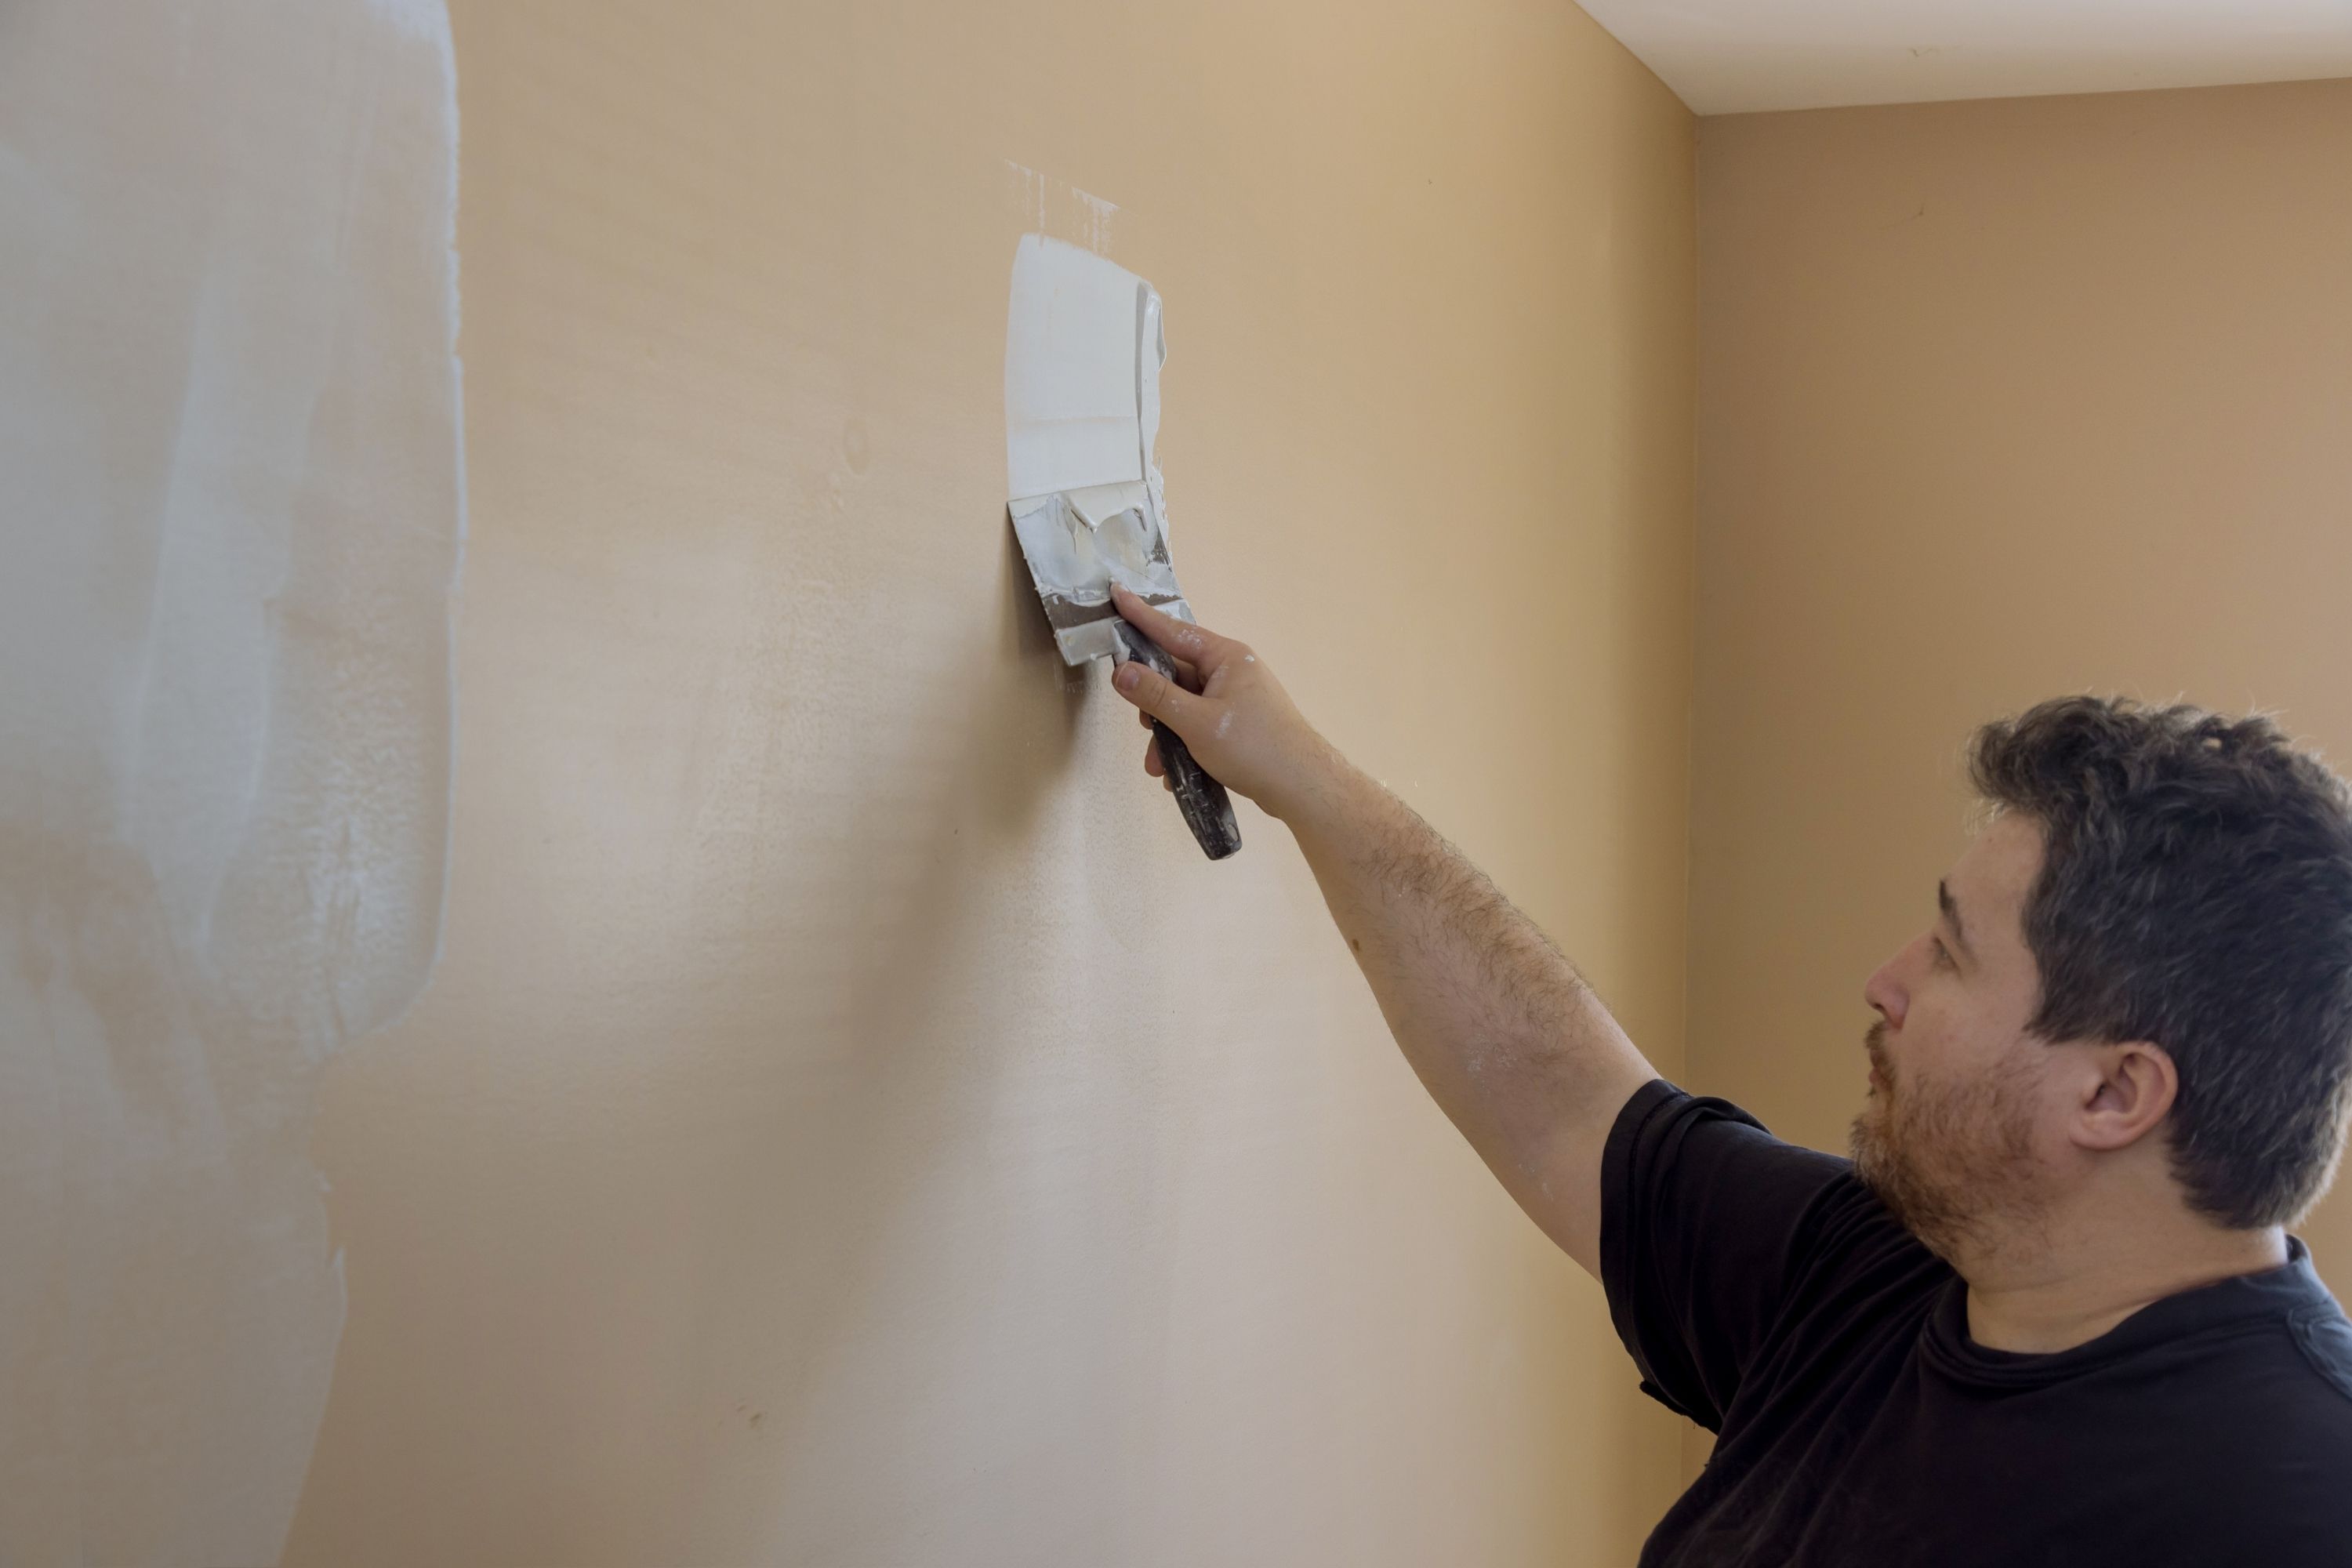
Avoid Using Compound Right From the Pail
Why is that, you might be wondering? See, such a joint compound will be simply way too thick to apply it and to spread it evenly, and this is the crucial aspect of using this substance. So even before you start taping, remember to make it thinner and mix it properly.
Pre Fill the Gaps Using a Setting Compound
It will allow you to make the surface smoother and more even which will help significantly when you will be applying the joint compound. As for the product needed for this task, we advise you to stick to a setting-type compound. It is just perfect for pre-filling since it creates no shrinkage and it also dries quickly and hardens well.
To pre fill any gaps with it, break out or cut out the areas of your drywall that you see are crushed or broken. Then you will have to peel away all the paper shreds that are remaining around the edges.
Now mix up a small batch of your setting-type compound but avoid mixing too much. If you do so, the substance will harden even before you use it up! Also, make sure you mix it thick enough so that it is able to stick in the holes without sagging.
Once the compound you applied gets hard to the consistency of soap, scrape all the lumps and high spots off carefully. Using the edge of the typing knife will be just fine for this purpose.
Finally, remember to fill the gaps between the sheets using the same setting compound you have mixed, and let it harden properly. Only after that, you can continue with applying the regular joint compound.
Credits: Maksym Povozniuk, via Canva.com
Cut V-Shape Grooves At Butt Joints
There is one quite common problem that amateur tapers face, and it is about the paper facing on drywall ends that may show through the taped seam. To skip such a scenario, carve a shallow “v” groove between the sheets after they are hung.
After you do the carving part, fill those carves with the setting-type joint compound prior to covering the seam with the regular joint compound and tape.
Credits: valentynsemenov, via Canva.com
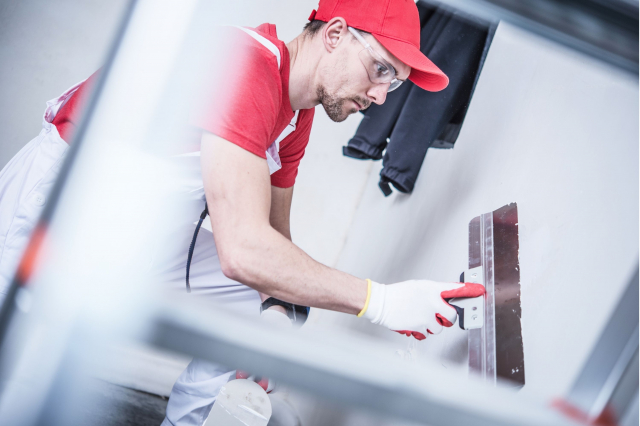
Scrape the Ridges And Bumps Between Coats
Even if you are a professional taper, you may leave small globs of joint compound on occasional ridges. It is vitally important to get rid of those since, if you don’t do this, those globs will cause you a lot of trouble later!
These chunks of dry joint compound can break off or get stuck under the taping knife causing ugly streaks in your fresh joint compound that will have to be filled in later. Fortunately, this issue can be quickly avoided if you simply scrape the joints between the coats!
Simply make a single once-over using a six-inch taping knife to get rid of those bumps and ridges.
Credits: aabsys, via Canva.com
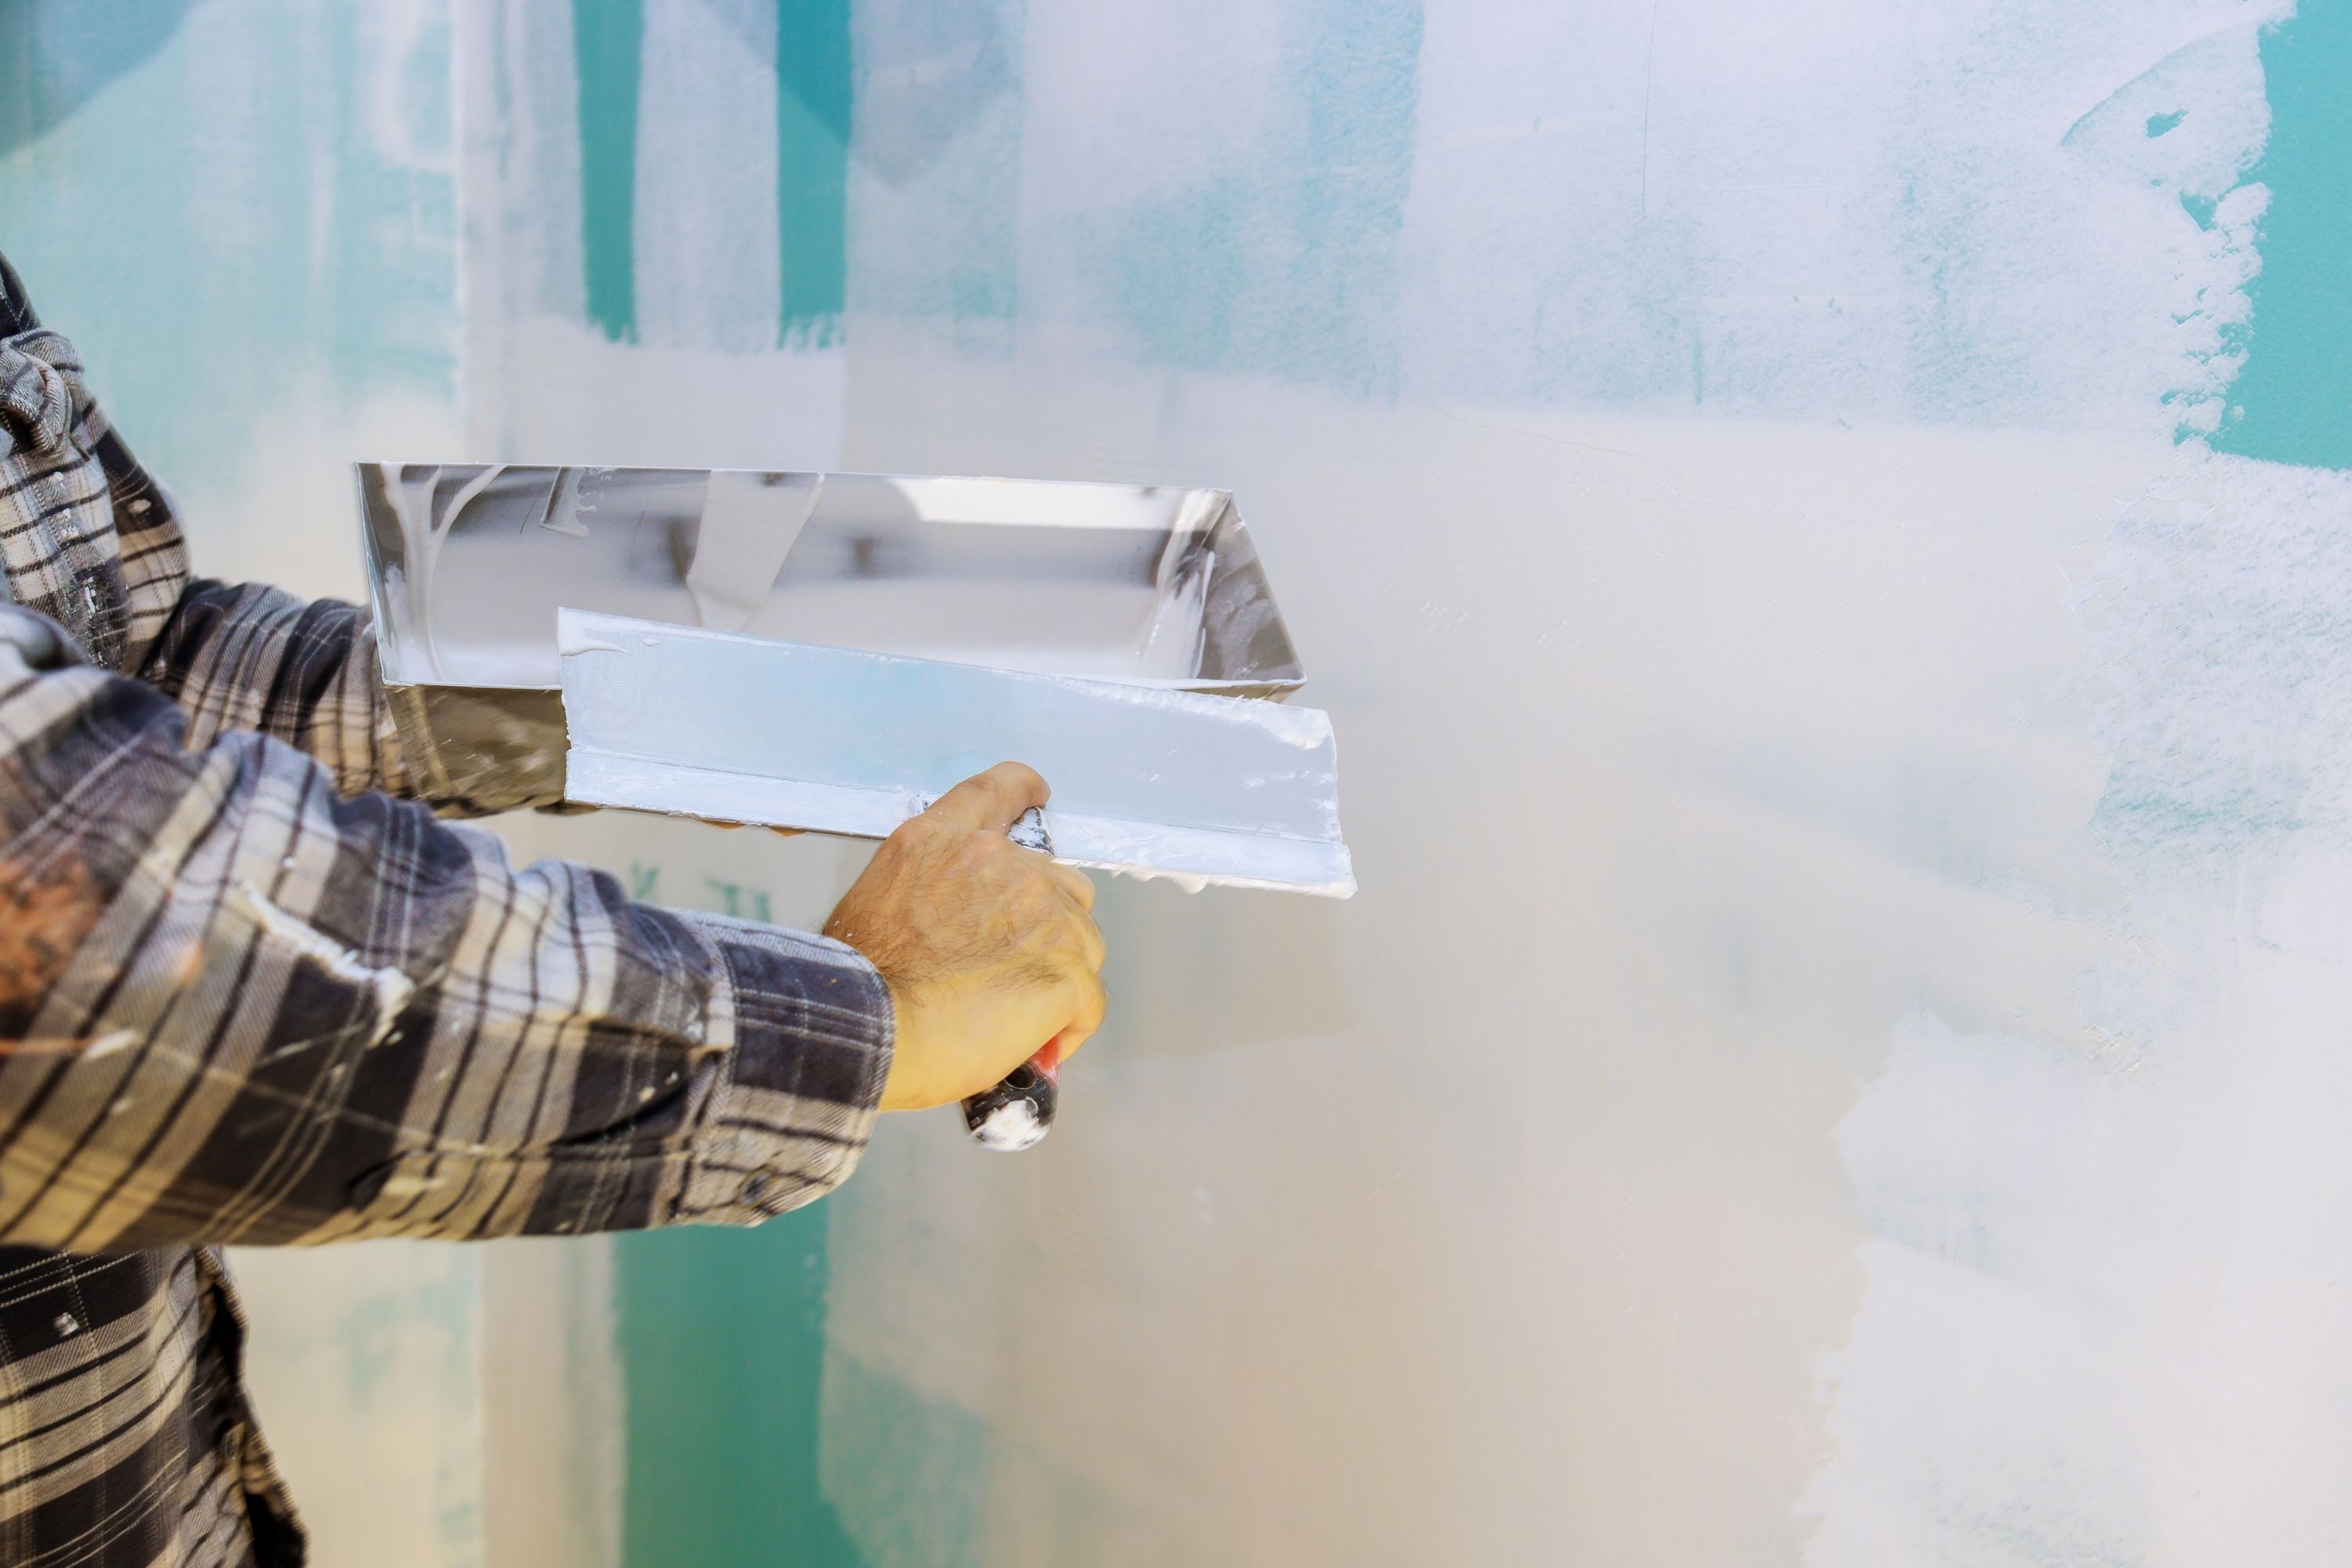
Embed the Tape Completely
If you make sure that the paper tape is properly embedded in the joint compound, it will allow you to avoid lots of extra work later. To do this properly, begin with applying a thick layer of joint compound (a “bed”) down the center of the seam.
Then smooth it down to make its consistent thickness of nearly ⅛ inch using either a 5-inch or a 6-inch taping knife. Then make the tape wet and press it into the joint compound. Afterward, starting at the center and proceeding towards the ends, press the tape into the drywall compound with your knife.
The major secret and the key to success is to make sure that joint compound comes out from under the both sides of the tape as you embed it.
Credits: Joaquin COrbalan, via Canva.com
Never Leave Dry Tape!
If paper tape is not completely embedded into the joint compound, it will anyway fall off or bubble later the second it gets dry. This is why it is essential to keep an eye on that tape while you are working on it with a knife when embedding.
If you notice sections on that tape where one or both sides of it are still dry with no joint compound oozing out, pull the tape off and apply more compound under those dry areas. Then simply apply the tape over the new joint compound!

Never Mud Both Sides Of the Corner At Once
You probably know that it is quite an easy task to get a flawless and smooth coat of joint compound on the first side on an inside corner. However, if you start on the second side at once without letting the first side to dry, you can mess things up. This is why always give the first side enough time to dry.
Wet the Paper Tape
If you wet your paper tape prior to embedding it into the drywall joint compound, it can help you to eliminate troublesome bubbles that usually appear right after the joint compound dries. This is why our suggestion is to keep a bucket with water at hand all the time and quickly run each tape of paper through it prior to applying it to the wall.
Credits: RossHelen, via Canva.com
Cut Out Loosed Or Bubbled Tape
Even if you managed to embed the paper tape into the joint compound perfectly, you may still stumble upon a section or two of that tape that is bubbled or comes loose! And here the biggest mistake would be to try to hide the flaw with even more compound that is already used. It will not help since the problem will show up later.
Instead, cut around the problematic area with a utility knife and simply remove the tape! Also, remember to fill the recess with setting compound to avoid a divot, and let it harden before another coat of joint compound will be applied.
So now you learned about the ideal thickness of joint compound that needs to be applied onto the drywall. With that, and also with the bunch of mudding and taping tips, you will be able to successfully finish your project even if you are a newbie!
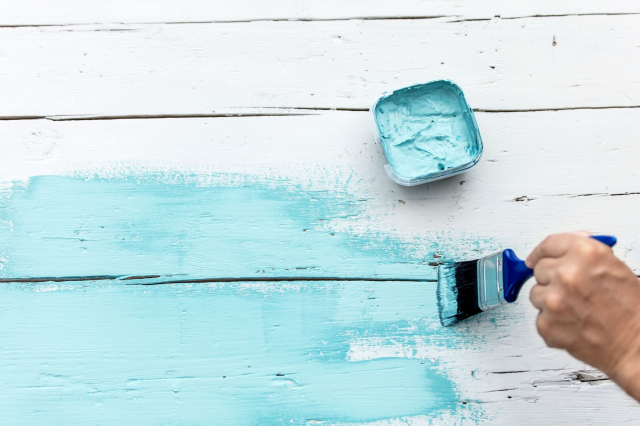
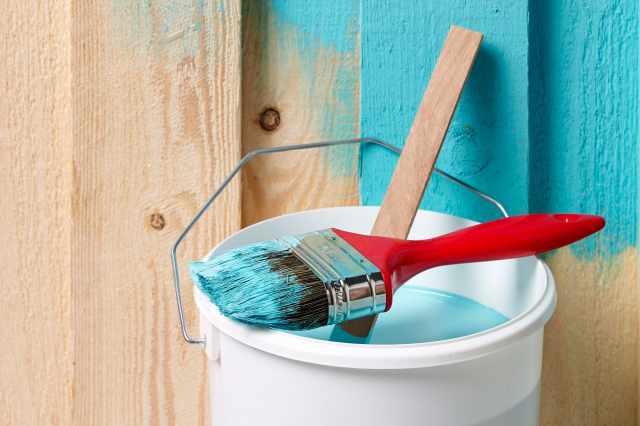
Ever wished paint sampling was as easy as sticking a sticker? Guess what? Now it is! Discover Samplize's unique Peel & Stick samples. Get started now and say goodbye to the old messy way!
Get paint samples
Frequently Asked Questions
⭐ How fast does hot mud dry on a drywall?
It dries in 20 to 60 minutes.
⭐ Can mudding walls be done on a rainy day?
You’d better choose a dry and warm day to make the mud dry faster and properly.
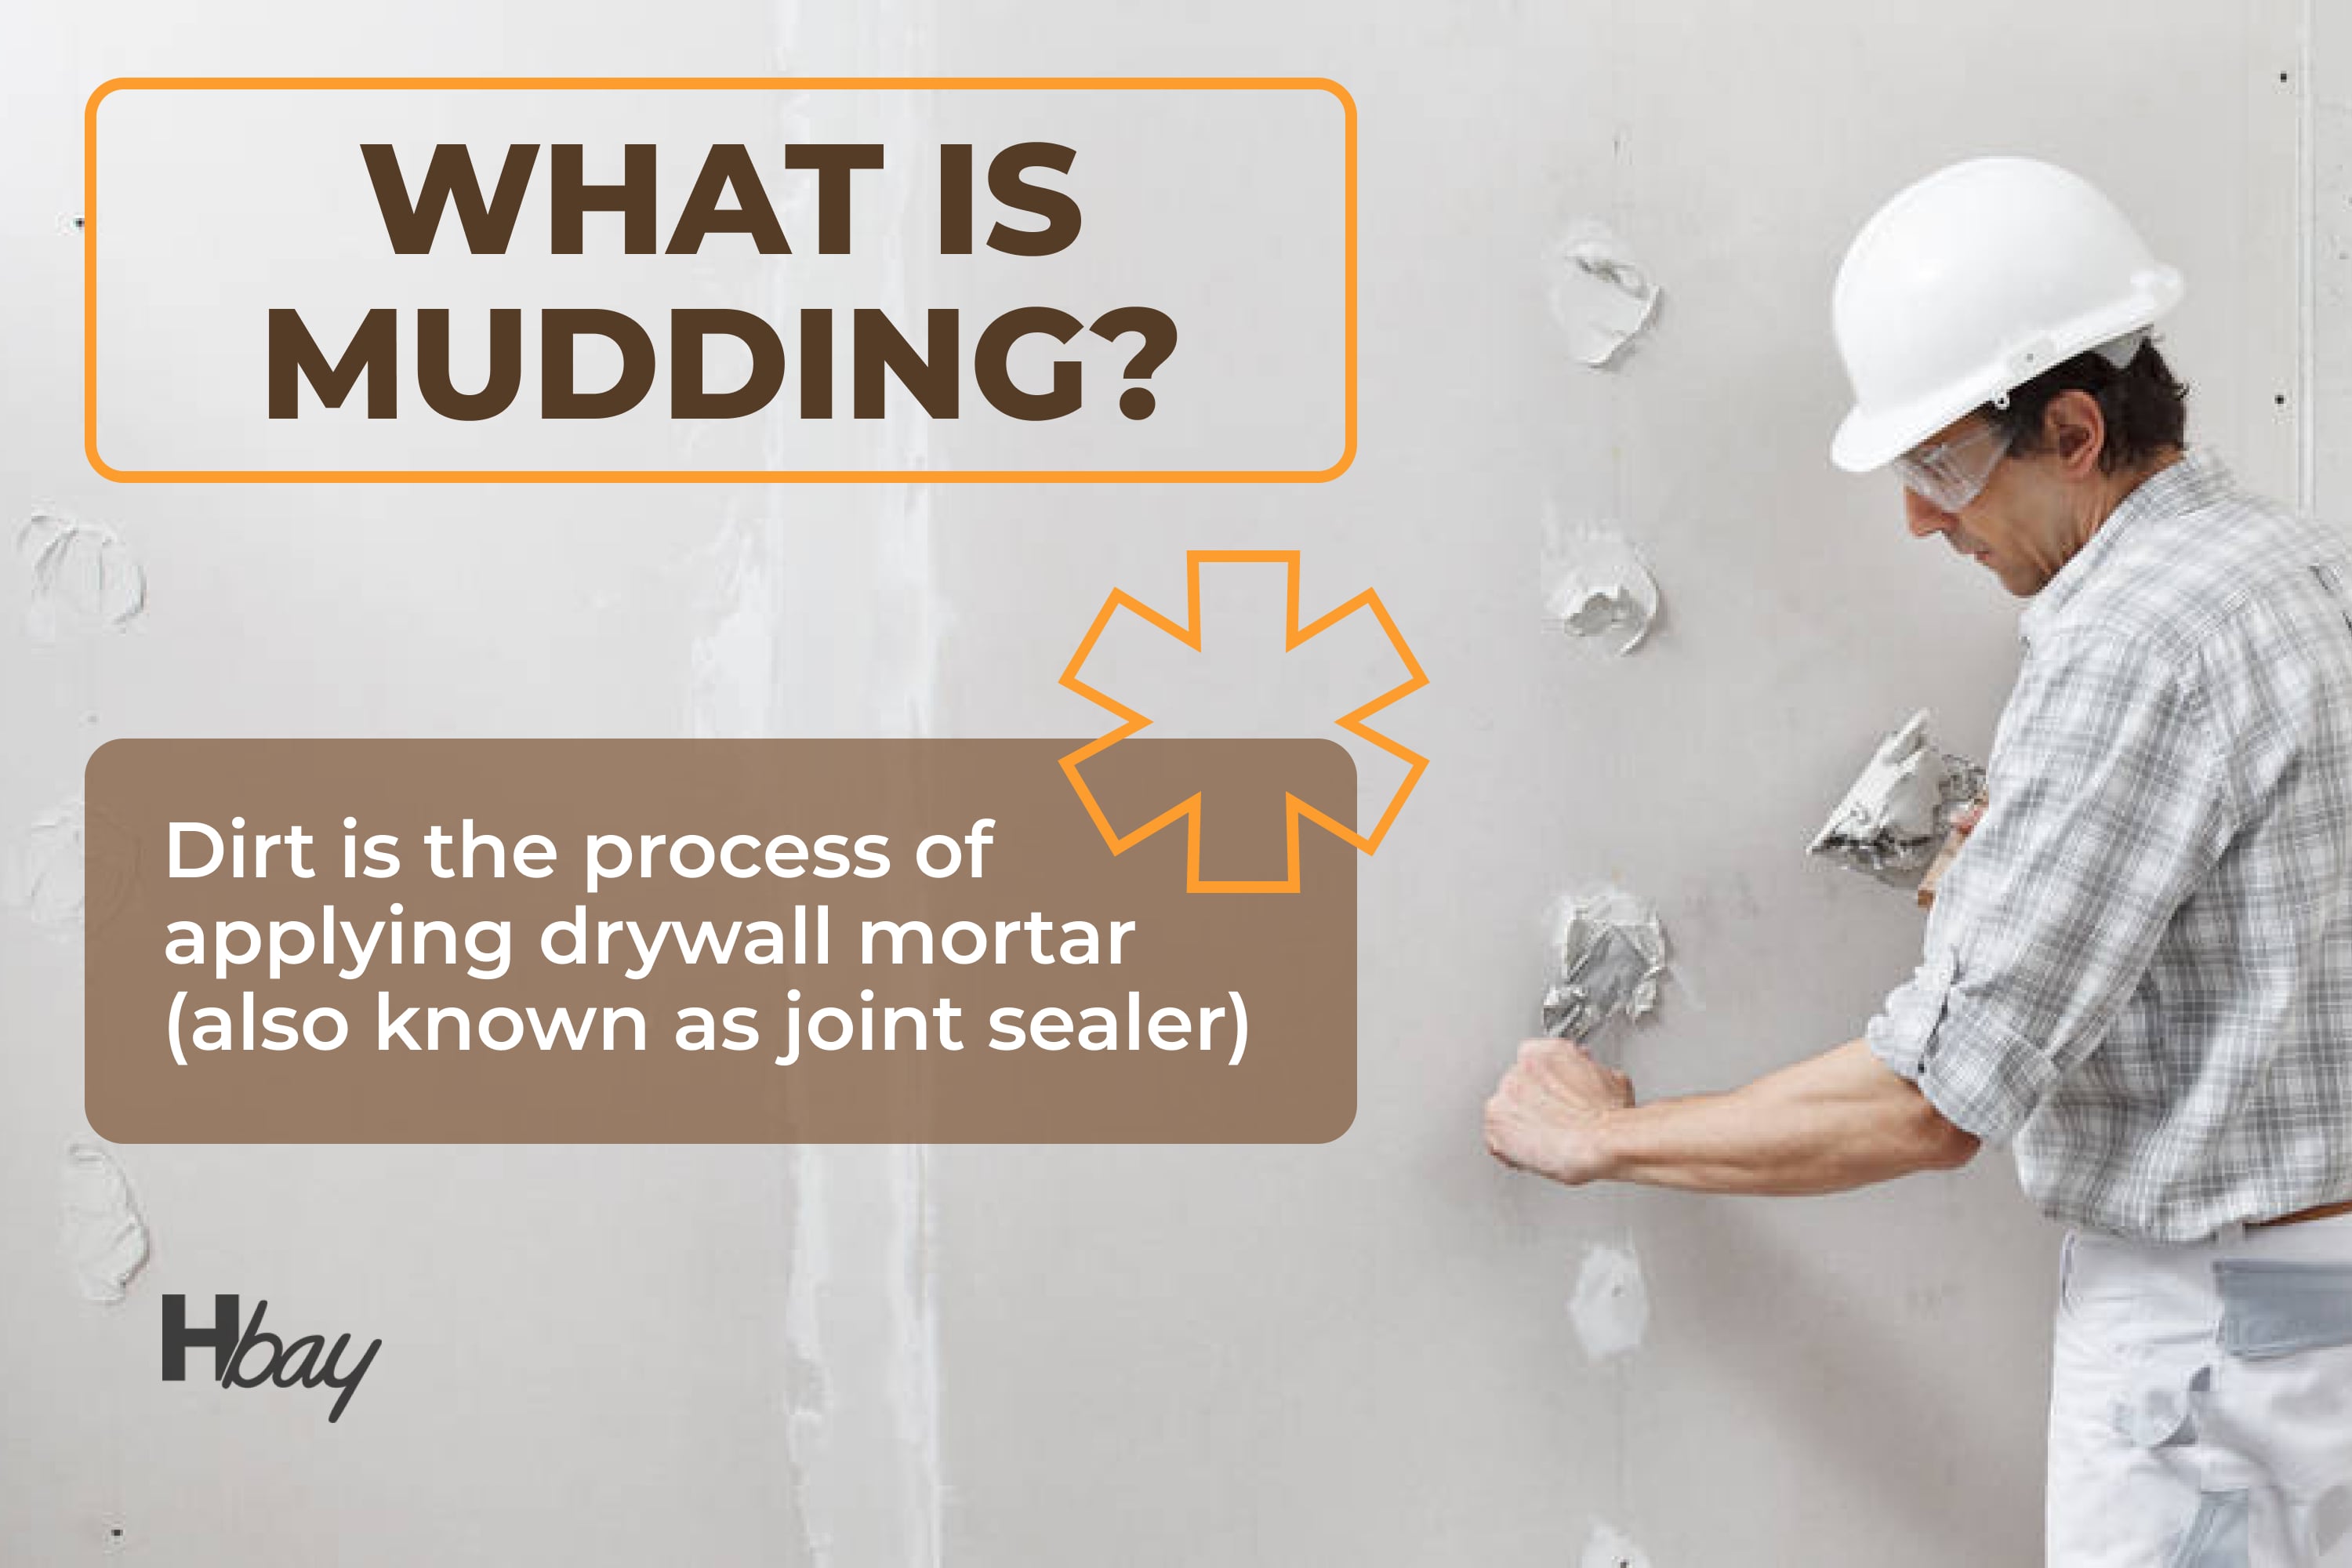
⭐ What is mudding?
Mudding is the process of applying a drywall mud (also known as joint compound).
22 thoughts on “How Thick Can You Apply a Joint Compound?”
Leave a Reply

Can you use joint compound on blue board?
Hello. Yes, regular joint compound can be used on blue board. In particular, it can beused for finishing the joints of the surface of the walls covered with blueboard.
Hello. Could you please explain when to use drywall setting compound? Thank you.
Hello. A drywall setting compound is more suitable for patching that must meet tight deadlines. Also, you can use it if you work in very cold or very humid conditions. This type of compound is also helpful for completing small drywall repairs.
Hello. Could you please explain how thick should first coat of drywall mud be? I never used joint compound before, which is why I’m afraid to apply it too thickly. Thanks for your help in advance!
Hi! I guess it should be about an inch thick or a bit thicker. But I would not recommend you apply the first layer thicker than three inches! It can make the compound not dry properly.
Hi everyone! I will be using joint compound for the first time and I need your help and advice, folks. How to apply joint compound smoothly and evenly? What tool is it best to use?
Hi! Whenever I need to use joint compound, I always use spatula. To me, this is the most convenient tool. For sure, you need some skill to apply the compound evenly with it, but after a couple of times, you’ll master it!
How thick can you apply sheetrock mud? What is the optimal thickness?
I guess the optimal thickness is about an inch, but if you apply it in a slightly thicker layer (let’s say, up to 3-4 inches), it will still be ok.
How thick can you apply hot mud?
Hello. The average thickness of this kind of mud is about a quarter of an inch (which is equal to 0.64 cm). However, you can apply it up to a thickness of 12 centimeters (4.72 in).
How thick can durabond 90 be applied? I’m going to use this joint compound for the first time so any tips from experienced users will be very welcomed!
Hey there. I used it only once and, as far as I remember, it is recommended to not apply this type of joint compounds at less than 1/8″ thick.
12 centimeters of mud? 21th Century, get on board with metrics, please.
Hello, Stephan! Thanks for concern. Such comments help us to improve and become better!
good article
You wrote: “Up to twelve centimeters is usually fine, however, the most common average thickness is about a quarter of an inch.” You must have meant something else? 12 centimeters is over 4 inches.
I need your help folks! I’ve never used joint compound but now I have to, so here’s the question: how to apply joint compound? With a brush, a roller, or a knife?
Yeah, you will need a special knife for that. Brush is surely not an option since the compound is way too thick for it! Same as for the roller, in fact.
How much time does mudding and taping drywall take? Do you think I will be able to finish it by the evening if I started the project on the morning of the same day?
Normally, twenty-four hours are more than enough, but as for me, you should give your project a bit more time, maybe, one more day to make sure everything dries properly. And simply to have extra time in case you will need to fix anything.