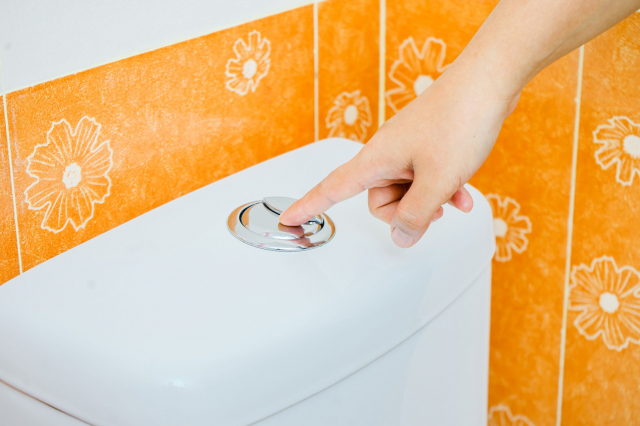
How to Fix Hairline Crack In Fiberglass Tub
Learn what causes cracks and how to deal with them
All the owners of fiberglass tubs definitely have seen those thin hairline cracks at least once. Such cracks, as well as spider cracks and stress cracks, are not that rare to be honest. They can appear due to different reasons but the only common feature of them all is that sooner or later, such a crack in a fiberglass tub will make your tub fall apart!
Of course, nobody wants that to happen. This is why we suggest you learn more about fixing those cracks while they are still small to prevent major damage.
How to Fix a Small Hairline Crack In a Fiberglass Tub
To describe it briefly, fiberglass tub crack repair consists of a few rather simple steps. However, they will require certain tools and other stuff to make things work. But in general, you will have to clean and dry the cracked area, and then sand it with a fine-grit sandpaper.
Afterward, an adhesive must be applied onto the crack directly followed by the filler especially designed for fiberglass. Once done, repeat sanding once again and apply an epoxy mixture followed by a piece of fiberglass clothing.
To finish it, add more epoxy mixture and a sealer to repair a fiberglass tub crack. However, this is just a brief description of the repair process. To be able to do everything right and not make things even worse than they already are, we strongly recommend you read the detailed guide on how to repair a cracked fiberglass tub.
Like this, you will be sure that you don’t miss any important steps of the fixing procedure and thus your tub will be properly fixed and remain usable.
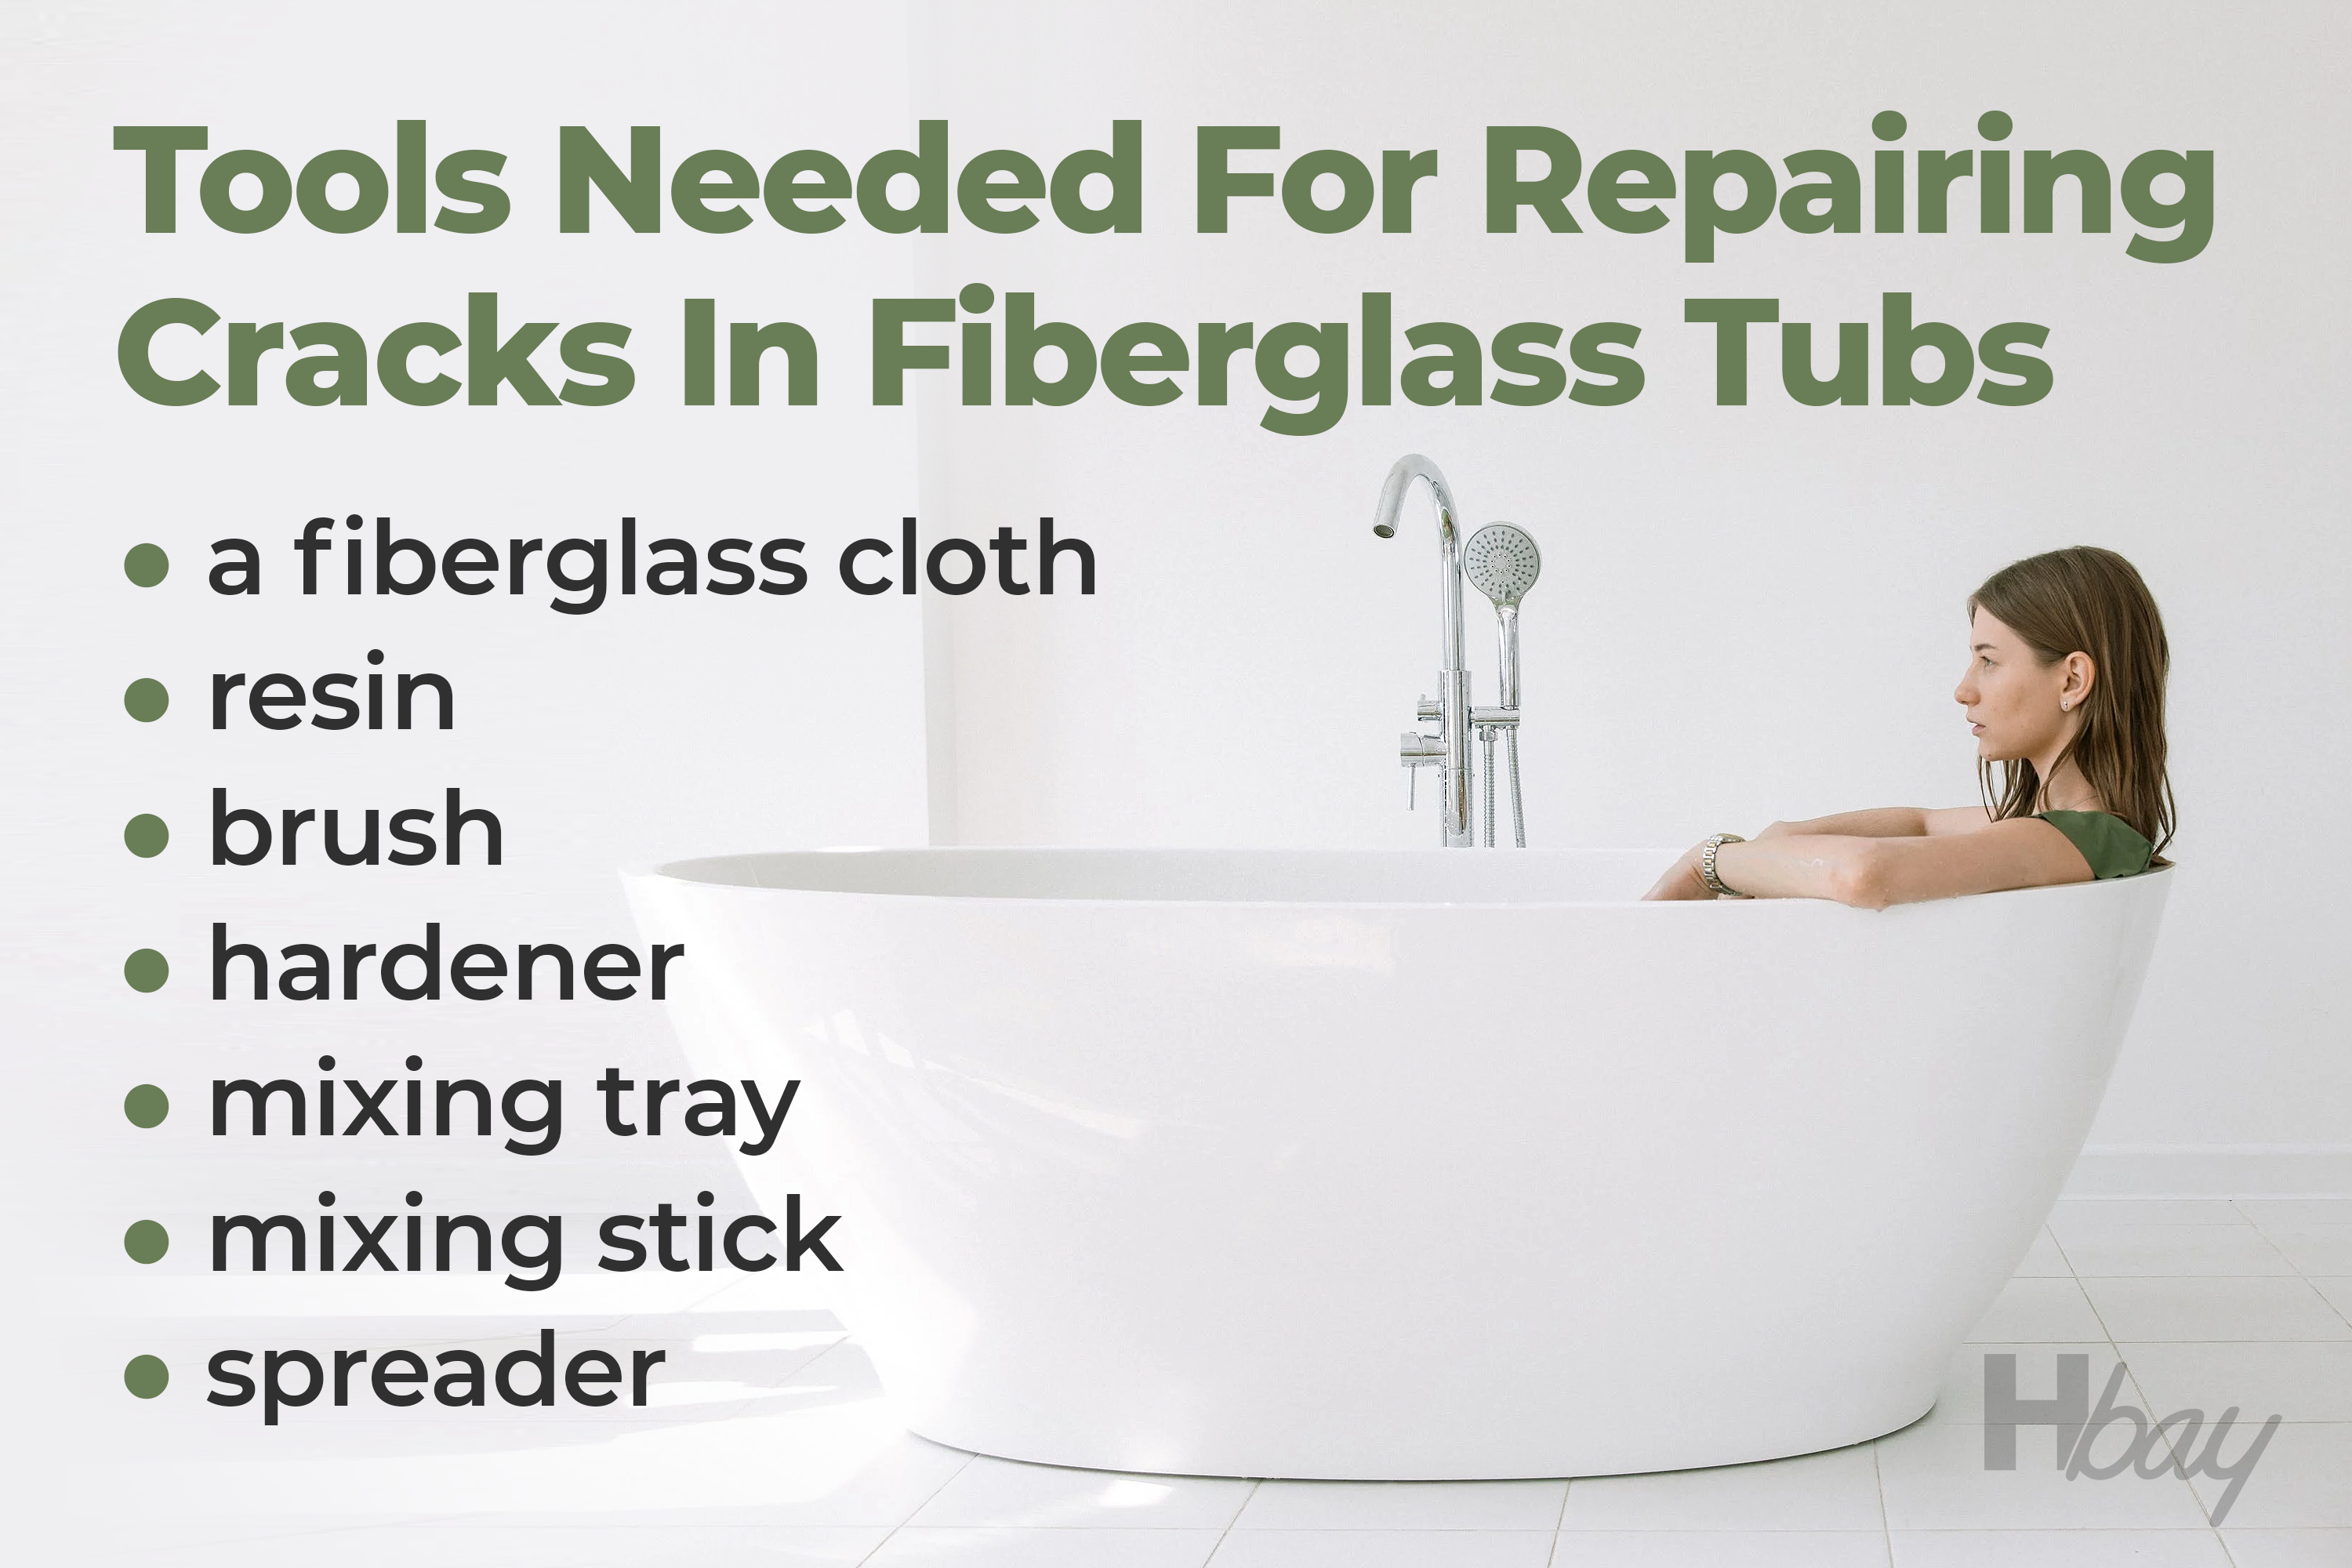
Tools Needed For Repairing Cracks In Fiberglass Tubs
Just like with any other kind of fixing, to repair a crack in your fiberglass tub, you will need certain tools and other helpful stuff. Of course, if you are a sort of handyman who always has a batch of useful stuff for repairing things at home, you might not need the following list.
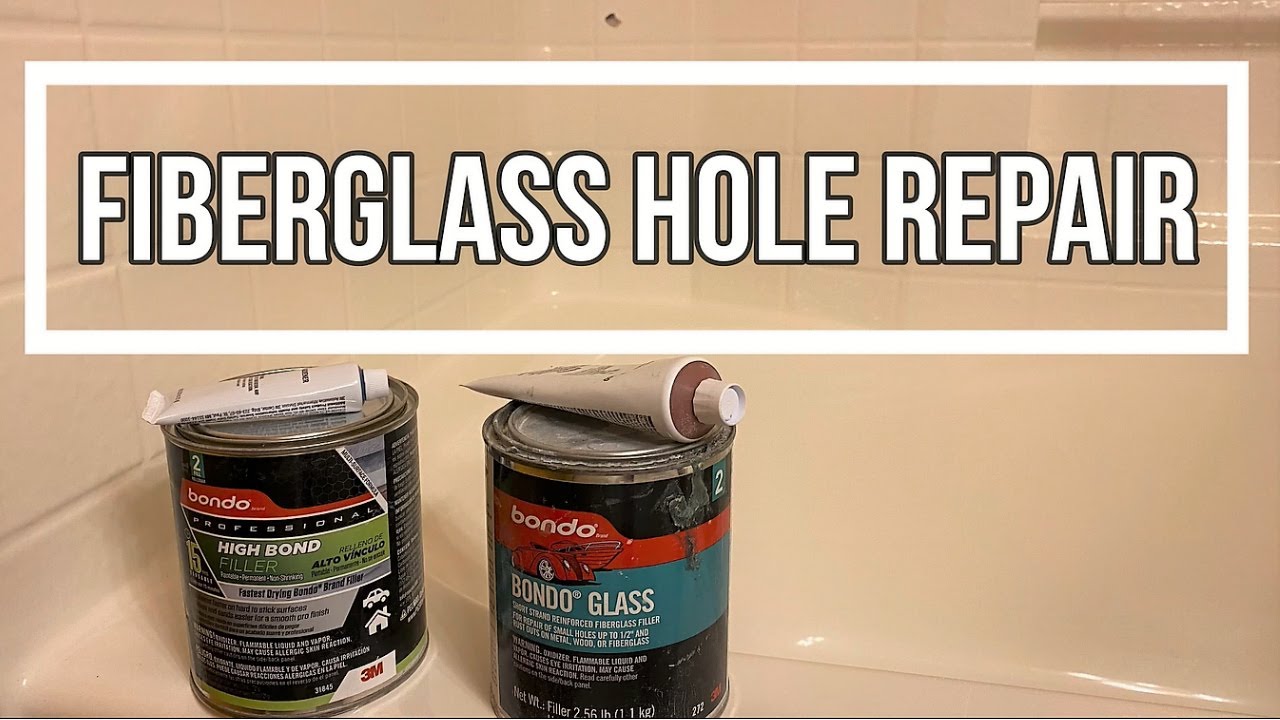
However, most of us can hardly find some glue when we need to fix something. This is why having a repair kit to fix cracks in fiberglass tubs is a must to always have it at hand.
Such a kit already includes all the tools and chemicals you might need for repairing fiberglass tubs which means you don’t have to worry about buying all the things yourself. Moreover, it is possible to buy such kits in any hardware store.
Housekeepingbay.com
And by the way, the tools and chemicals it contains can usually be successfully used on other fiberglass items, not only bathtubs! And this is what it consists of:
- a fiberglass cloth
- resin
- brush
- hardener
- mixing tray
- mixing stick
- spreader
housekeepingbay.com
To know for sure that the kit you want to buy is the one you need, remember that they can be of two different types.
- Surface repair kit
This one is meant for fixing the surficial damages. This is why it normally contains either polymer-based paint or tape for sealing the external surfaces of cracks on fiberglass tubs.
2. Internal repair kit
As the name says, this type of kit is supposed to be used for fixing the cracks from inside. This is why it contains a special paste or glue.
To figure out which one you need, simply check how deep your crack is. The deep ones will surely require the use of an internal fixing kit.
Credits: Katarzina Bialaziewicz, via Canva.com
Step By Step Instruction On How to Fix a Crack In a Fiberglass Tub
So now, since we have already described to you a general sequence of actions needed for a bathtub crack repair, let’s check out a detailed description of the procedure. Like this, you will be absolutely sure that nothing escaped your attention and your bathtub will be properly fixed as a result.
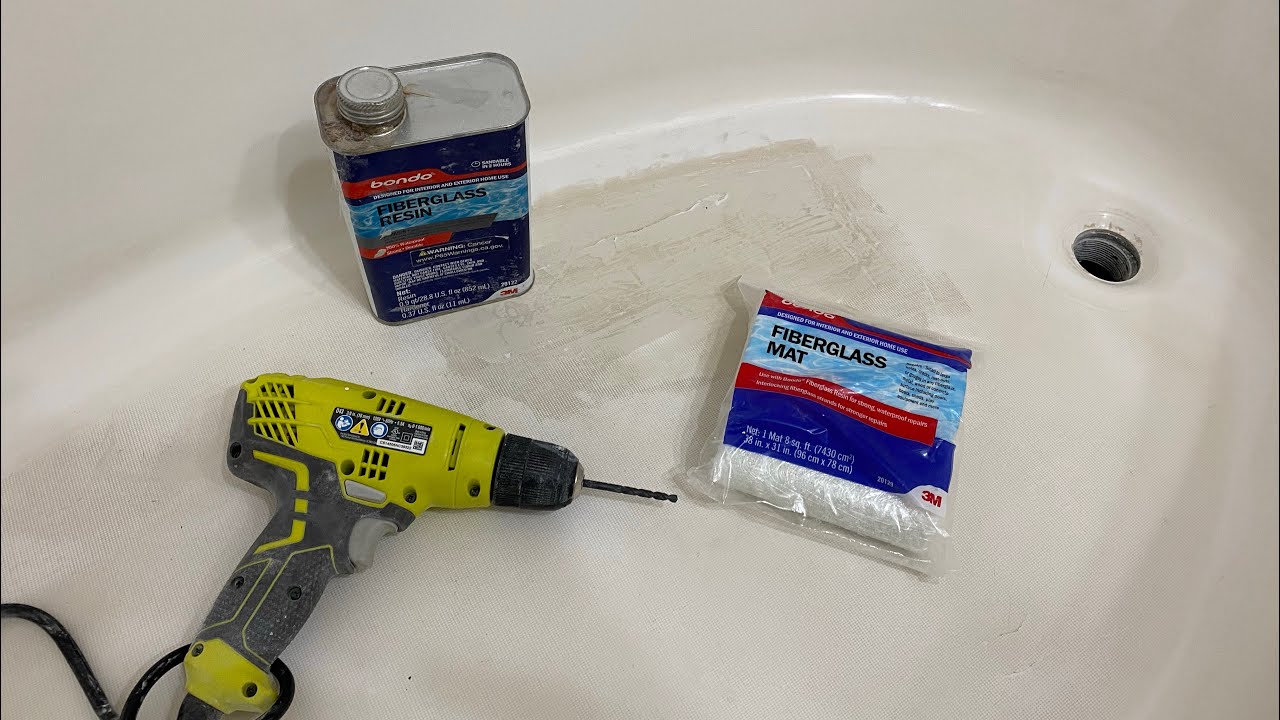
First of all, prepare all the stuff you will need for a successful repair. That means household cleaner, scissors, a fine-grit sandpaper, cleaning sponge, dry cloth (lint-free), small paint brush, and of course, your fiberglass crack fixing kit!
Now be sure you make all the steps precisely in the right order.

Credits: WoodyUpstate, via Canva.com
Table of Contents
Clean And Dry the Crack And Around
Begin with cleaning the area around the cracked part of the bathtub. You need to delete any dirt and dust, mold, and any other debris you find there to be able to apply the fixing materials afterward!
For a thorough cleaning, make use of sponge and remember to rinse the area thoroughly. Once finished, dry it by wiping with a cloth.
Sand It
The next step is to sand around the crack. Use your sandpaper you have prepared before to make the area around the cracked spot slightly rough. Like this, you will make it simpler to apply adhesive and other chemicals from your repair kit afterward. And remember to brush away the dirt that remains after sanding before you proceed to the next stage!
Credits: Lunamarina, via Canva.com
Prep And Apply the Adhesive
If you are using a bathtub crack repair kit from Home Depot (or any of its alternatives), it will contain a bonding agent or an adhesive with instructions on how to prepare it.
Follow the instructions to make the adhesive mixture, and then apply it both to the crack and the area around it that you have just sanded. To do this accurately, either make use of the brush from the kit or opt for the one you prepared yourself.
To have the best results, double check that the bonding agent covers at least one inch away from the crack itself. Also, it must get as deep into the crack as possible.
Now that you did it, wait until the adhesive is dry. Only then can you proceed to the next step.
Make Use Of the Filler
Now it is time for a fiberglass filler to come on stage! Once the adhesive is completely dry, take that filler from the “first aid” kit and apply it using a putty. Make sure though that the chemical fills the hairline crack!
Now remove the excess filler if there is any, and wait until it dries.
Sanding Again!
Yep, you shall do a lot of sanding! This time you need to sand the area around the crack to make it the same level with the rest of the surface. But don’t sand too vigorously, otherwise, you will rion the job you have previously done!
Coating
The next step is to coat the crack with epoxy. Prep the mixture according to the instructions given in your repair kit, and then apply the blend onto the crack and around it with a brush spreading it at least two inches away.
Apply Fiberglass Clothing And Epoxy Again
So, we are close to the finish line now! Cut a piece of fiberglass clothing you have in your kit, and make sure it fits the area covered with the epoxy. Then put the clothing onto the crack before the mixture is dry.
We recommend you press it firmly and use a putty knife to remove any bubbles that may appear. Finish with applying more epoxy on top and around.
End Up With the Sealer
Finally, this is the end! The sealer is needed for protecting the damaged area and the layers of materials you used to fix it from water and other harmful substances and external factors.
Once the sealer dries up, feel free to use your bathtub again!
What Leads to Cracked Fiberglass Tub
Having cracks in a fiberglass bathtub is not fun at all. Mostly because they make it impossible to keep on using the tub, and of course, those cracks look ugly worsening the external look of the bathtub. Finally, a cracked bathtub is under a huge risk of falling apart one day! And that will surely lead to a pricey and massive repair or the new tub installation.
housekeepingbay.com
Naturally, we would like to avoid any of these scenarios. Nobody wants to either buy a new bathtub and pay for its installation or even waste time on fixing the one that is damaged.This is why the best variant is to figure out what exactly can lead to cracking and do our best to never do anything that can be hazardous for our bathtub!
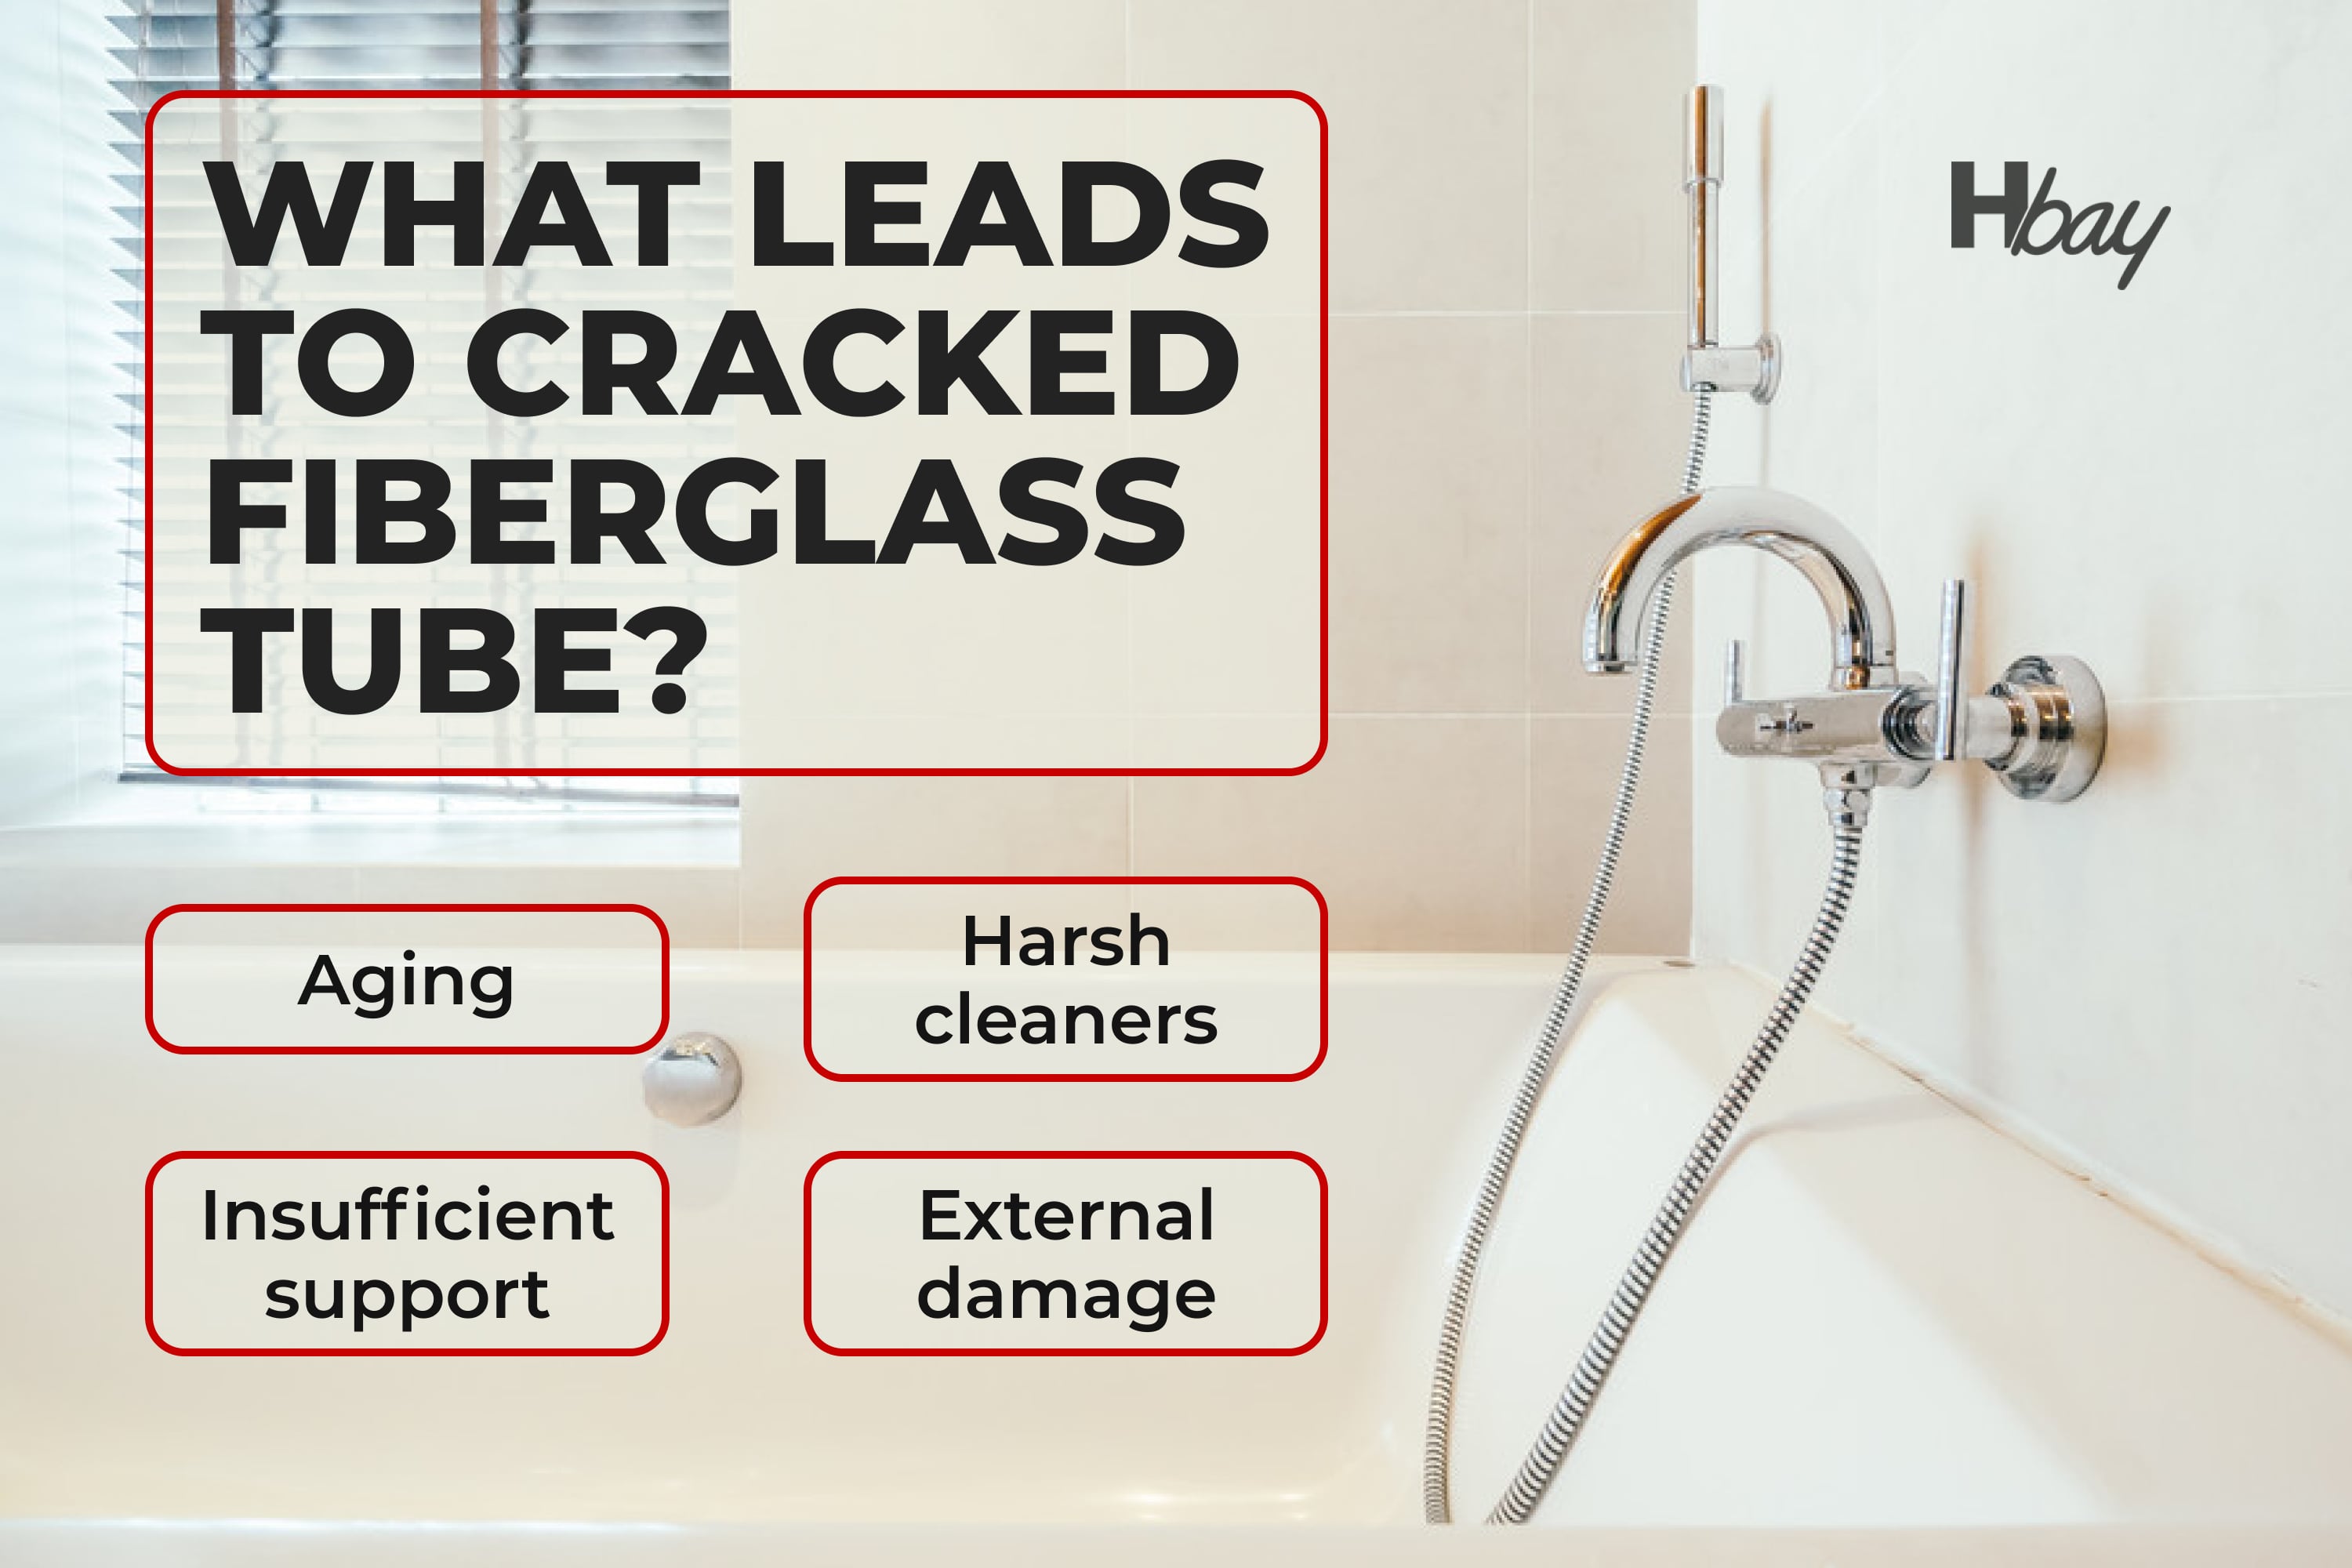
There are several factors that may lead to your fiberglass bathtub crack.
- Aging. This is something none of us can avoid and prevent. Your bathtub will one day become old, and there is nothing you can do with it. After an extended and active use, your tub will have signs of wear and tear. Its surface will anyway wear out one day making the tub prone to cracking.
- Insufficient support. That means if you place your fiberglass bathtub on the surface that is not even enough, the tub can develop cracks. That’s because the weight of the person using it will not be distributed evenly.
- Harsh cleaners.Yes, even too harsh cleaning products can be a cause of cracks on your bathtub! This is why make sure you don’t use any of them that contain acids or bleaching ingredients. Such products tend to make the tub’s surface thinner and thus more prone to damage.
- External damages. If you drop your bathtub or hit it with a heavy object, it will surely leave a hairline crack in your bathtub sooner or later! And if the external cracks can be fixed by yourself, the deep ones that go all the way through to the other side of the tub must be taken care of by a professional.
Credits: Lunamarina, via Canva.com
What to Do to Prevent Cracks On a Fiberglass Bathtub
Naturally, the reasonable question is what we can do to protect our bathtubs from any kinds of damages described above. Luckily, we can list a few simple tips that can help you to keep your tub safe and sound longer.
- Make sure your tub is placed on the even ground.
- It also must be properly supported.
- Stop using harsh cleaners with acids or bleach. Instead, shift for a mild household product.
- Be careful not to hit the bathtub with something heavy!
- Give it a thorough rinse after each use to prevent the chemical buildup from developing.
- In case there is already a crack on its surface, drill small holes a quarter of inch each at the ends of the crack. They will stop it from spreading and growing longer.
So now you are fully equipped for fighting those nasty hairline cracks on your fiberglass bathtub sides! You not only learned how to fix a cracked fiberglass tub. You are also aware of what chemicals and tools to make use of to undergo the procedure successfully.

housekeepingbay.com
Also, we shared a handful of easy and useful tips with you on what can help you to prevent those cracks from appearing. With all this information, from now on, it will be way simpler for you to deal with minor cracks on your bathtub and do it fast and effectively. But of course, if you see the crack is deep enough, better call a professional to come and repair it for you!
Ever wished paint sampling was as easy as sticking a sticker? Guess what? Now it is! Discover Samplize's unique Peel & Stick samples. Get started now and say goodbye to the old messy way!
Get paint samples


Frequently Asked Questions
⭐ Where can I buy a bathtub repair kit?
In any hardware store like Home Depot.
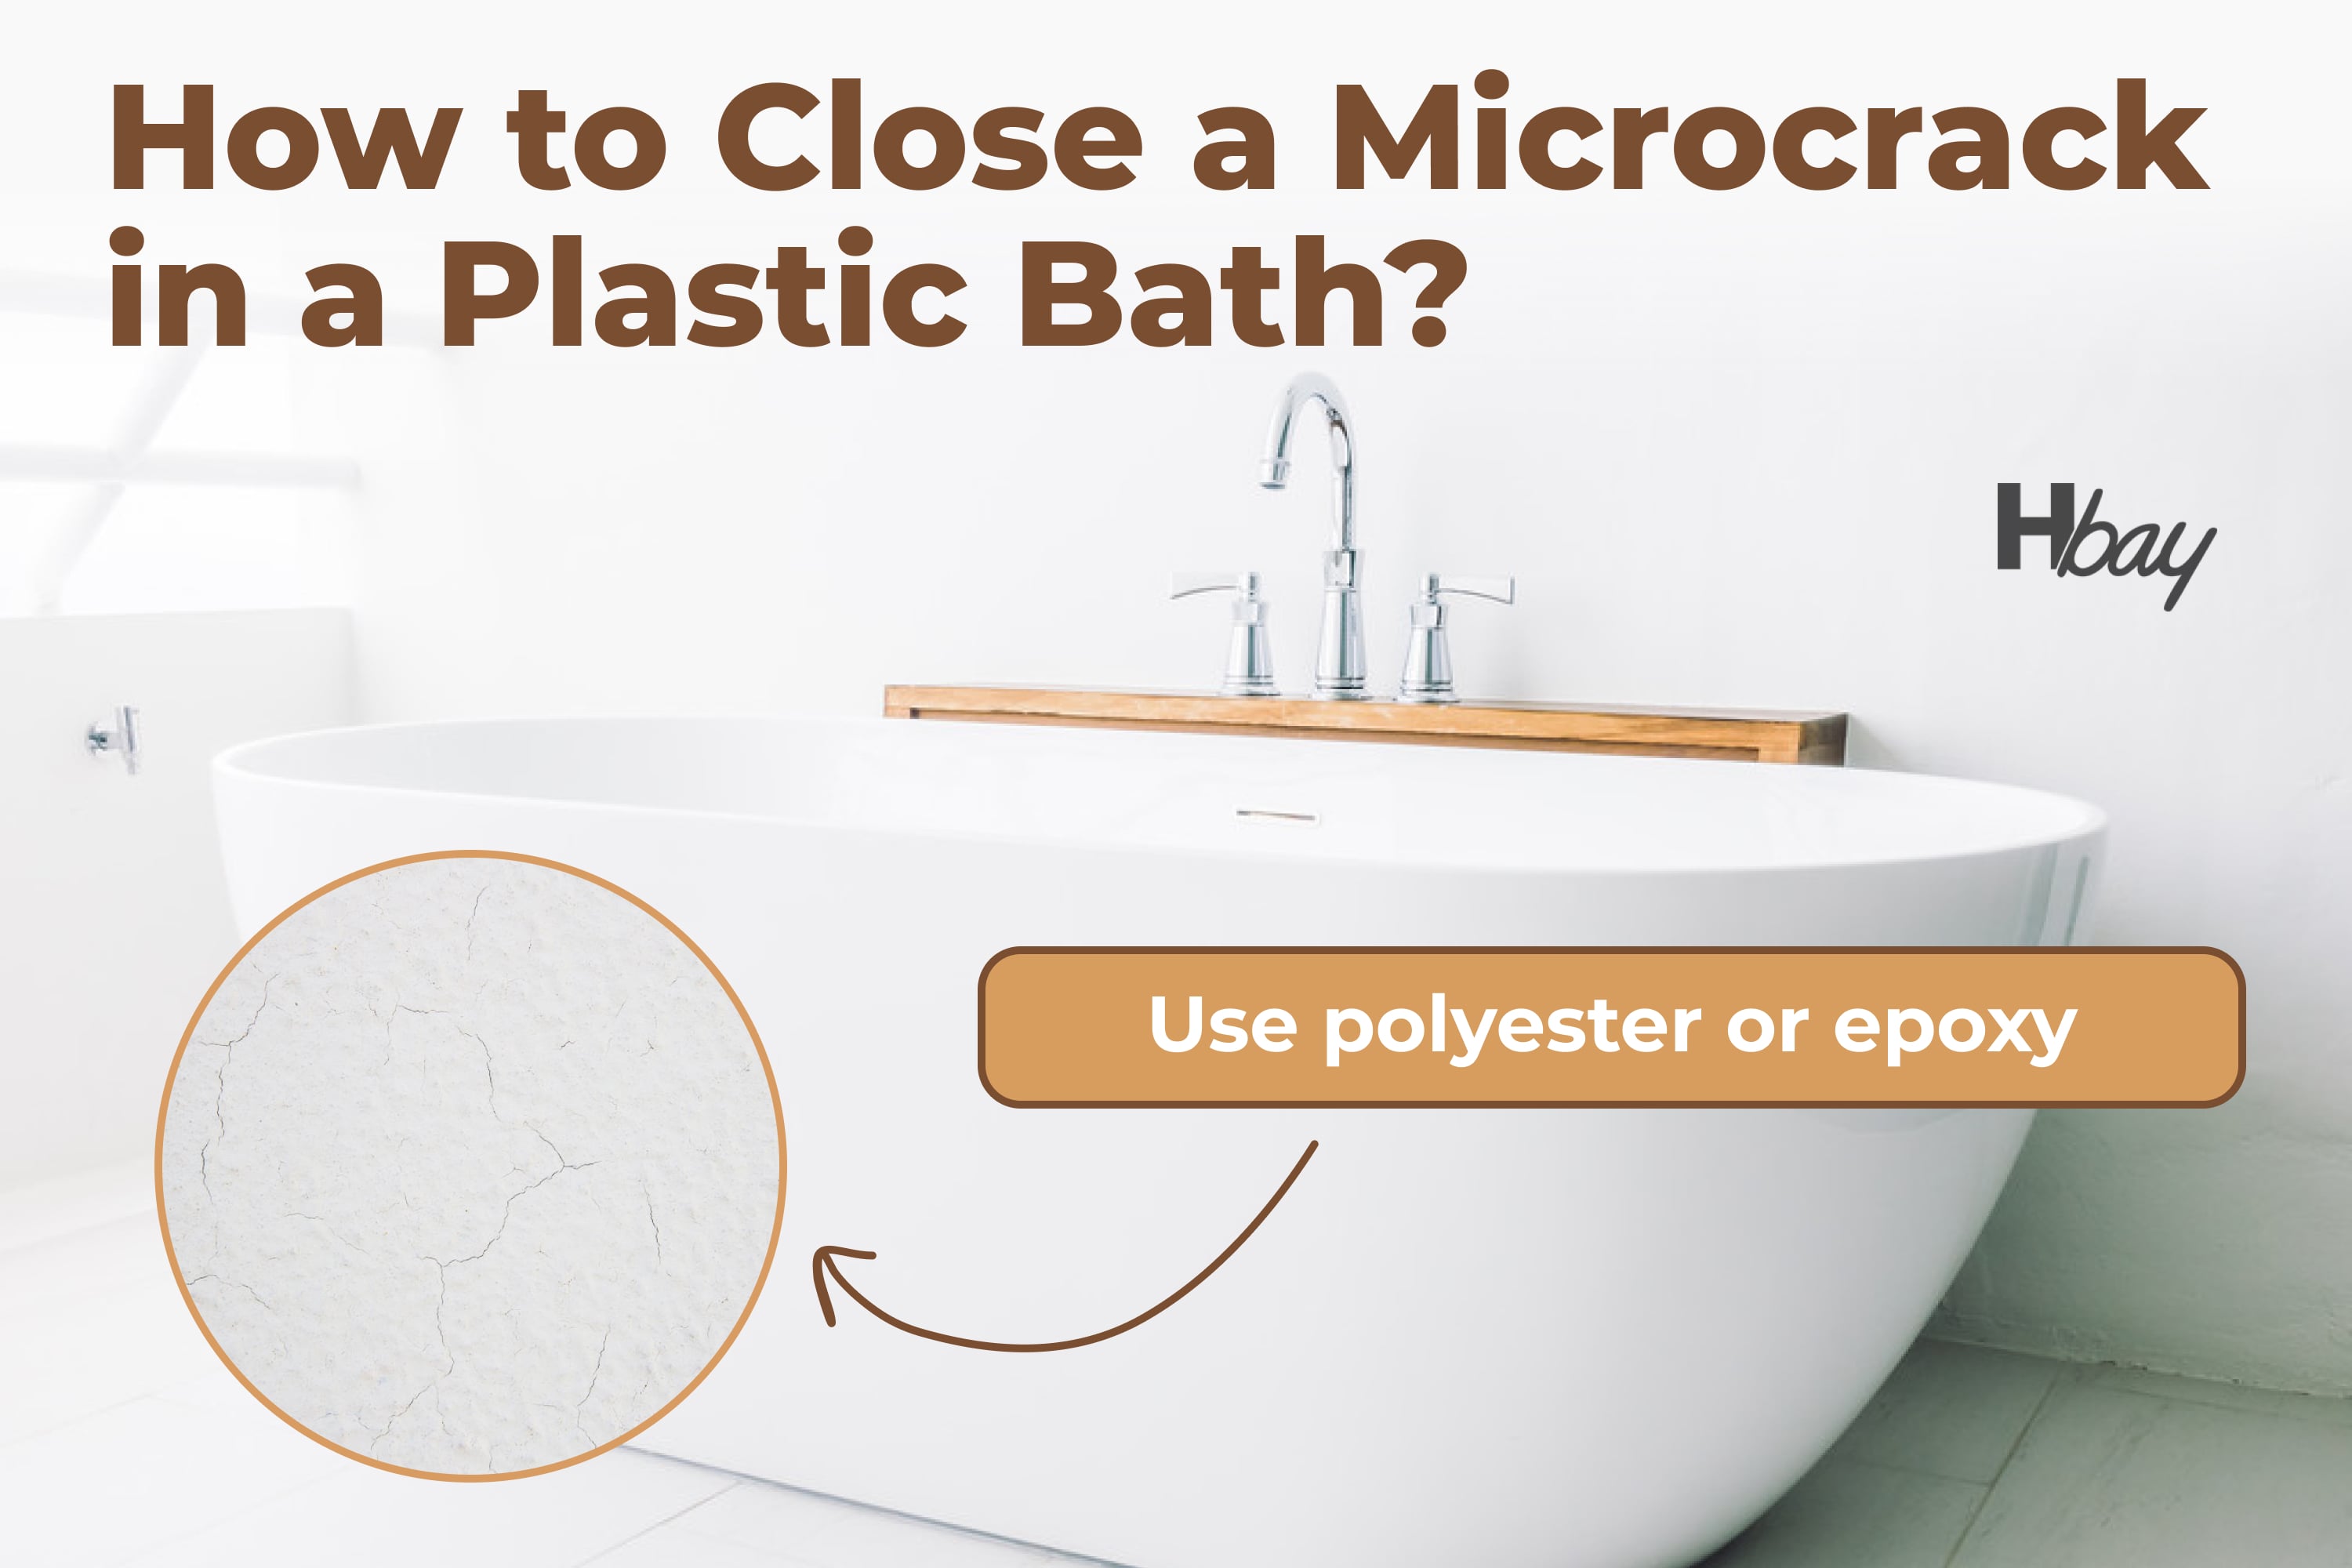
⭐ How to fix a hairline crack in a plastic tub?
Technically the process is the same as for the fiberglass tub. Only make use of polyester or epoxy resin.
⭐ Can acrylic bathtub crack be fixed with a fiberglass repair kit?
Yes, it can.
23 thoughts on “How to Fix Hairline Crack In Fiberglass Tub”
Leave a Reply


Hello. Could you pelase recommend me a reliable bathtub crack repair kit? Preferably something you used yourself and know how it works. Thanks a lot.
The kit you need depends on the material of your tub. For example, when I needed to fix my epoxy bathtub, I used Devcon repair kit and I found it very helpful! The tub is still doing well after that, by the way.
How much time does cracked fiberglass tub repair take? Do you think it will be ready to use again in 24 hours?
I guess it will take even less time than 24 hours. Of course, it depends on how severe the damage is and how deep the cracks are, but if your tub is not badly damaged (e.g., if there are only minor hairline cracks), it might take you around 12 hours, I guess.
Does anyone know how to fix a crack in a plastic bathtub? What product shall I use?
I’m pretty sure you need to use something like Loctite. Any filler material that’s designed for plastic surfaces.
Is it worth using a fiberglass tub repair kit to fix a hairline ctrack on my bathtub? Will it work?
I guess it will work. Anyway, this kit is designed to be used in such situations!
Hey, everyone! Do you guys know how much it might cost to repair a fiberglass hairline crack? I need to fix quite a big one.
Hi. It depends on whether you’re doing the repairs yourself or you hire a professional. Generally, the average cost to fix a fiberglass tub can range from $20 to $240. Also, it matters how sereve the damage is.
I need to fix some minor hair cracks on my fiberglass bathtub. Do you think Loctite epoxy-fix can handle fiberglass bathtub cracks?
I’m pretty sure it will manage the fiberglass bathtub! As far as I remember, Loctite can be used on fiberglass and ceramics.
I’ve recently noticed quite a long hairline crack in my bathtub. Since the tub is white, the ctrack is very well seen. Do you know how I could fix it?
Hi! I guess you’d better hire a professional to fix it. See, depending on the size and number of cracks, as well as on the material of your tub, it may be worth it to seek professional help. Otherwise, you might only make things worse.
How to fix a cracked tub floor easily? I’m not much of a DIYer, but a little advice might help. I think I’d just buy a new tub in a week, but after mine cracked badly, we called a pro and they fixed it. This time I gotta do it myself.
Guys! Don’t EVER buy plastic tubs if you have a flat…mine cracks and leaks too often even though I try to get a new one after it broke 1-2 times. But is there any option on how to fix a crack in a plastic bathtub for a long time?
There are several methods you can use. I have a plastic tub in my rented apartment and you can tell it cracks from time to time. I learned that the best way to deal with it is a flexible carbon fiber filler. It is used to fix cracks in a plastic bathtub from the back of the surface.
How can you do the fiberglass hairline crack repair? I found one this morning and calling a professional is a bit pricey in my town, so I’d be very thankful if anyone can advise me of some hacks or simple methods.
Clean and dry the cracked area before using fine-grit sandpaper to sand it. Apply an adhesive to the crack before filling it with fiberglass. After sanding the area, apply an epoxy mixture and a piece of fiberglass clothing. To repair a hairline crack in a fiberglass tub, apply more epoxy mixture followed by a sealer.
Does anyone know how much it will cost to repair a cracked fiberglass bathtub? It’s the first time I found cracks on it and I have no idea of what the price can be!
I guess you can be charged something around 80 dollars if you call a plumber. But if the crack is not deep, you can fix it yourself. In this case, you’ll need to buy a repair kit which costs around 50 bucks.
I have just noticed a thin crack on the side of my bathtub. It doesn’t look deep so I thought, maybe, I can use Flex Seal to repair it? Do you think it’ll work?
Nope, Flex Seal will not work for sure. Believe me, I tried. This stuff seems to have no structural value to deal with fiberglass surfaces. It can stop the leak indeed, but for fixing cracks it’s not suitable.