How to Remove Led Lights Without Peeling the Paint?
Do you need to remove your led light, but you would not like to ruin or damage the coat of paint? We know how this can be done!
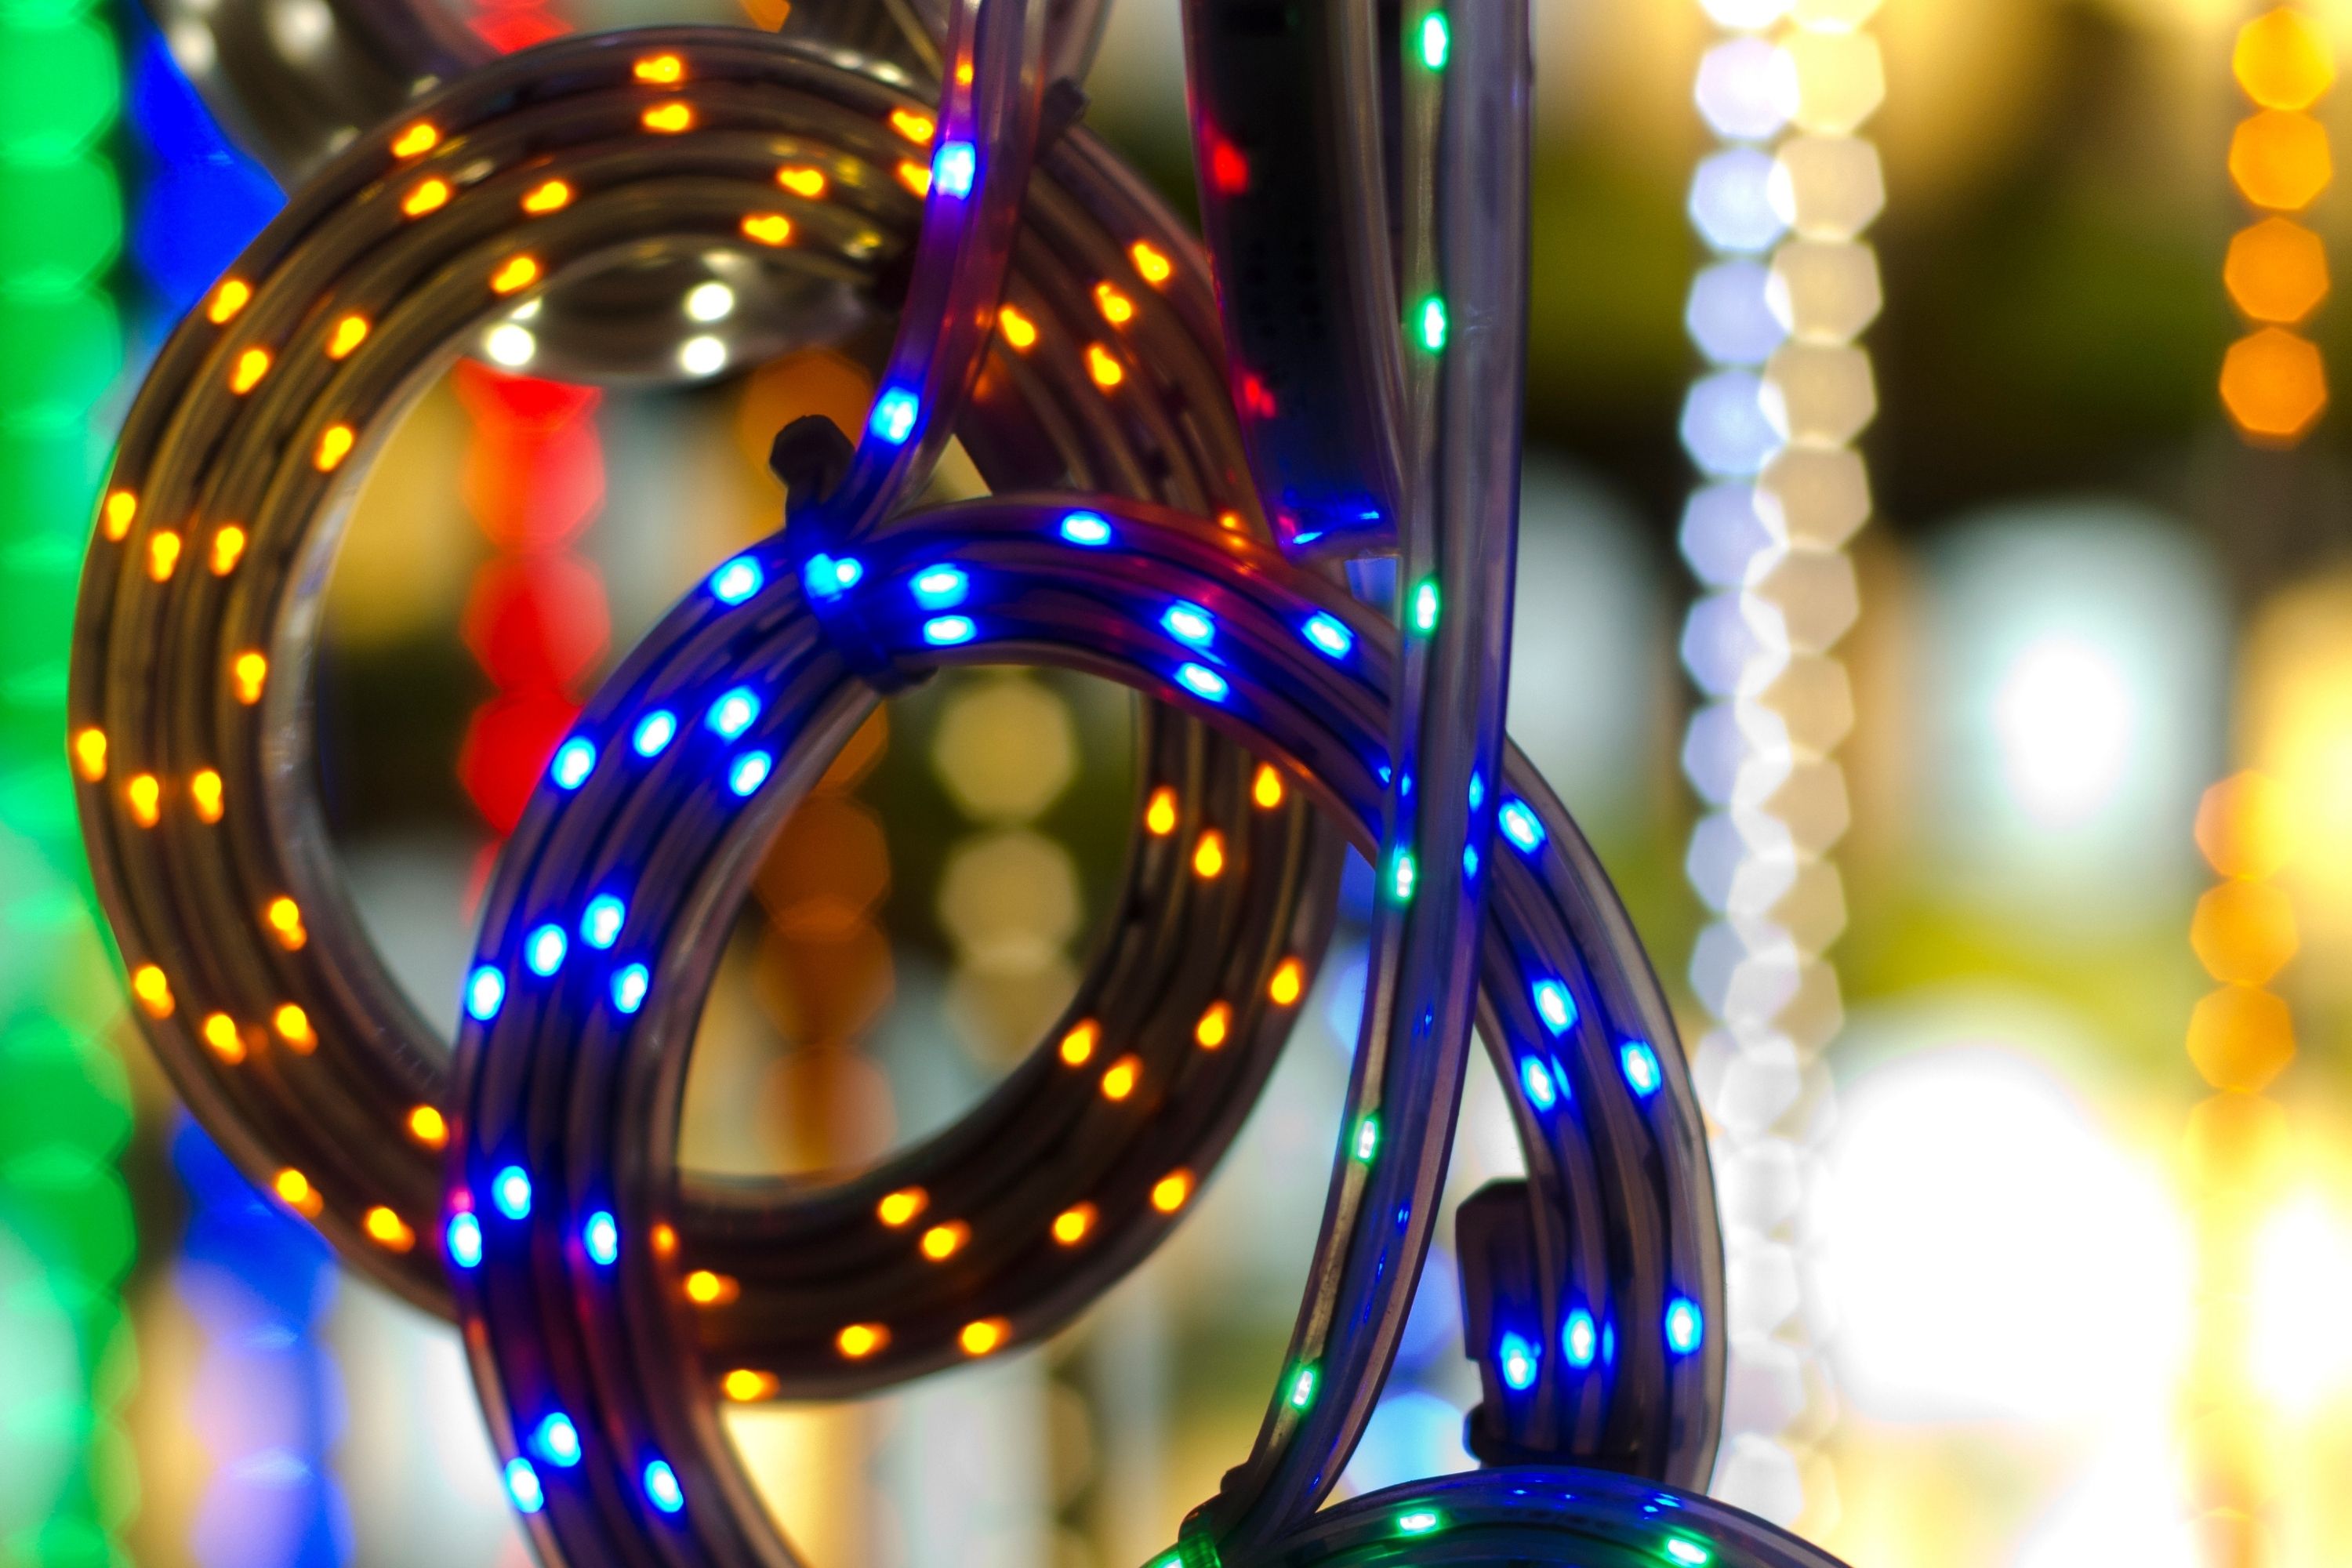
LED lights can create a fun and cheerful atmosphere anywhere you attach them. And since these lights are extremely easy to apply and use, most of us prefer decorating our homes with LEDs quite often.
However, it often happens that a strip of LED lights may fall off the wall. And in this case, people tend to wonder whether it is possible to fix and re-stick it somehow.
And since re-sticking implies taking the LED strip off the wall that is often covered with the coat of paint, most of us would be worried about the paint safety.
This is why today we decided to take a closer look at this issue and finally figure out once and for all how one can remove the strip of LED lights without damaging the wall or other surface the lights were attached to.
We will describe in detail what steps should be taken in order to safely remove the lights, and what can help you during the process.
Also, we will tell you about different ways of re-sticking your LED light that you might not even be aware of! And finally, as a bonus, you will learn about various types of LED lights that exist in the market.
Like this, you will be able to figure out what lights to choose for your home depending on what atmosphere you want to create there!
How to Restick Your LED Lights Without Damaging the Wall And Peeling the Paint Off
When you realize that you need to take your LEDs off the wall, you might get worried about the paint on it. Indeed, since this type of lights uses adhesive for attaching them to the surface, when taking the LEDs off, there is a high risk of peeling the paint off!
And even though the process of removing and re-sticking the LED lights is not difficult at all, being aware of how to do this correctly and safely for your walls is often a stumbling stone for many.
But in general, the good thing about these lights is that installing them does not differ much from taking them off. In addition, it will also take less time since you will not be starting the installation from scratch.
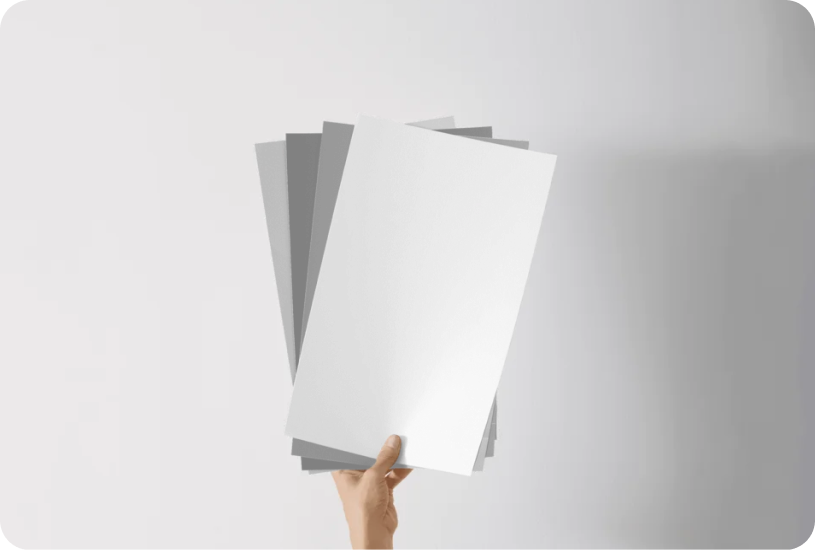
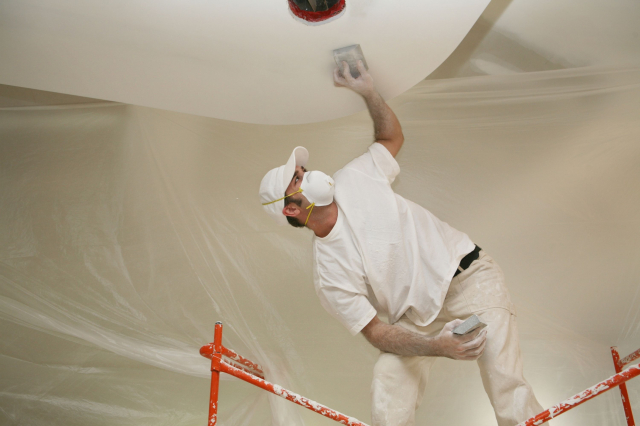
Credits: Kokil Sharma, via Canva.com
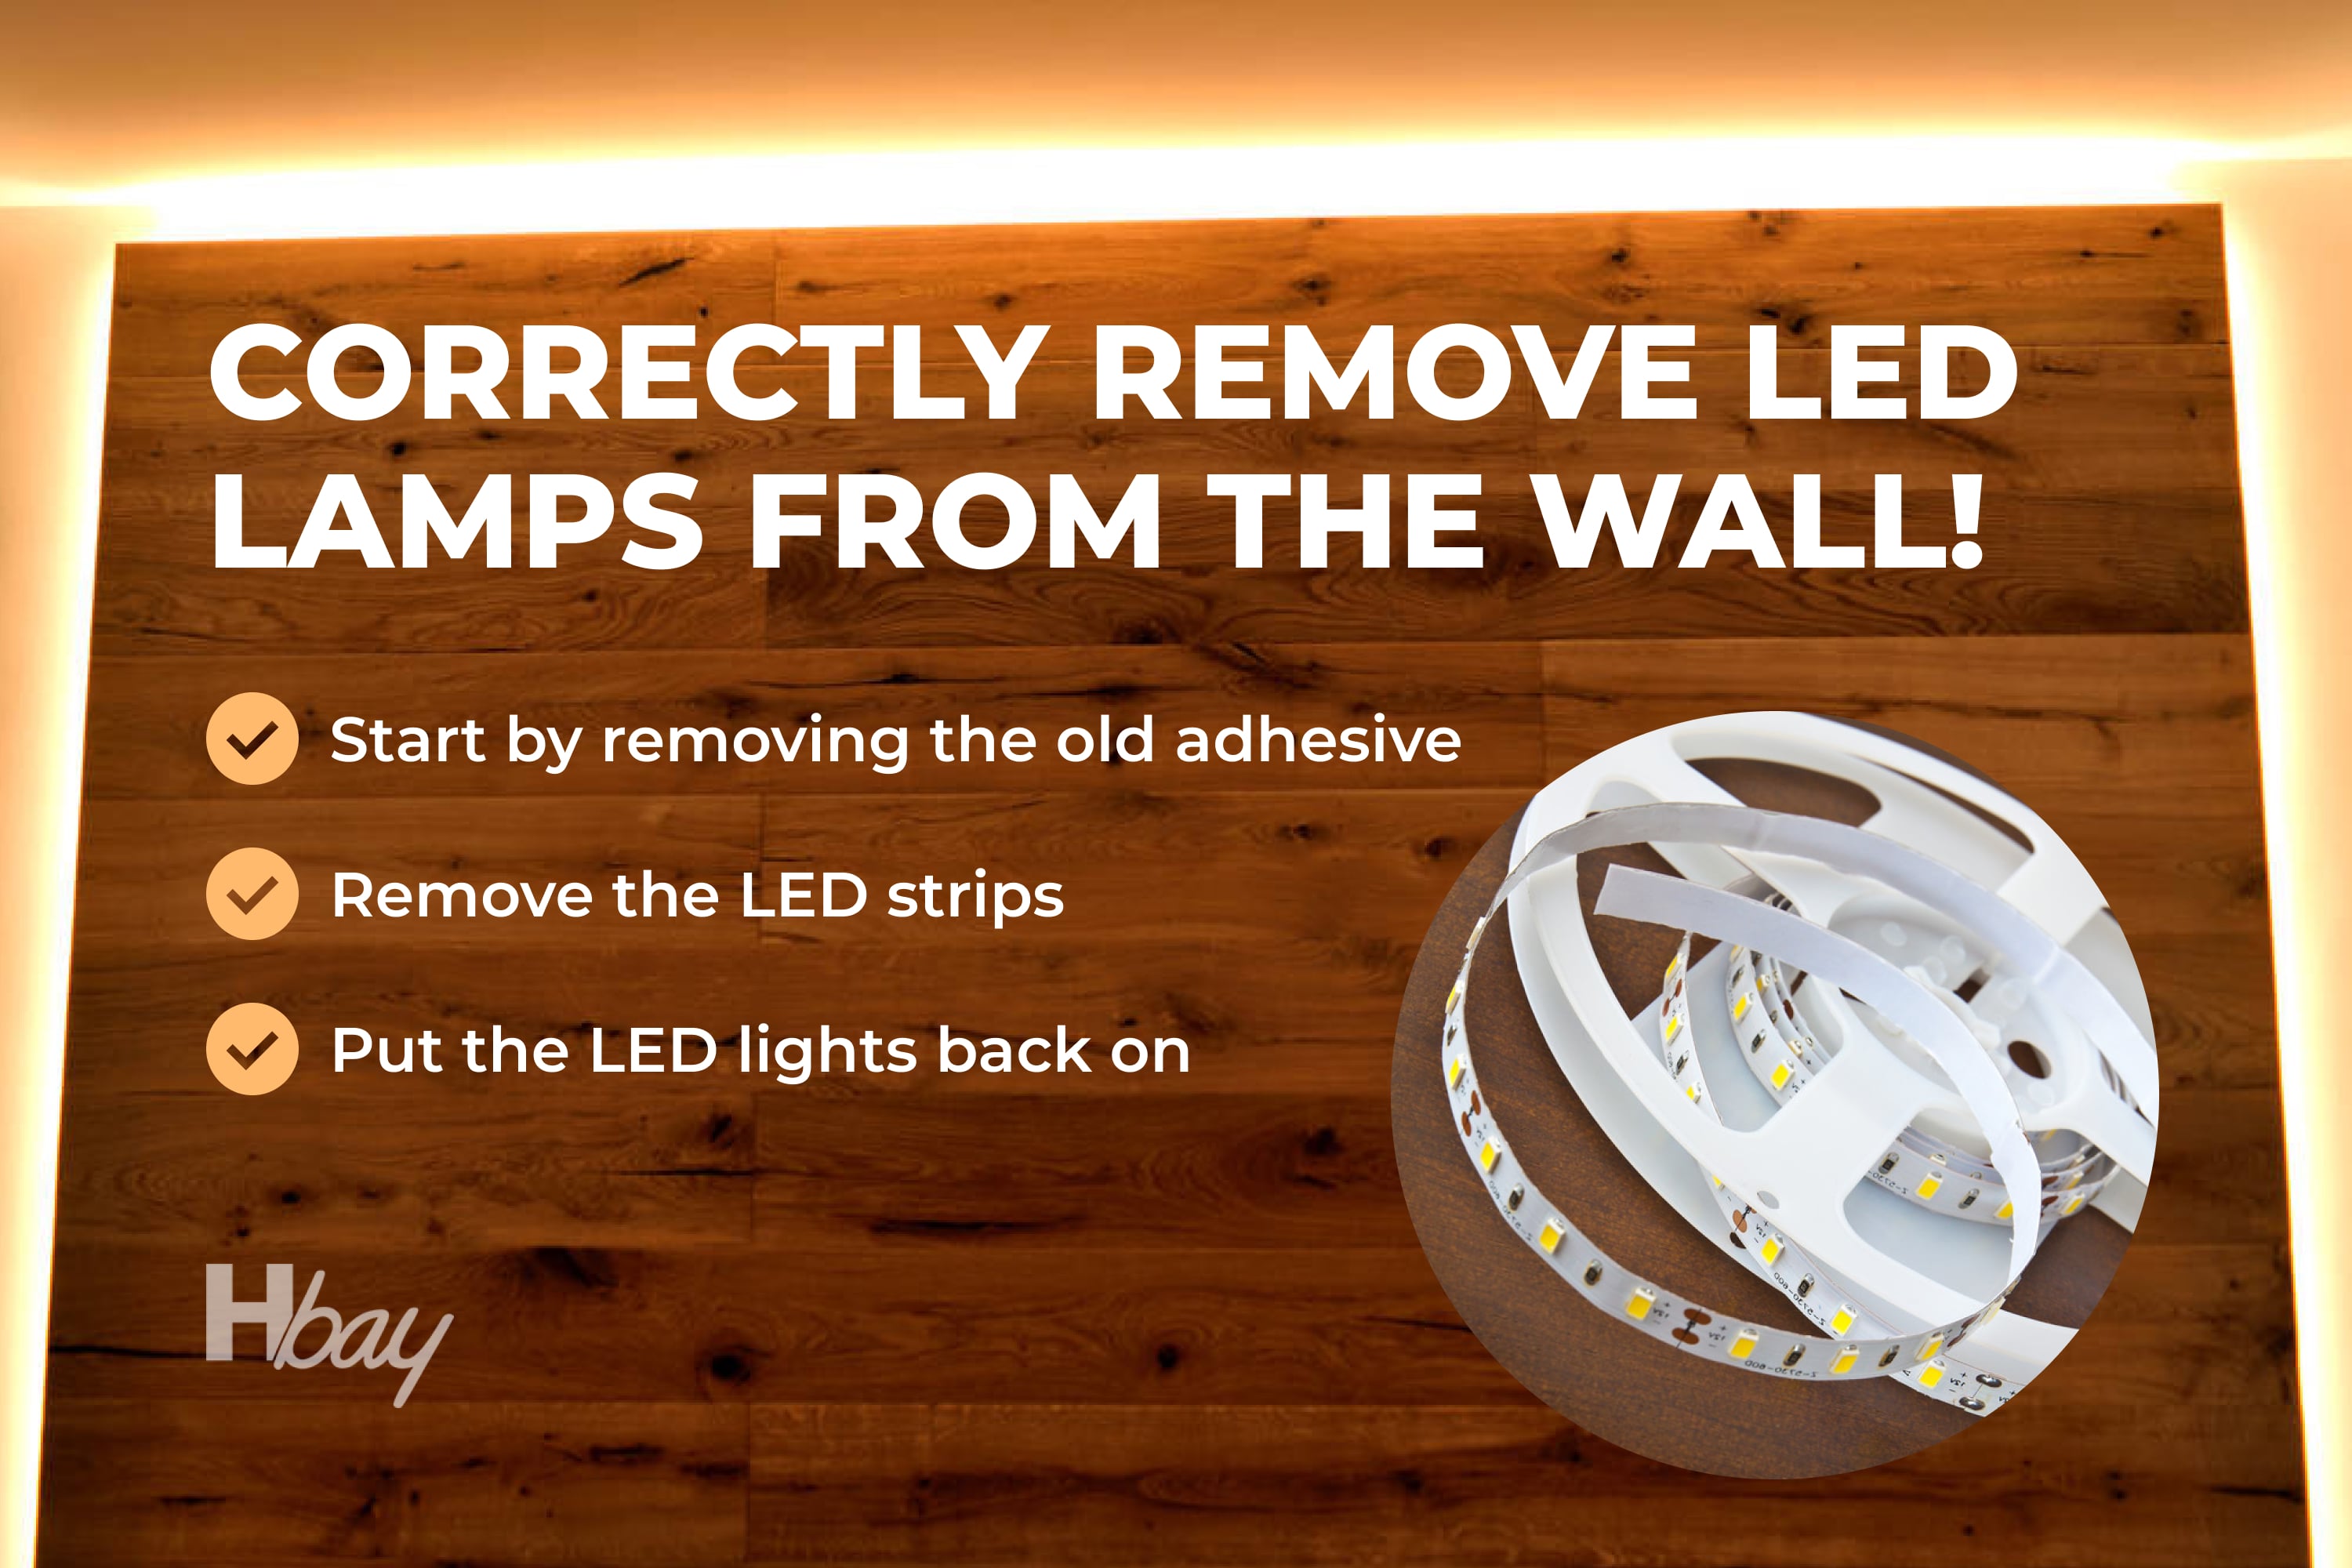
But how do you remove your LED lights from the wall without ruining the coat of paint on it? Well, before you begin, we would like you to take into consideration a few steps that must be taken in order to succeed:
- Start with getting rid of the old adhesive
- Remove the LED strips
- Re-stick your LED lights back
Sounds simple, right? And basically, so it is. However, we would still want to provide you with more detailed information on each step so that you could do everything right.
housekeepingbay.com
With that in mind, removing and sticking your LEDs back will always be very simple for you no matter how much time the lights spend on your walls or other surfaces in your home.

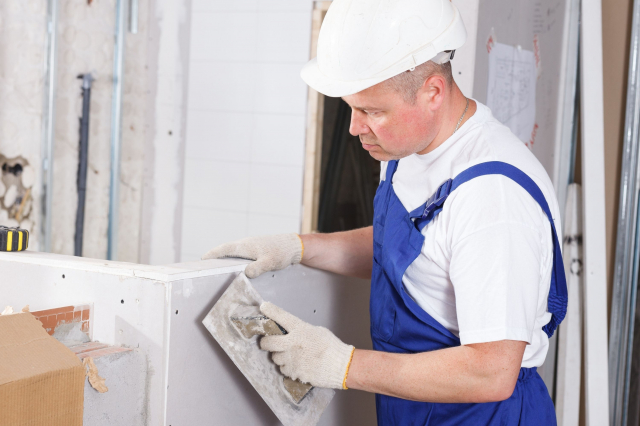
Credits: iPandastudio, via Canva.com
Table of Contents
Remove the Old Adhesive From the LED Strips
So, first of all you need to get rid of the old adhesive that is left on the LED strips. This must be done anyway, no matter whether you are planning to fix only the part of the LED strip that has lost its stickiness, or you are going to fix the whole strip afresh. And no, you can’t just reuse them!
That’s because once the lights create a bond with the surface they are applied to, they will lose their stickiness and become useless.
So what shall be done in order to get rid of the old adhesive? It is very simple! Take an old rag, soak it with acetone or any citrus-based cleaner, and simply rub the old adhesive vigorously!
However, please be careful not to use too much liquid! This may water-damage the LED lights and thus result in the flaws in their functionality.
Once you are done with removing the old adhesive and you see that your LED strip is free from it, it is time to proceed to the next step and actually remove the lights from the wall.
Related: How to Make Spray Paint Not Sticky?
Get the Lights Off the Surface Safely
If you apply your LED strip lights on a durable surface (for instance, on the wall) and make proper use of the 3M adhesive that usually comes with the strip, chances of your LED lights damaging the wall are minimal.
However, if you still think you might damage the surface while removing the old adhesives, the simple steps we have prepared for you below should sort you out!
housekeepingbay.com
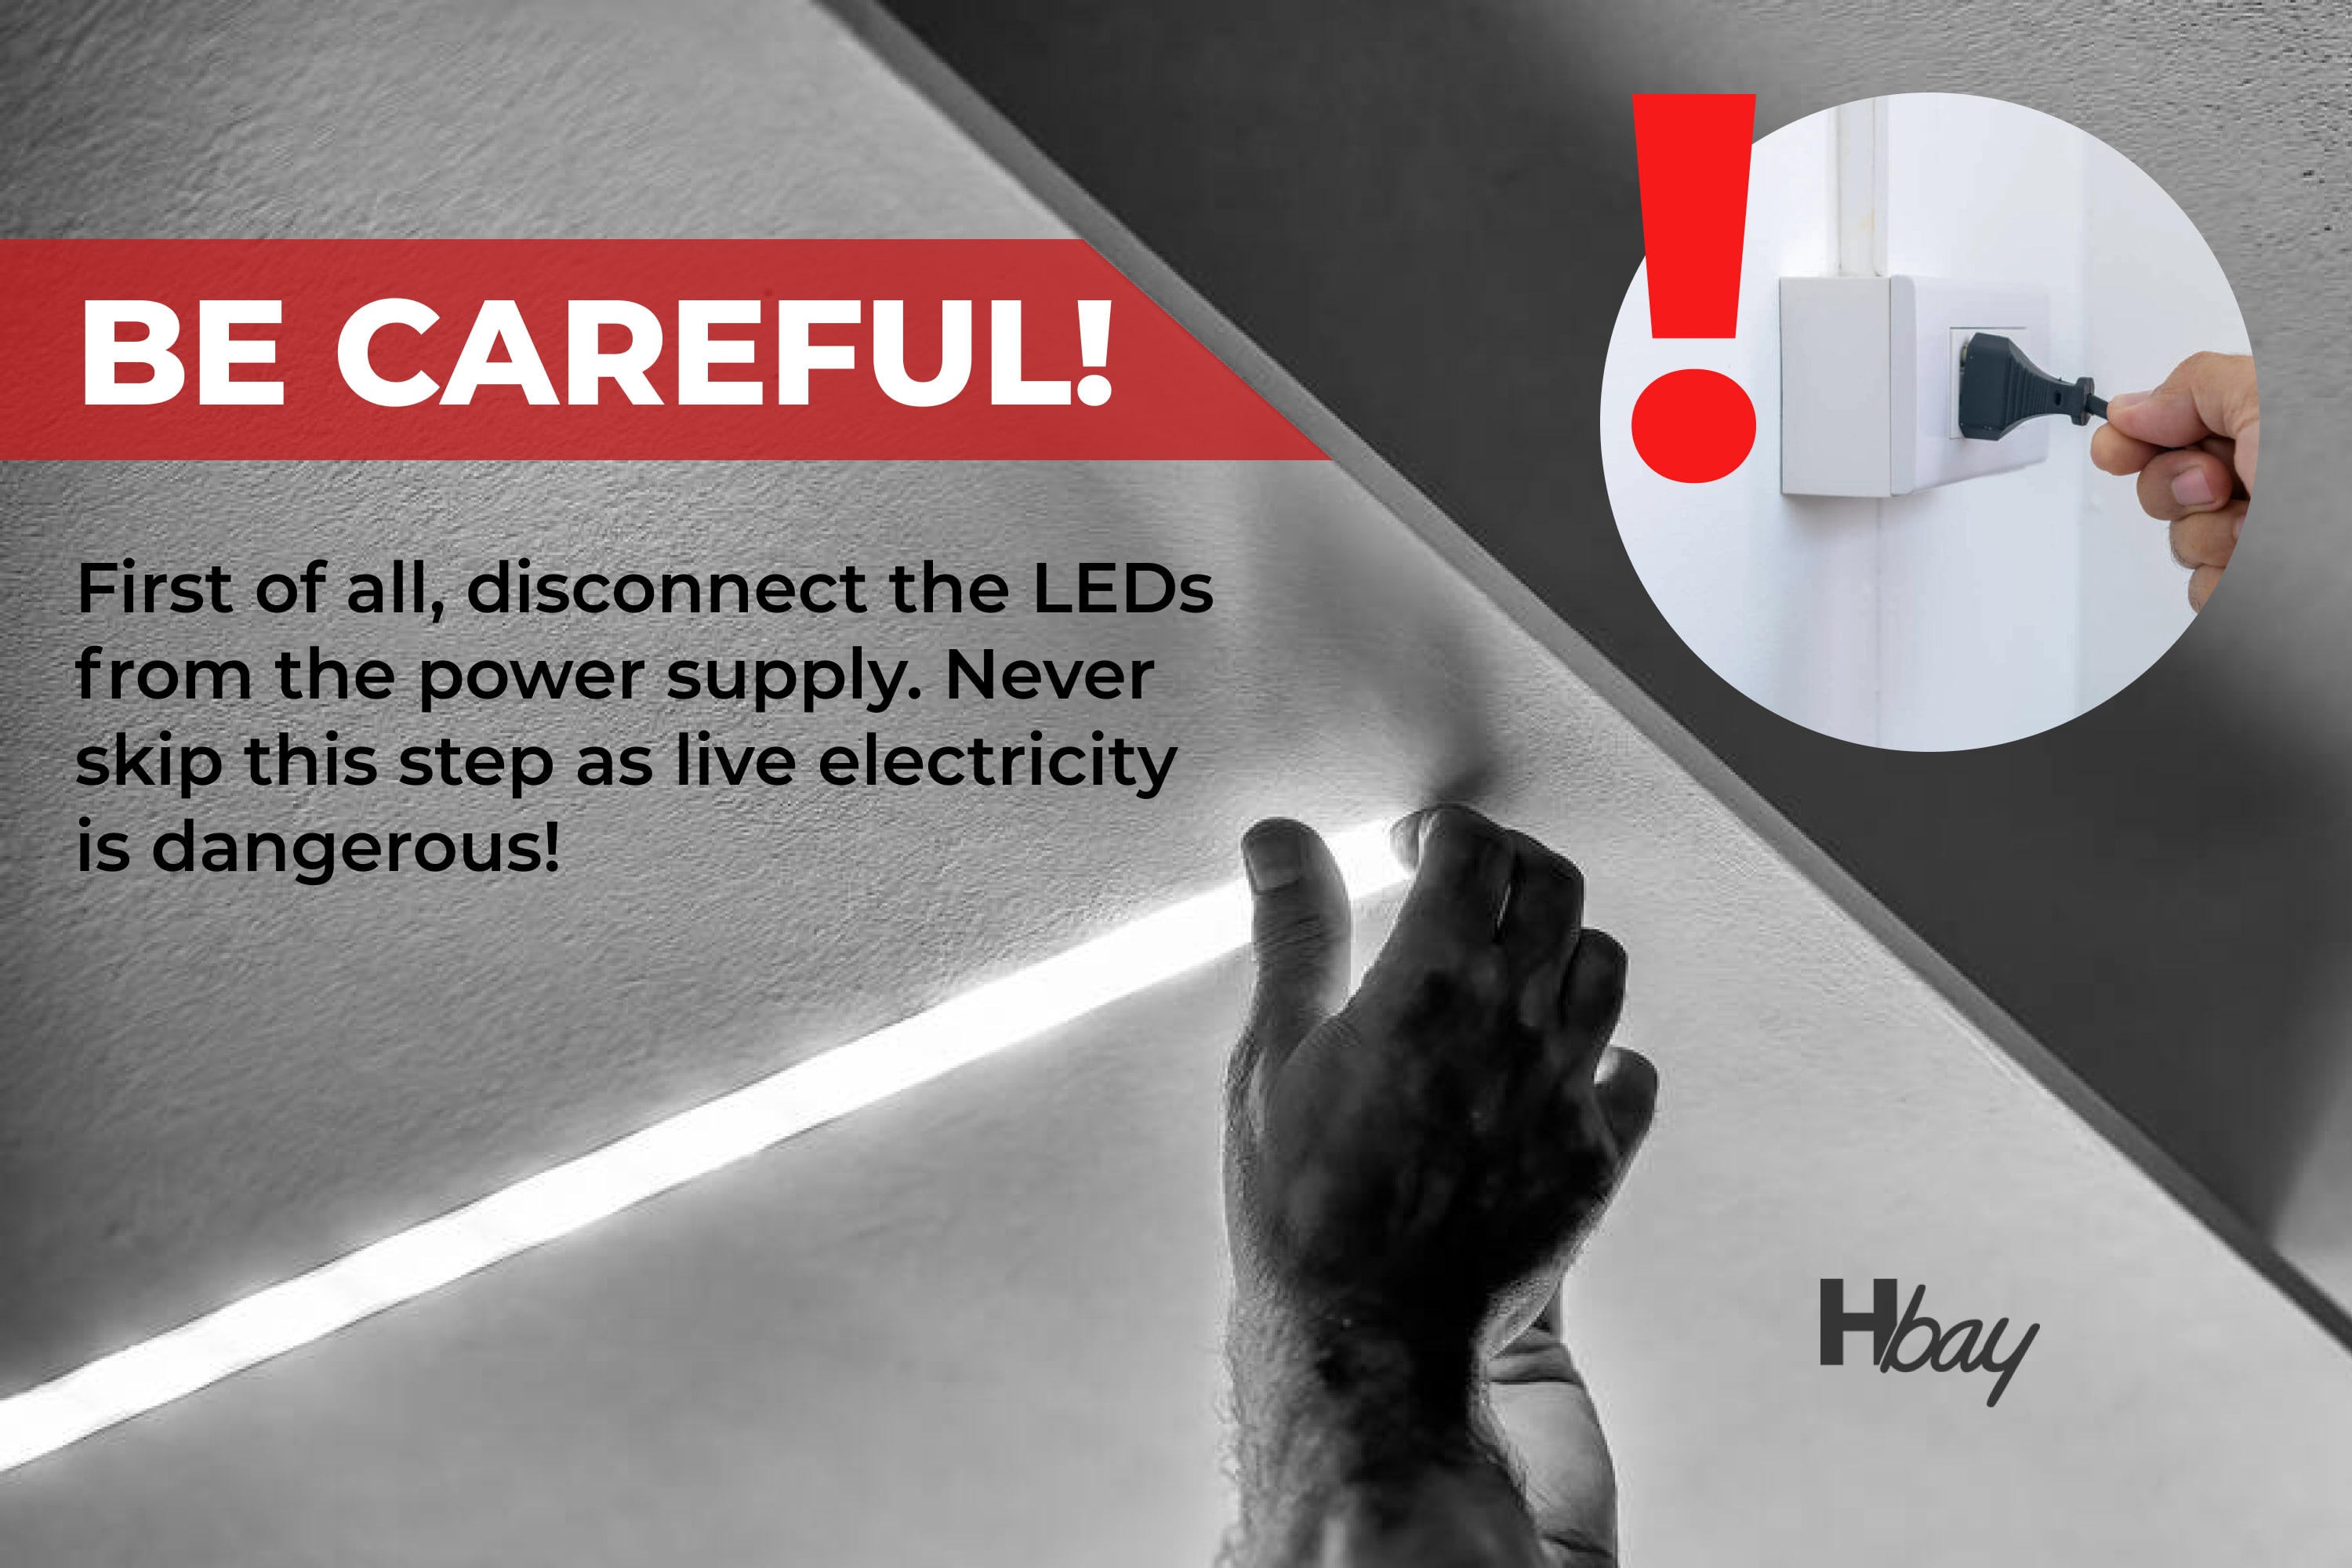
- First of all, unplug the LEDs from the source of power first of all. Never skip this step since live electricity is dangerous!
- Now, heat the layer of adhesive to make it softer and thus easier to pull it off from the wall. For heating, even a hairdryer will do! Also, when heating the adhesive layer, remember to protect your Lumen from the excessive heat since it might shorten its lifespan. Therefore, make sure to heat for not more than two minutes.
- After you have started an edge piece or a corner, insert either a dull or a flat object like a credit card, or a butter knife under the LED strip.
- Twist the object you have in order to softly separate the LED strip from the wall.
- While twisting it, slowly and carefully remove the LED strip off the surface using your other hand.
- Keep on twisting until the LED is completely released from the wall.
- It may so happen that a tacky layer of adhesive is left on the wall after you take the LED lights strip off. If this happens to you, make use of your thumb and softly rub the wall. Like this, you will remove the residue safely.
- In case rubbing the wall with your thumb does not work, feel free to make use of either WD-40 or any citrus-based hand cleaner. Simply apply it to the rag and rub the wall moving back and forth until it is completely clean.
Now that the LED lights are safely removed and the wall did not suffer during the procedure, the time has come to reattach the lights back.
Credits: WEGoPhoto, via Canva.com
Related: How Long Does Deck Paint Take to Dry?
How to Attach Your LED Lights Back?
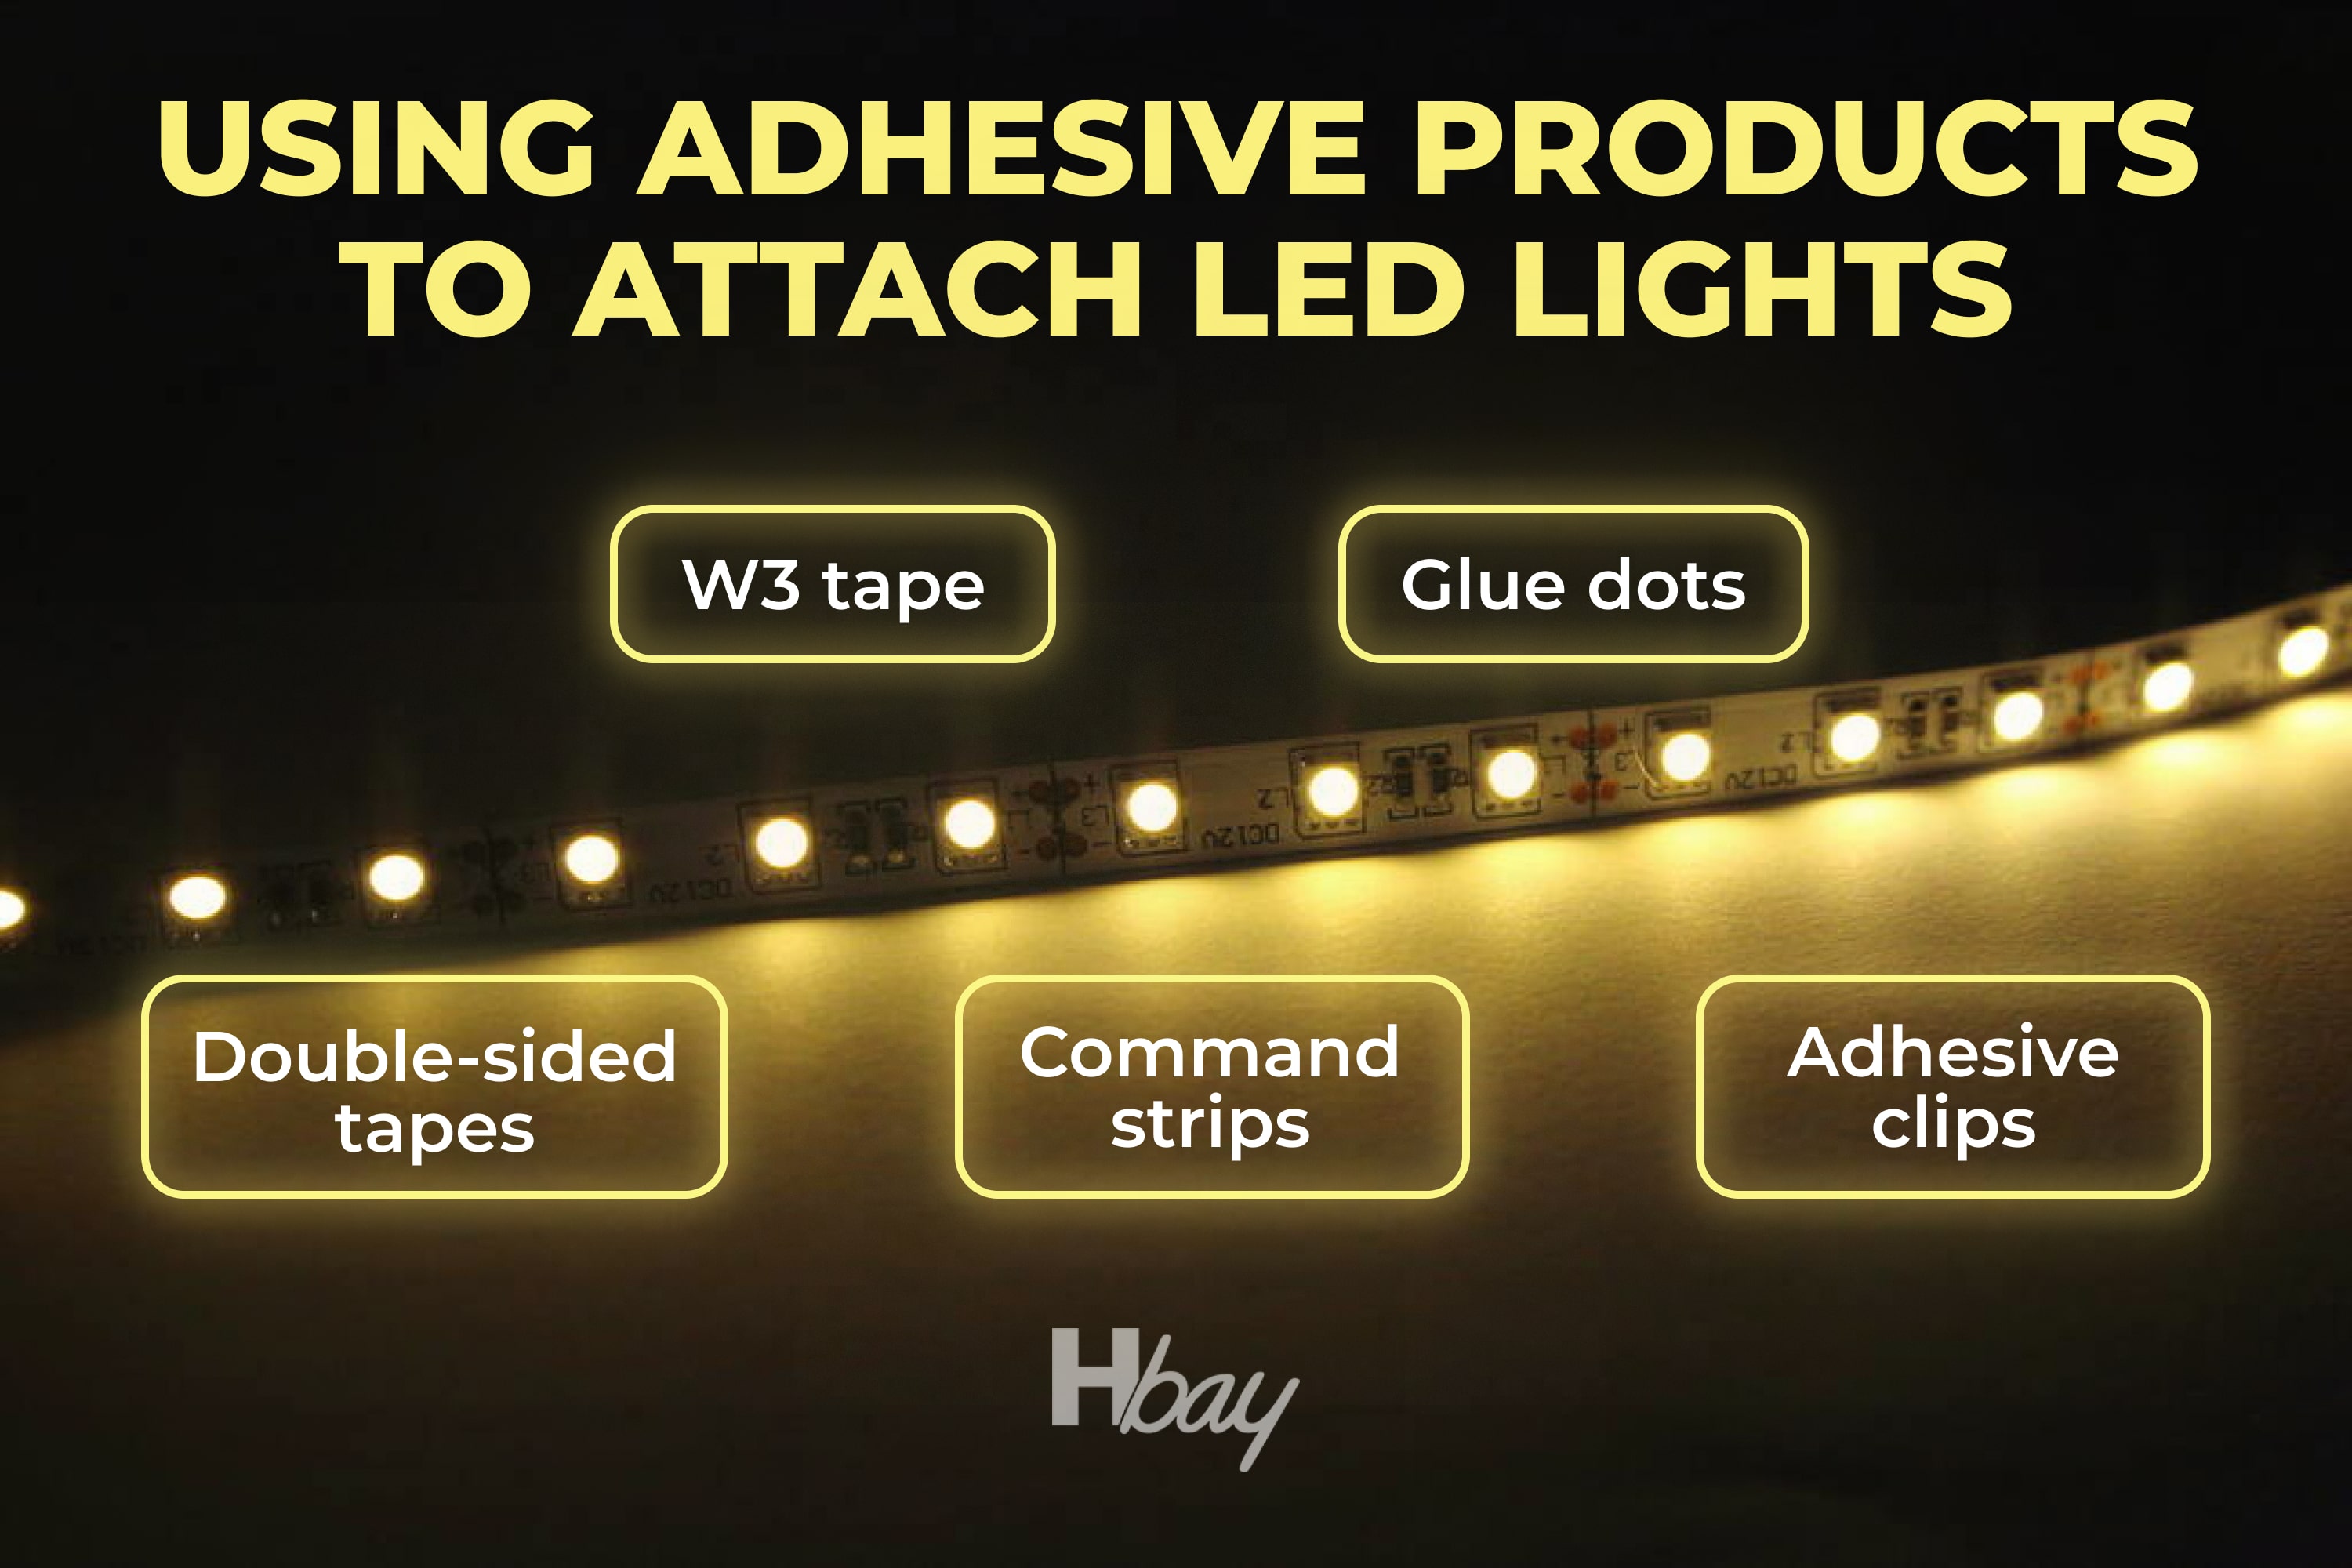
After you have rubbed the old adhesive off the surface, you can start the process of re-sticking your LED lights. For re-sticking purposes, you can make use of an adhesive as well, choosing from a variety of adhesive products. For example, you can opt for one of these:
- W3 tape
- Command strips
- Adhesive clips
- Double-sided tapes
- Glue dots
However, using an adhesive is not mandatory for re-sticking the LED lights back to the wall. Besides, adhesives usually might damage the surface of the wall of the furniture (depending on where you are sticking them to) because of their aggressive stickiness.

Credits: Arina Krashnikova, via Canva.com
Finally, if you fail to make use of them for the first time, you might not even want to do this again!
housekeepingbay.com
This is why, if, for any reason, using an adhesive is not an option for you, we can suggest you a few other alternative solutions that you can try out.
They include the following:
- Mounting putty
- Cable ties
- Hot glue
And below, you will learn how to make use of each of these methods correctly to have your LED light strips attached to the wall both safely and thoroughly.

Credits: ptksgc, via Canva.com
Re-Sticking LEDs With the Use Of a Mounting Putty
Mounting putty is a great and super convenient alternative to such common things as glue, tapes, staples, and even nails!
So if you decide to use this tool for re-sticking your LED lights back to where they have been before, start with molding the putty into the desired shape.
Next, carefully stick it at the back of your LED strip, and then simply install the strip onto the surface where you want your lights to be!
Credits: Zurijeta, via Canva.com
How to Re-Stick LED Lights Strip Using Cable Ties
Cable ties are popular fasteners that are usually used for cable management.
You might be surprised, but in fact, it is also possible to make use of them as alternatives to adhesives when re-sticking LED light strips! To do this, make sure that the ties you are using are transparent.
Like this, they do not interfere with the light output of the LED strips.
As much as this is a good alternative, you have to understand that it is not applicable in all possible cases! For example, you cannot use the cable ties around your kitchen cupboards.
Credits: Adayy, via Canva.com
Hot Glue For Re-Sticking Your LED Light Strip
Another alternative option for attaching your LED lights is to make use of a hot glue. Hot glue is so effective because it does not contain harsh chemicals like super glue, for instance.
Like this, your LED strip and the surface you are going to attach it to will be safe from damage.
Consequently, when using hot glue, make sure that you regulate the temperature. If the temperature is too hot, the strip may melt, and this is definitely not what you want to end up with!
Although that is unlikely to happen, always ensure that the temperature is perfect for your strip to avoid further damages.
Credits: WeGoPhoto, via Canva.com
What Types Of LED Lights Exist
We bet that the majority of you think that LED lights are only produced being of one single type.
However, you will be surprised when you learn that there are several different types of LEDs in the market! In fact, there are a lot of different LED light strips to choose from, and the best thing about that is that they can be used in so many different ways!.
These devices add ambiance to any space by providing various colors in your room.
So feel free to experiment with color combinations to create beautiful designs on any wall or surface! So below you can check out some popular LED lights models if you have not decided yet which exactly you would like to buy.
Credits: Tejas, Prajapati, via Canva.com
Minger LED Lights
These multicolor LEDs will not only cheer up your room, but they can also be an ideal way of making your whole home look like it is glowing! With the colorful lights that change from red to green, from yellow to blue, they will easily create a fun mood which makes them just perfect for a home party.
Minger LED strip lights are a fun and easy way to add some extra light anywhere in your house as well.
They come with 16’4 inches of power so that you can use them as a bathroom vanity mirror or kitchen worktop from across the room without losing any brightness. However, note that the electric strand is not water-proof, so be careful when using these lights close to the water.
Moreover, minger LED lights are very flexible which means that you can play with the strip and create different designs that will fit any look you want to give to your living space!
Be sure that these lights will be suitable in both a modern chic room and an English-style living room.
Credits: Tony Rechereau, via Canva.com
Phopollo LED Lights
This type of LED light strip is a perfect way to make your room really stand out. The 65-foot long continuous line of color-changing lights will add that extra WOW factor without taking up too much floor space while also making it easier for you when installing them on any wall type.
And by the way, these lights can be attached to both vertical and horizontal surfaces the same effectively!
The thin design of these lights makes installation quick and easy because there is no need for strings to get tangled together while connecting it all up on top-down below.
Credits: Lizalica, via Canva.com
With adhesive backing and remote control capabilities designed for years of use, these LED bulbs will make any room come alive!
So now you know way more about LED strip lights and their attachment than you did before! We have told you how to take these lights off your walls safely without ruining the layer of paint, and also, you learned more about the types of LEDs that exist in the market today.
With this information, you will be able to decorate your home as you wish as often as you feel like!
Ever wished paint sampling was as easy as sticking a sticker? Guess what? Now it is! Discover Samplize's unique Peel & Stick samples. Get started now and say goodbye to the old messy way!
Get paint samples
Frequently Asked Questions
⭐ How to prevent LED strip from falling off?
Avoid locating it close to the sources of heat and try not to attach the strip to the uneven surface. Also, make sure the sides of the LED are upwards.
⭐ Can I unstick and then re-stick my LEDs?
Yes, the adhesive backing is usually reusable.
⭐ Can I use super glue to attach LED lights to any surface?
It’s not recommended since super glue can damage the surface.
15 thoughts on “How to Remove Led Lights Without Peeling the Paint?”
Leave a Reply

Can you take led lights off the wall and put them back on?
How to get the sticky stuff off of your walls from the led lightss trip?
I know that laquer thinner can help to dissolve the adhesive without damaging the walls if your walls are painted with latex paint. But you must wipe the thinner as soon as possible, before it has a chance to penetrate the latex! Also, you could try WD-40. They say it also works, and besides, it is less damaging.
Does anyone know how to remove led lights from the ceiling safely without damaging the coat of paint?
I guess it’s the same method you use to remove led lights strip from the wall. Try to heat the strip with a hairdryer on medium or high heat. It will soften the adhesive and the tape should detach quickly.
Hello. Please, tell me how to remove led strip lights adhesive from the surface? The strip was attached to the door to make a frame, but when I removed it, there was a sticky adhesive trace left. And I can’t remove it now! See, the door is made of wood so I’m afraid to use something sharp to scrape that sticky stuff off.
Hey there! Well, as far as I know, acetone and isopropyl alcohol are the most effective products for removing any sticky residue from surfaces. But since your door is wooden, I’d say you should not use rubbing alcohol (even if your door is painted, shellacked, lacquered, or varnished). Acetone could also damage the wood. But you know what? Try white vinegar! It’s safer on wood and it can also remove sticky residue quickly!
Does anyone know how to remove led strip lights from the wall and reuse the strip on another surface (e.g., if I want to reposition it from one wall to another)?
Hello! Well, in this case, you might want to use your hairdryer to loosen the adhesive on the back of the strip to make it detach from the wall. But I’m not sure the strip will attach strong enough to the new location. You might need some extra items to keep it there (like a clear generic tape).
Does anyone know how to stick led strip lights on wall without damaging paint? I want to attach a strip of led light in my kitchen right above the cooking surface, but the problem is that I’ve recently painted the walls and I’ma fraid the adhesive might damage the freshly painted surface.
Hi! When I stick led strips on my walls, I usually wipe the wall with a dry cloth to remove the dust, and then wipe it swiftly with another cloth with some degreasing agent (like acetone). This way, the tape will adhere better. As an option, if you plant to reposition your tape later, you can use command clips.
Do led lights take off the paint from your walls? And if they do, how can I protect the surface? Thanks a lot in advance!
Well, usually these lights do not rip the paint off as far as I know. It may happen only if you take the strip off wrongly. If you need to unstick the lights, try to remove the adhesive from the strip first. It must help to get it off the wall safely.
Do led light strips damage the walls? I want to take my old LED strip off the wall, but since the strip was there for several years, I’m afraid it can damage the paint. What do you think?
Well, if you just rip it off the wall, it can indeed harm the surface and peel the paint off. This is why I recommend you wipe off the adhesive first with acetone and then take the LED off safely.